
Loading ...
Loading ...
Loading ...
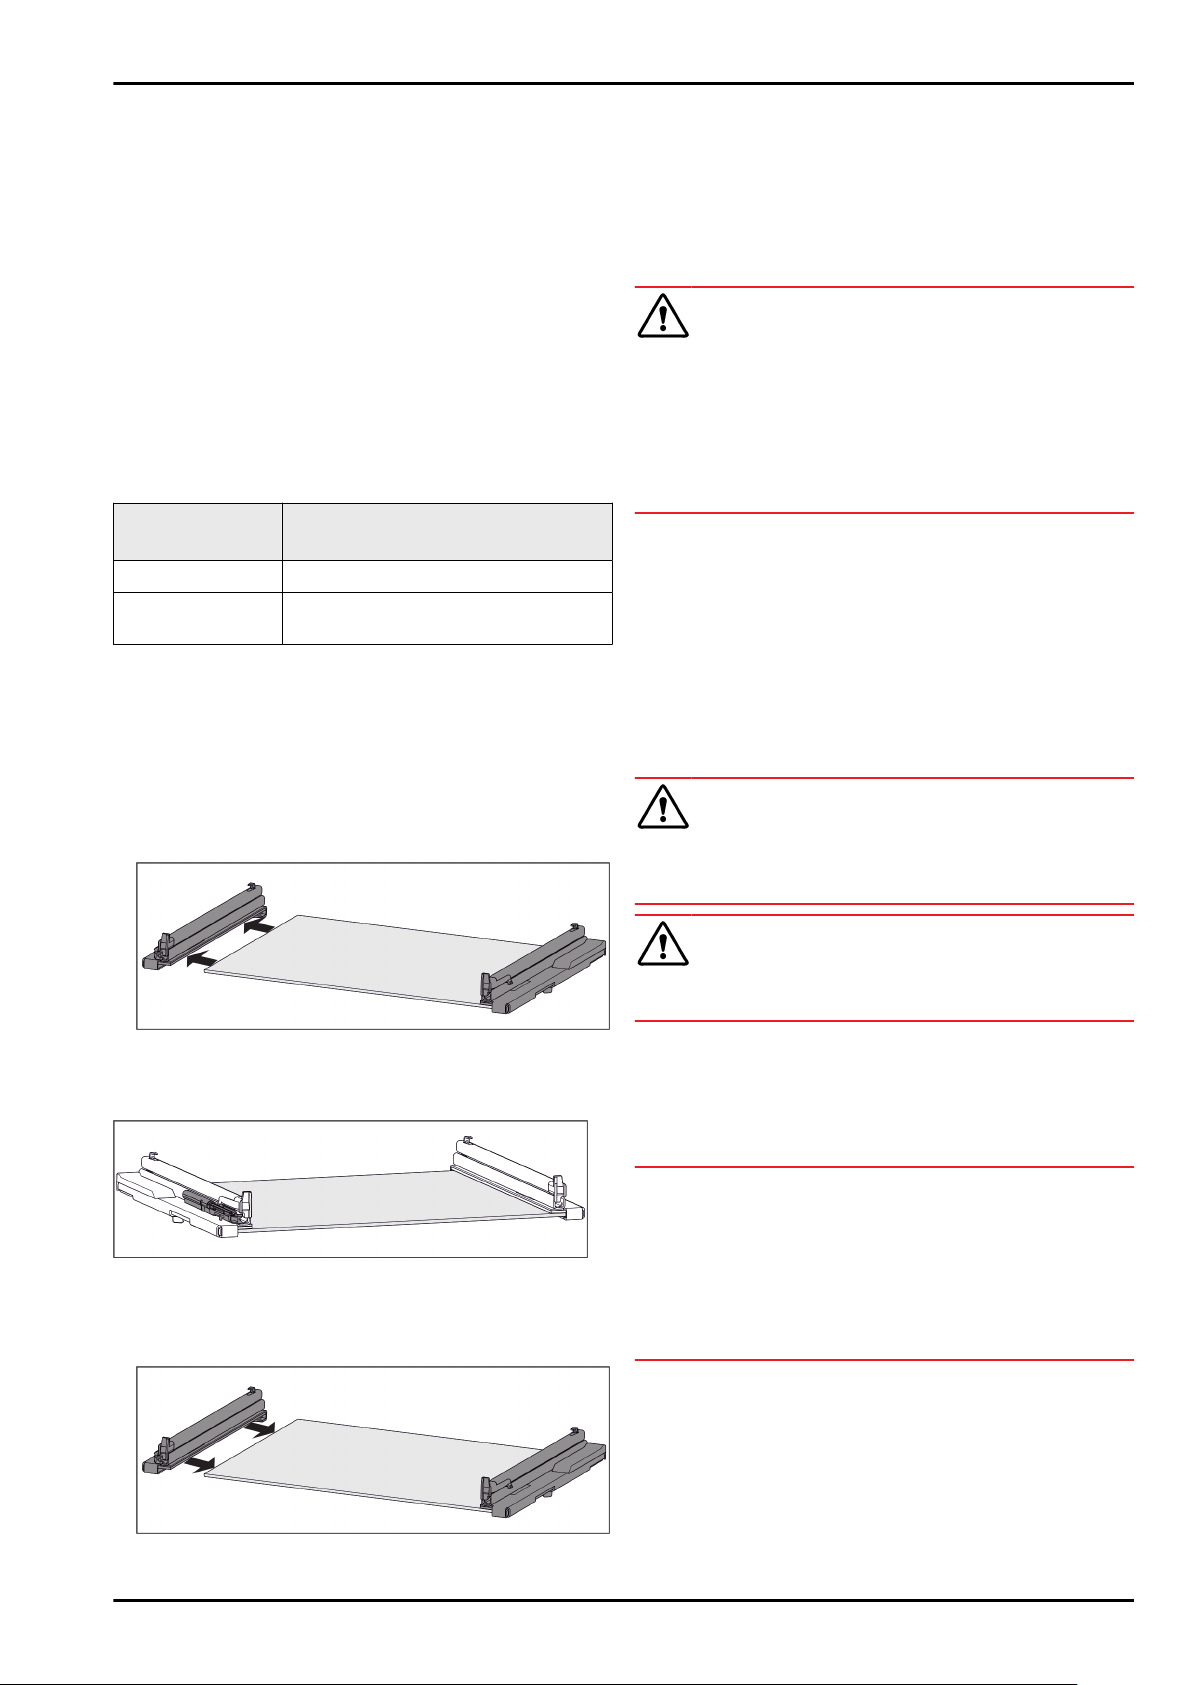
Fig. 39
u
Insert the carbon filter as shown in the diagram
Fig. 39 (1).
w
The carbon filter clicks into place.
If the carbon filter is pointing downwards:
u
Push the compartment in Fig. 39 (2).
w
The carbon filter is now ready for use.
8.2 Disassembling / assembling pull-
out systems
8.2.1 Notes on disassembly
You can disassemble some of the pull-out systems for
cleaning. Your appliance can contain a variety of pull-out
systems.
The following pull-out systems can be disassembled or
cannot be disassembled:
Pull-out system
can be disassembled /
cannot be disassembled
Fully extendible* cannot be disassembled*
Fully extendible
glass drawer*
can be disassembled (see 8.2.2.1 Fully
extendible glass drawer*) *
8.2.2 Drawer on telescopic rails
Fully extendible glass drawer*
Disassembling pull-out system
Make sure the following prerequisites are met:
q
Drawer has been removed. (see 7.2.1.2 Fully extendible
glass drawer*)
q
Glass shelf has been removed. (see 7.5 Glass shelves)
Fig. 40 Glass shelf with rails
u
Remove rail from glass shelf sideways.
Installing pull-out system
Fig. 41 Damping mechanism
The damping mechanism is attached to the left rail. (see
Fig. 86) There is no damping mechanism attached to the
right rail.
Fig. 42 Glass shelf with rails
Install rail
with damping mechanism:
u
Push rail as far as it will go onto the left side of the glass
shelf.
Install rail without damping mechanism:
u
Push rail as far as it will go onto the right side of the
glass shelf.
8.3 Defrosting the appliance
WARNING
Improper defrosting of the appliance!
Injuries and damage.
u
Do not use mechanical equipment or other methods to
speed up the defrosting process other than those recom‐
mended by the manufacturer.
u
Do not use electrical heating or steam-cleaning appli‐
ances, naked flames or defroster sprays to defrost.
u
Do not use sharp objects to remove ice.
Defrosting is performed automatically. The water from the
thawing process drains through the outlet and evaporates.
Water drops or a thin layer of frost or ice can form on the
back wall; this is a completely normal part of the applian‐
ce’s function. This must not be removed.
u
Clean the drain opening regularly (see 8.4 Cleaning the
appliance) .
8.4 Cleaning the appliance
8.4.1 Ready
WARNING
Danger of electric shock!
u
Remove the refrigerator connector or interrupt the power
supply.
WARNING
Risk of fire
u
Do not damage the refrigeration circuit.
u
Empty the appliance.
u
Remove mains connector.
-or-
u
Activate CleaningMode. (see CleaningMode)
8.4.2 Cleaning the interior
NOTICE
Improper cleaning!
Damage to the appliance.
u
Only use soft cleaning cloths and ph-neutral all-purpose
cleaners.
u
Do not uses abrasive sponges or steel wool which may
cause scratches.
u
Do not use any sharp or abrasive cleaning agents, nor
any that contain sand, chloride or acid.
u
Plastic surfaces: clean by hand with a soft clean cloth,
lukewarm water and a little detergent.
u
Metal surfaces: clean by hand with a soft clean cloth,
lukewarm water and a little detergent.
u
Drain hole: remove deposits using a thin item (for
example a cotton bud).
Maintenance
18 * Depending on model and options
Loading ...
Loading ...
Loading ...