Loading ...
Loading ...
Loading ...
Page 5
1.
2.
Align the holes of the flange to the holes located on the top of the unit. Attach to the
top of the KwiKool unit using the factory supplied fasteners.
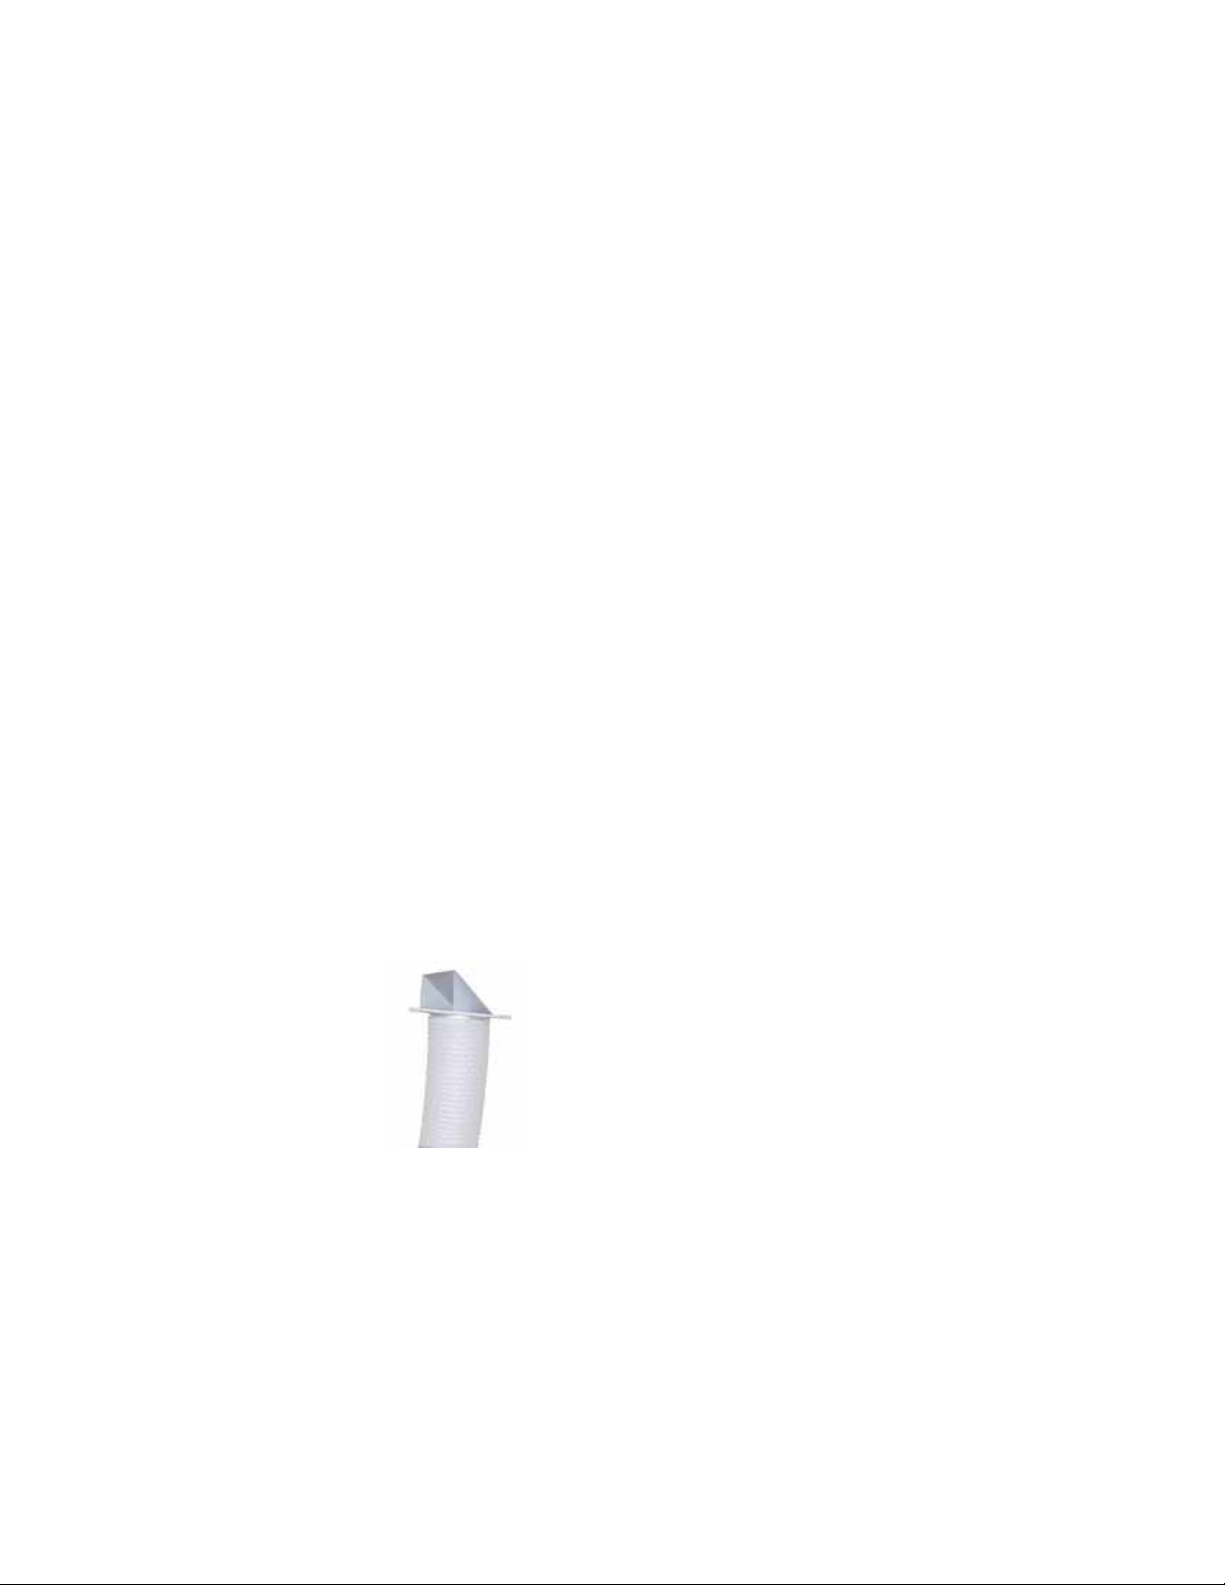
Attach the duct to the flange on the replacement ceiling panel; secure the duct to
the flange using the supplied clamps.
Install the replacement ceiling panel in the ceiling grid with the duct attached,
connect the open end of the duct to the flange on your KwiKool and secure with
supplied clamps. The area where the discharge air is directed must be open to a
space that is well vented or large enough to absorb the load without pressurizing
and coming back into your conditioned space. Discharge make-up air will come from
your conditioned space and create a negative pressure in the conditioned area. Your
KwiKool must have fresh make-up air going to the condenser to operate.
**For Ceiling Kit Users** - Single Duct Ceiling Kit - Can use this method when
conditioning a space, adding supplemental conditioning, process conditioning and
comfort conditioning. The unit is placed in the area you are conditioning, discharge
air is moved from the space through the duct connected to the condenser discharge
air flange, the duct is connected to the ceiling panel, the ceiling panel is typically
used in drop ceilings, a 24” x 24” space is opened in the ceiling grid and the
replacement panel with the duct attached to the flange is installed, the area where
the discharge air is directed must be open to a space that is well vented or large
enough to absorb the load without pressurizing and coming back into your condi-
tioned space. Discharge make up air will come from your conditioned space and
create a negative pressure in the conditioned area. Determine if your application can
tolerate this condition, the negative pressure will pull in surrounding conditioned air
and ambient air from unsealed areas which may include dust, moisture or other
particles. Additionally, the ceiling kit replacement panel is not limited to ceiling use
and may be placed or fastened to any vertical or horizontal surface providing the
discharge and make up air is able to be directed to the space where it is mounted.
For areas with a closed ceiling or no ceiling use the double flange ceiling kit method
or extended duct method.
Visit www.KwiKool.com for more information and a complete set up guide.
Follow these installation steps:
3.
4.
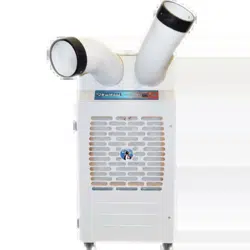
Ceiling Kit - The CK-12S includes one 12” x 8” duct,
1 flange and fasteners to be mounted to the unit, clamps
necessary for duct attachment and a ceiling panel.
Power Connection - Verify that the source power, phase and breaker size is
compatible with your KwiKool serial plate information and that the electrical circuit is
dedicated only for the use of your KwiKool Unit. If you aren’t sure about your power,
contact a licensed electrician. KwiKool systems are factory equipped with 8‘ of power
cable sized to meet the power requirement of your system. Extension power cable is
allowed but cannot exceed 25’ and must be rated to operate your KwiKool. KwiKool
units that come supplied with a factory installed plug require the exact receptacle to
match the plug and exact circuit size and power. Cutting the power plug on your KwiKool
unit will void its warranty.
D.
Loading ...
Loading ...
Loading ...