Loading ...
Loading ...
Loading ...
Ceiling Kit (Optional Accessory) - The ceiling kit is comprised of a flange with foam
tape, fasteners, one (1) eight foot length of flexible duct, duct clamps, and one
24”X24” replacement ceiling tile.
C.
Page 4
II / Assembly and Installation
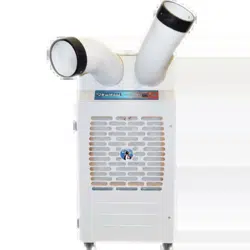
Air Chutes (standard equipped) - Install supply air flanges to the front of your
KwiKool unit above the control panel. (See instructions in the air chute kit for specific
procedures).
A.
B.
Air Chutes - Conditioned air supply, equipped.
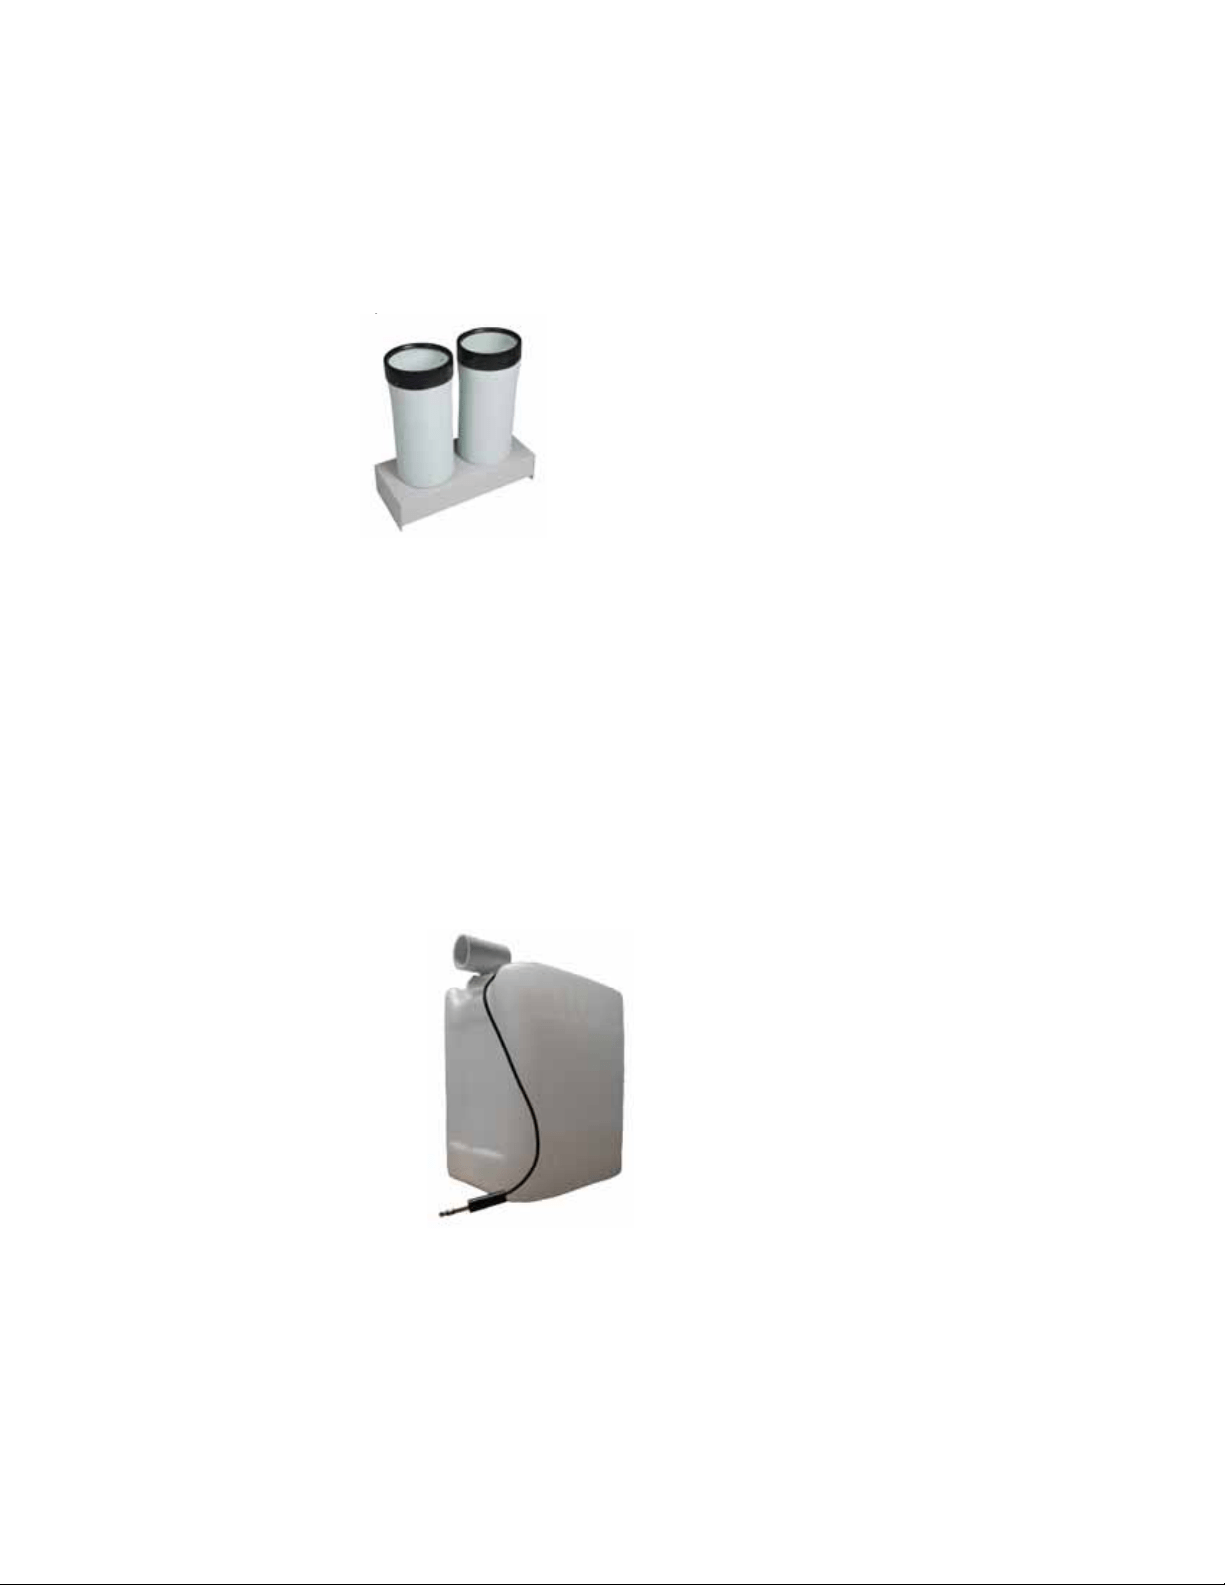
Condensate Tank -
3-gal Condensate
Tank with float assembly for automatic
cutoff.
Condensate Tank - The system comes standard with an internal 3-gallon condensate
tank. The internal condensate tank is equipped with a float switch that shuts your
KwiKool down and alerts operators with an alarm and displays CF (“Condensate Full”)
when the condensate tank is full. This prevents accidental water overflow on the floor.
To continue operation of your KPAC II the collection bottle must be removed, emptied
and then re-installed. Turning the KPAC II to off will stop the audio alarm. Remove the
float switch jack by pulling it straight back and then remove the condensate bottle by
pushing the front of the bottle slightly downward and then pull the bottle out. Remove
the cap threaded onto the bottle by turning it counterclockwise, then empty the
collected water, return the cap back onto the bottle by turning clockwise taking care not
to cross thread the cap upon installation, tighten the cap to the point where the angle
connector on the condensate bottle lines up with the nipple extending out from the drain
pan on your KPAC II and insert the bottle by pushing down slightly to clear the extended
drain pan nipple. Be sure the drain pan nipple is inside of the angle connector and the
cap is snug and not cross threaded to avoid water leakage. Install the float switch jack
by pushing it straight in and confirm the pin is fully inserted or the alarm will not clear.
Continue normal operation.
Loading ...
Loading ...
Loading ...