Loading ...
Loading ...
Loading ...
30% Overlap
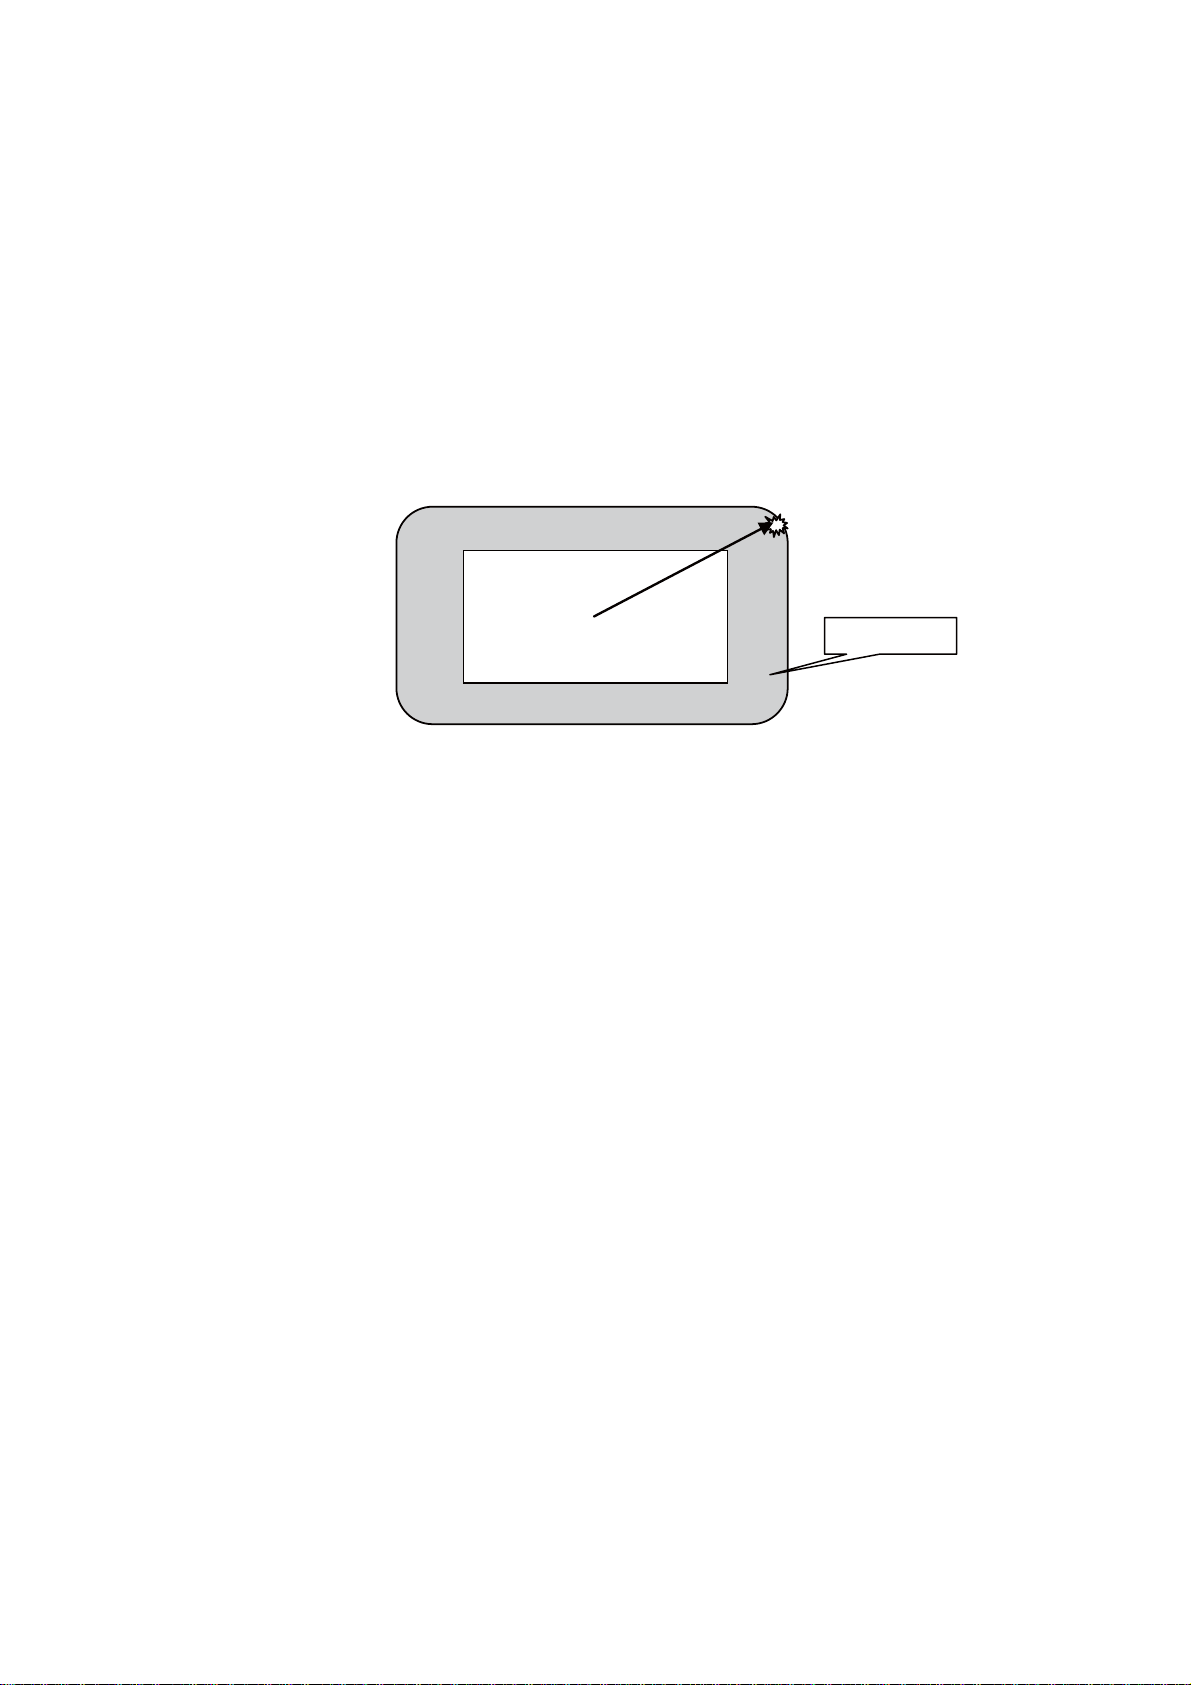
• Look through the viewnder window of the camera or look at the life view LCD display
of the camera. As shown in the following gure, remember the object at the corner of the
view nder, then rotate (Manually or automatically with motor drive) the azimuth and altitude
axes of the MiniDob mount to move the center of the view nder onto that object. Press
buttons “SET/5” and “1/a” to save the position. The MiniDob will double the movement to
get the full eld of view.
• When taking panoramic pictures, the mount will apply 30% overlap between the
pictures.
4.Set the lowest altitude angle of photography.
Look through the view nder of the camera and use the DOWN/UP buttons to slew the
altitude axis
to the desired lowest point of photography, and then press buttons “SET/5” and “2/b” to
save the position.
5.Set the highest altitude angle of photography.
Look through the view nder of the camera and use the DOWN/UP buttons to slew the
altitude axis to the desired highest point of photography, and then press buttons “SET/5”
and “3/c” to save the position.
6.Start panoramic photography.
Press buttons “1/a” and “3/c” simultaneously to start taking panoramic pictures.
The mount will start taking pictures from the preset lowest altitude angle, rst move in
azimuth direction, then increase altitude angle gradually.
After all pictures are taken, the mount will return to the original position (Power-on Position).
7.During picturing taking, user can press the SET button to pause. Release the SET button
will resume the operation.
8.By default, when the MiniDob stops at a pre-stored position, the active time of the shutter
9
Loading ...