Loading ...
Loading ...
Loading ...

8 110CT425A/W, 110FB425A/W
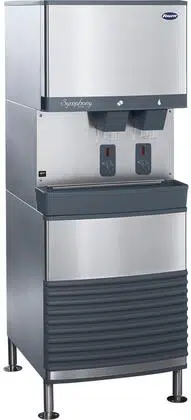
Fig. 4 – Rear connections, countertop models
12.25" (31 cm)
0.78" (20 mm)
8.22" (20.8 cm)
1.34" (35 mm)
35.91" (91 cm)
38.97" (99 cm)
41.97" (106 cm)
44.97" (114 cm)
6.06" (15.5 cm)
8.22" (201 cm)
DRAIN
3/4" NPT MALE
WATER INLET
(INTERNAL)
3/8" NPT FEMALE
DRAIN
3/4" NPT MALE
POTABLE WATER INLET
3/8" NPT FEMALE
CONDENSER OUTLET
3/8" NPT FEMALE
WATER COOLED ONLY
CONDENSER INLET
3/8" NPT FEMALE
WATER COOLED ONLY
ACCESS PANEL
4. If power is to be supplied through counter cut-out, complete steps 6-9. If power is to be supplied through
rear of dispenser, proceed to step 10.
5. Temporarily remove rear access panel (Fig. 4) from rear of dispenser.
6. Loosen junction box mounting screws. Lift junction box and power cord up until cord and mounting
screws clear notches on rear panel of dispenser. Remove Phillips-head screws from right side of junction
box.
7. Rotate junction box 90 degrees so that screw holes on right side of junction box align with holes on rear
dispenser panel. Secure junction box to dispenser using Phillips-head screws.
8. Place power cord inside dispenser and replace access panel (Fig. 4) to rear of dispenser.
Note: For dispensers to be installed with utilities connected through rear of dispenser, it may be easier to make
preliminary connections before dispenser is set in place.
9. Apply a thick bead, approximately. 1/4" (7 mm) diameter, of NSF listed silicone sealant (Dow-Corning
®
RTV-732 or equivalent) 1/4" (7 mm) inside marked outline of dispenser.
10. Carefully position dispenser on counter.
11. Remove four screws securing splash panel to front of dispenser and gently lay splash panel on counter.
(Water line to solenoid valve can be disconnected from water inlet valve by pushing on ring at end of inlet
tting while pulling on tubing.)
12. Secure dispenser to counter with four 3/8" bolts (supplied by others).
13. Smooth excess sealant around outside of dispenser.
Loading ...
Loading ...
Loading ...