Loading ...
Loading ...
Loading ...

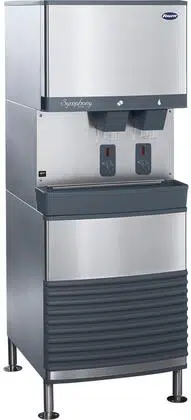
20 110CT425A/W, 110FB425A/W
SensorSAFE model troubleshooting guide
Problem Action
SensorSAFE Board LED
Status
Corrective ActionPWR CLN
ICE/
WTR
Does not
dispense ice
and/or water.
Check
LEDs on the
SensorSAFE
control board.
OFF OFF OFF Check circuit breakers and power switch.
Restore power or replace defective switch.
ON ON OFF Press clean switch on lower left side of electrical
enclosure to return board to normal operation.
Place cup
under drop
zone (in front
of lens).
ON OFF OFF Troubleshoot appropriate lens/sensor
and replace if required (see lens/sensor
troubleshooting).
ON OFF ON Verify power on appropriate output terminal
(WTR or WM) on control board and replace
board if required. If board tests okay,
troubleshoot appropriate dispenser component.
Dispenses ice
and/or water
continuously.
Check LEDs
on control
board.
ON OFF ON Troubleshoot appropriate lens/sensor
and replace if required (see lens/sensor
troubleshooting).
ON OFF OFF If there is power on any output terminal (WTR or
WM) on control board, replace board.
Board guide
LEDs, when illuminated, indicate the following: PWR (board power), CLN (cleaning, no dispensing cycle), ICE (ice
dispensing activated), WTR (water dispensing activated).
Terminals: LI (incoming power, hot), L2 (neutral terminals), WTR (power terminal for water solenoid), WM (power
terminal for wheelmotor), CLN (terminals for clean cycle switch).
Note: SOL terminal not used in 12 series dispensers.
Lens/sensor troubleshooting
1. Turn dispenser power switch off and remove splash panel.
2. Disconnect wires from WTR and WM terminals on board.
3. Gently remove sensor/mounting block from splash panel.
4. Inspect lens and sensor, clean if necessary.
5. Restore dispenser power and test sensor by passing hand in front of sensor.
6. If LED on board turns on, sensor is operational. Re-assemble dispenser.
7. If LED does not come on switch sensor leads on board and retest.
8. If opposite LED comes on – replace defective board.
9. If opposite LED does not come on – replace defective sensor.
Loading ...
Loading ...
Loading ...