Loading ...
Loading ...
3
YOUR NEW RIFLESCOPE
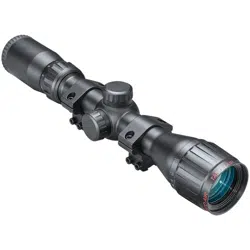
Congratulations on your purchase of a Tasco
®
Air Gun riflescope! These scopes are specifically engineered to withstand the
rigors and whiplash recoil of air gun shooting whether it is pneumatic, spring-piston or CO2 rifles. Mounting rings are included
for your convenience. The rear mount includes a stop pin, which can be removed (simply unscrew the pin) if your firearm does
not provide a corresponding hole.
WARNING: A SCOPE SHOULD NEVER BE USED AS A SUBSTITUTE FOR EITHER A BINOCULAR OR SPOTTING
SCOPE. IT MAY RESULT IN YOU INADVERTENTLY POINTING THE GUN AT ANOTHER PERSON.
KEY ELEMENTS OF A SCOPE
There are four major elements of a scope:
1. Objective Lens: This lens has three functions. First, it permits light to pass into the scope. Second, it determines resolution.
Generally, larger lenses allow more light to enter the scope and resolve details better than smaller ones. Finally, it forms an
image for the other lenses to magnify to a usable size. The image formed by this lens is upside down.
2. Erector System: The erector system serves three functions. Its primary function is to erect the image (that is, flips the image
right-side up) and align it to the reticle. During this process, primary magnification of the image takes place. These two
functions are the result of lens action.
The third function is a mechanical one. The erector lenses are housed in a tube that is fixed at one end, while the other end
of the tube is free to move and respond to dial adjustments. By moving the erector system, the point-of-aim of the scope is
adjusted to match the point-of-impact of the bullet.
3. Reticle: In simple terms, the aiming device around which the scope is built. This element replaces the iron sight system of
non-scoped rifles.
4. Ocular or Eye Lens: This element provides the secondary and final magnification of the image.
MOUNTING YOUR SCOPE
Your new scope, even with its technologically advanced design and features, will not perform at its best if not properly
mounted. One of the most important contributing factors to the accuracy of your scope and rifle is the quality of the mount and
the care with which mounting is done. Dependable mounts are included that attach your scope solidly to the rifle to provide
dependability and consistent accuracy. The supplied mounts are Tip-off style, compatible with the dovetail rails typically found
on air rifles. If necessary, the stop pin on the rear mount may be removed by simply unscrewing the pin from the mount.
Remember, not all scopes are compatible with all mounts on all rifles. If there is any doubt in your mind, you should seek the
advice of your local retailer or gunsmith.
WARNING: NEVER LOOK AT THE SUN THROUGH THE RIFLESCOPE (OR ANY OTHER OPTICAL INSTRUMENT).
IT MAY PERMANENTLY DAMAGE YOUR EYES.
PRELIMINARY SCOPE ADJUSTMENTS
Before installing the scope, we recommend you set the focus of the eyepiece to fit your individual visual requirement.
Refocusing the ocular distance will result in a sharper reticle focus, an improved optical image, and will help to avoid eye
fatigue when using the scope over prolonged periods of time. To refocus, hold the scope about 3 to 4 inches from your eye
and point at the open sky or other flatly lit area such as a monotone painted wall.
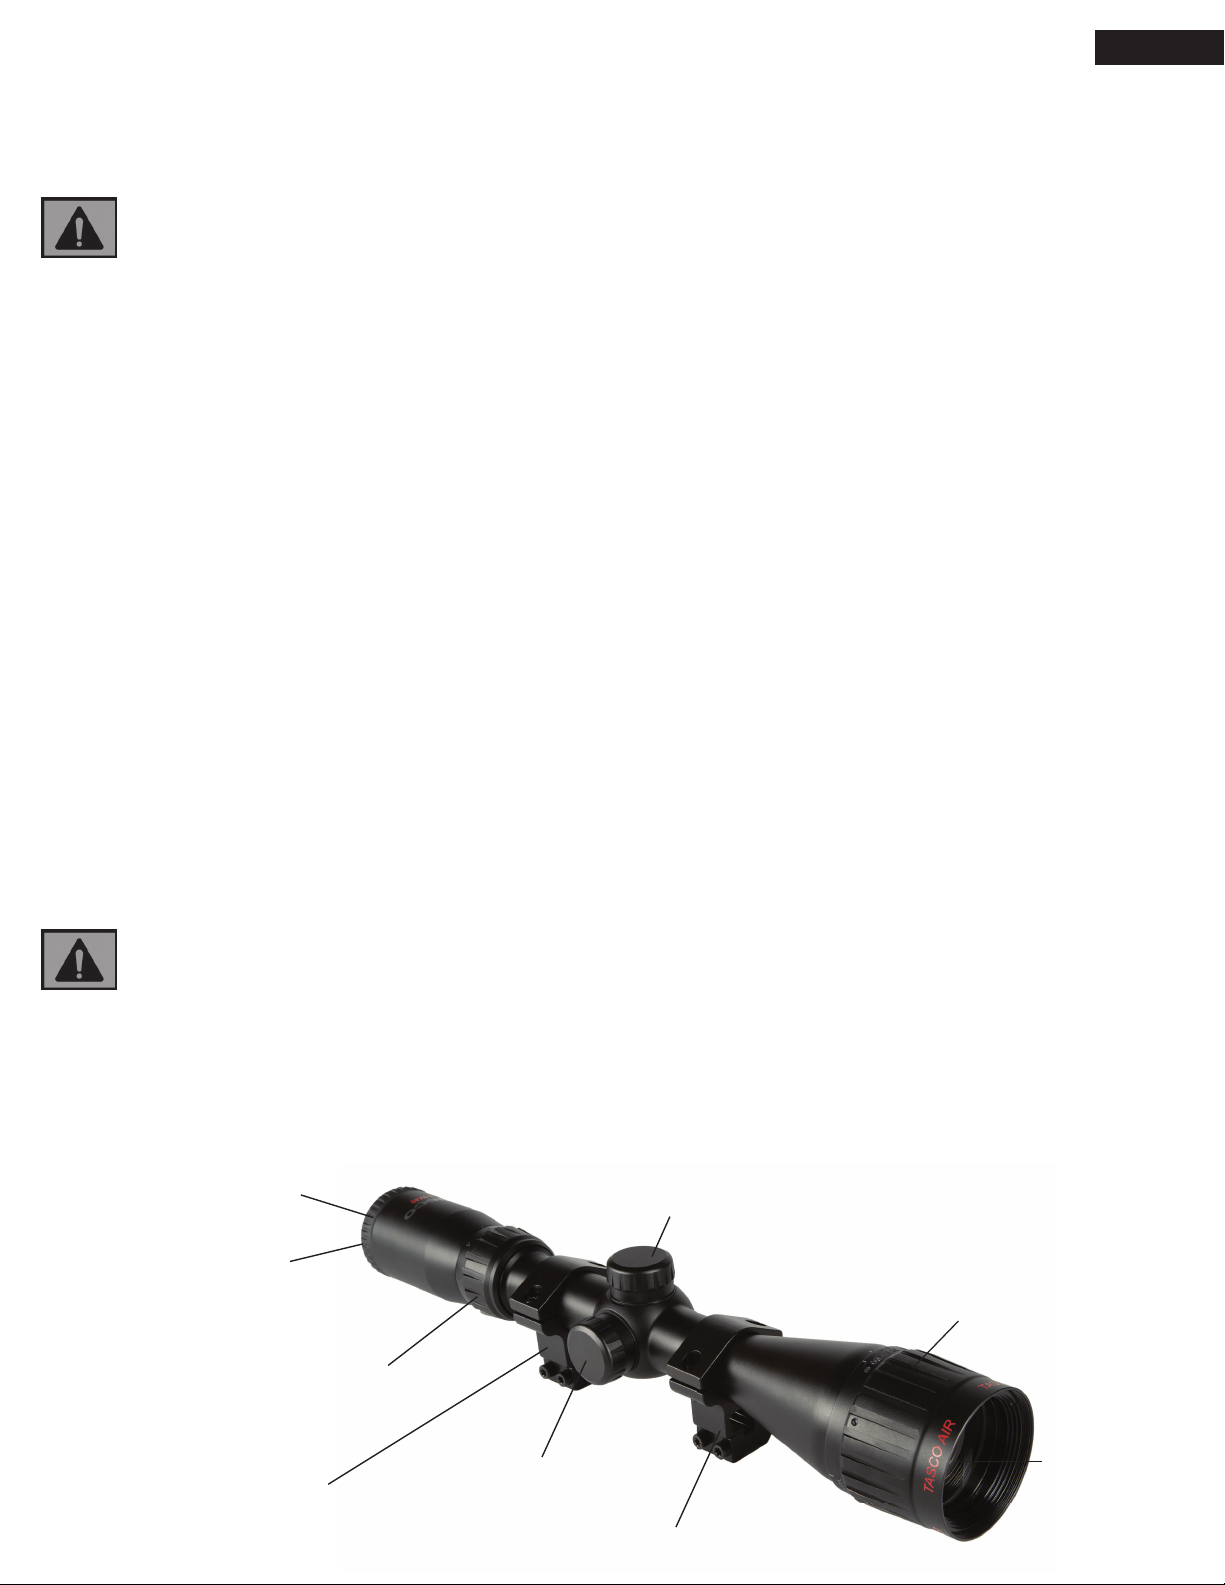
Elevation Adjustment
Windage Adjustment
Ocular Lens
Fast Focus
Eyepiece
Power Change Ring
Objective Lens
Adjustable Objective
Front Mount
Rear Mount w/Stop Pin
ENGLISH
PARTS GUIDE
Loading ...
Loading ...
Loading ...