Loading ...
Loading ...
Loading ...
— 14 —
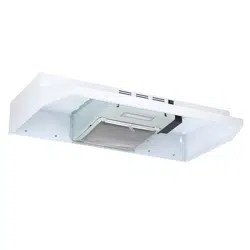
Figure 9
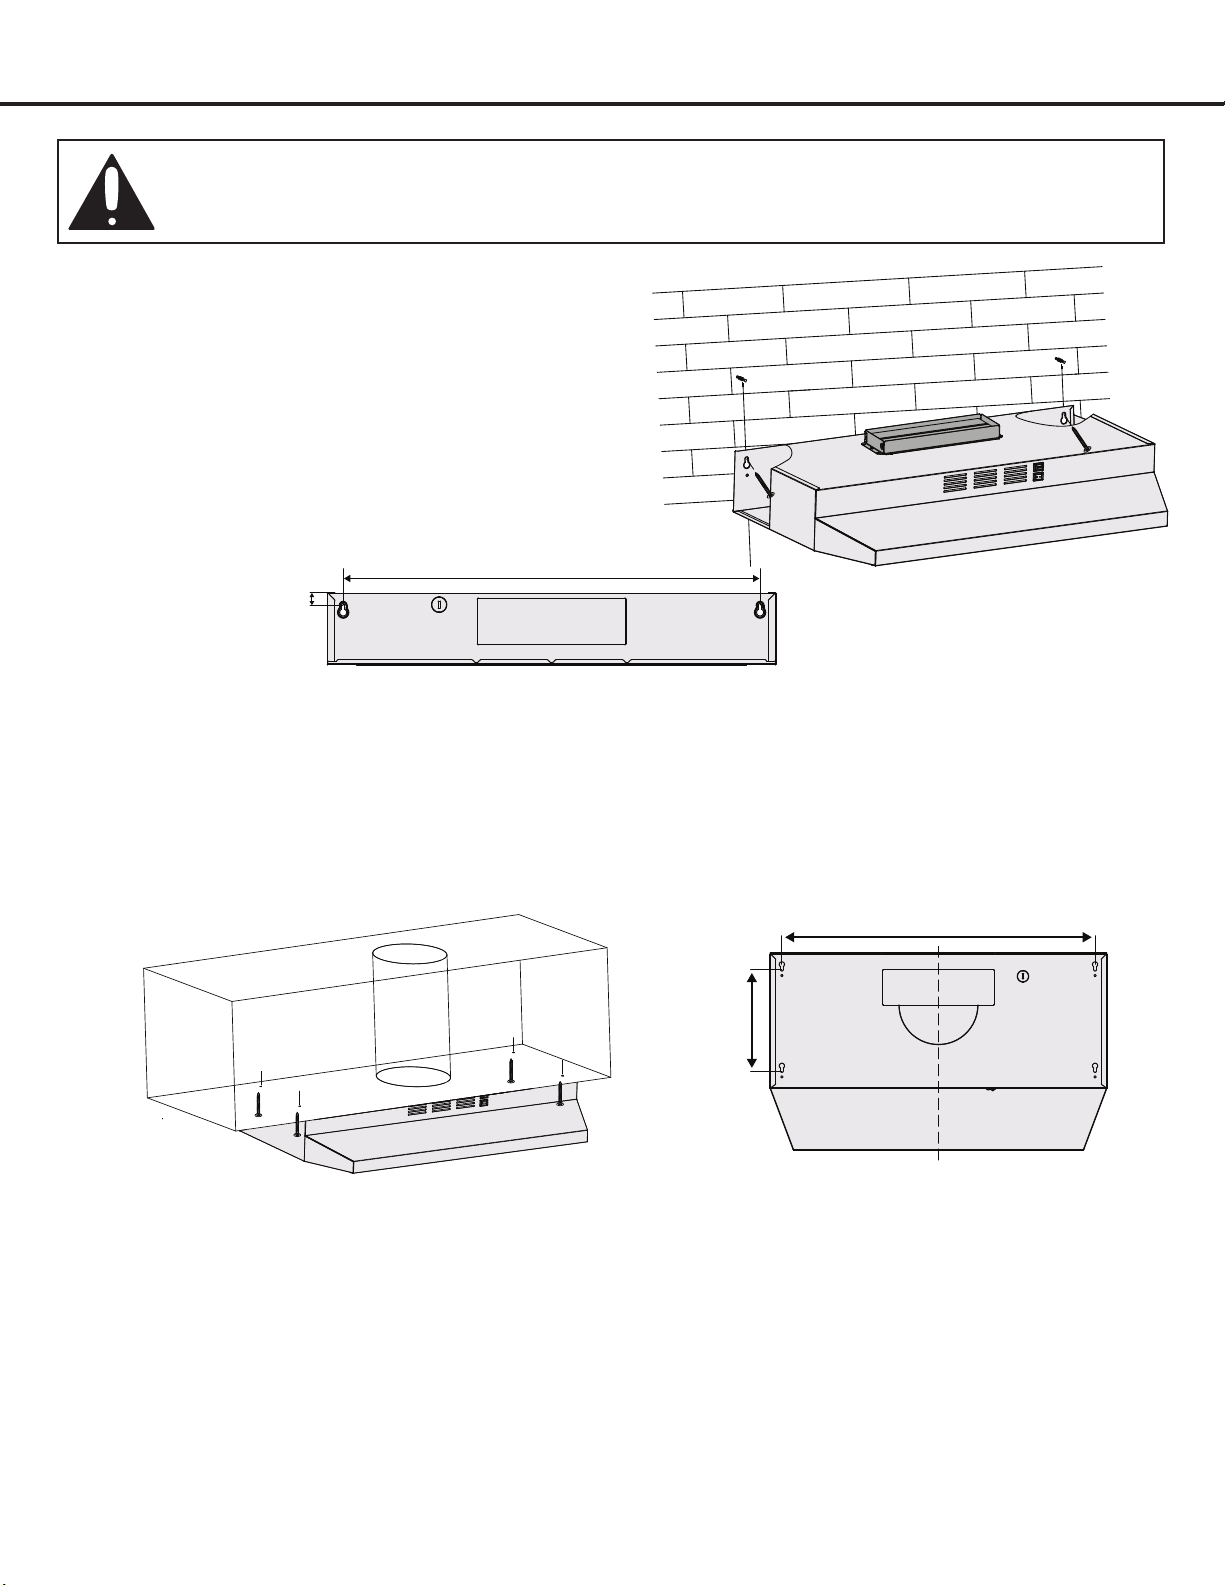
Figure 10
STEP 10A
Wall installation
• Mark or drill a small hole on the mounting position
according to the dimensions on Figure 9.
• Insert suitable screws into the holes.
• Hang the range hood onto the screws.
• For wall installation, please follow step 10A.
• For cabinet installation, please follow step 10B.
STEP 10B
Under the cabinet installation
• Mark or drill a small hole on the mounting position according to the space and dimensions cited on Figure 10.
• Install the hood under the cabinet using suitable screws to x in position.
Installation
27.8” (70.6 cm)
0.81”
(2 cm)
27.8” (70.6 cm)
8.98”
(22.8 cm)
STEP 11 (External Ventilation Only)
Venting
• Depending on exterior ventilation chosen (see page 10), either exit the ducting through the ceiling or wall.
• Alwaysuserigidtypemetal/aluminumducttube(followthebuildingcodesinyourarea)tomaximizeairow.Makesure
thatthebackdraftapscanopen,toallowmaximumairow.Connecttheducttubetothevent/damperandsecurely
seal with certied aluminum or foil tape so that it is airtight. Please check the building codes in your city to learn which
tape product is recommended.
Loading ...
Loading ...
Loading ...