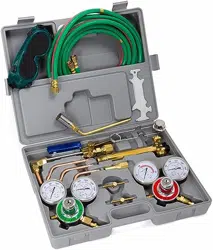
Loading ...
Loading ...
Loading ...
5
3. IMPORTANT: The pressure adjusting screw (18) on the acetylene regulator and the pressure adjusting
screw (A18) on the oxygen regulator should be turned counter-clockwise to relieve pressure on the
regulator diaphragms before opening the cylinder valves. If this is not done, pressure form the cylinders
may damage the diaphragms and render the regulators inoperable.
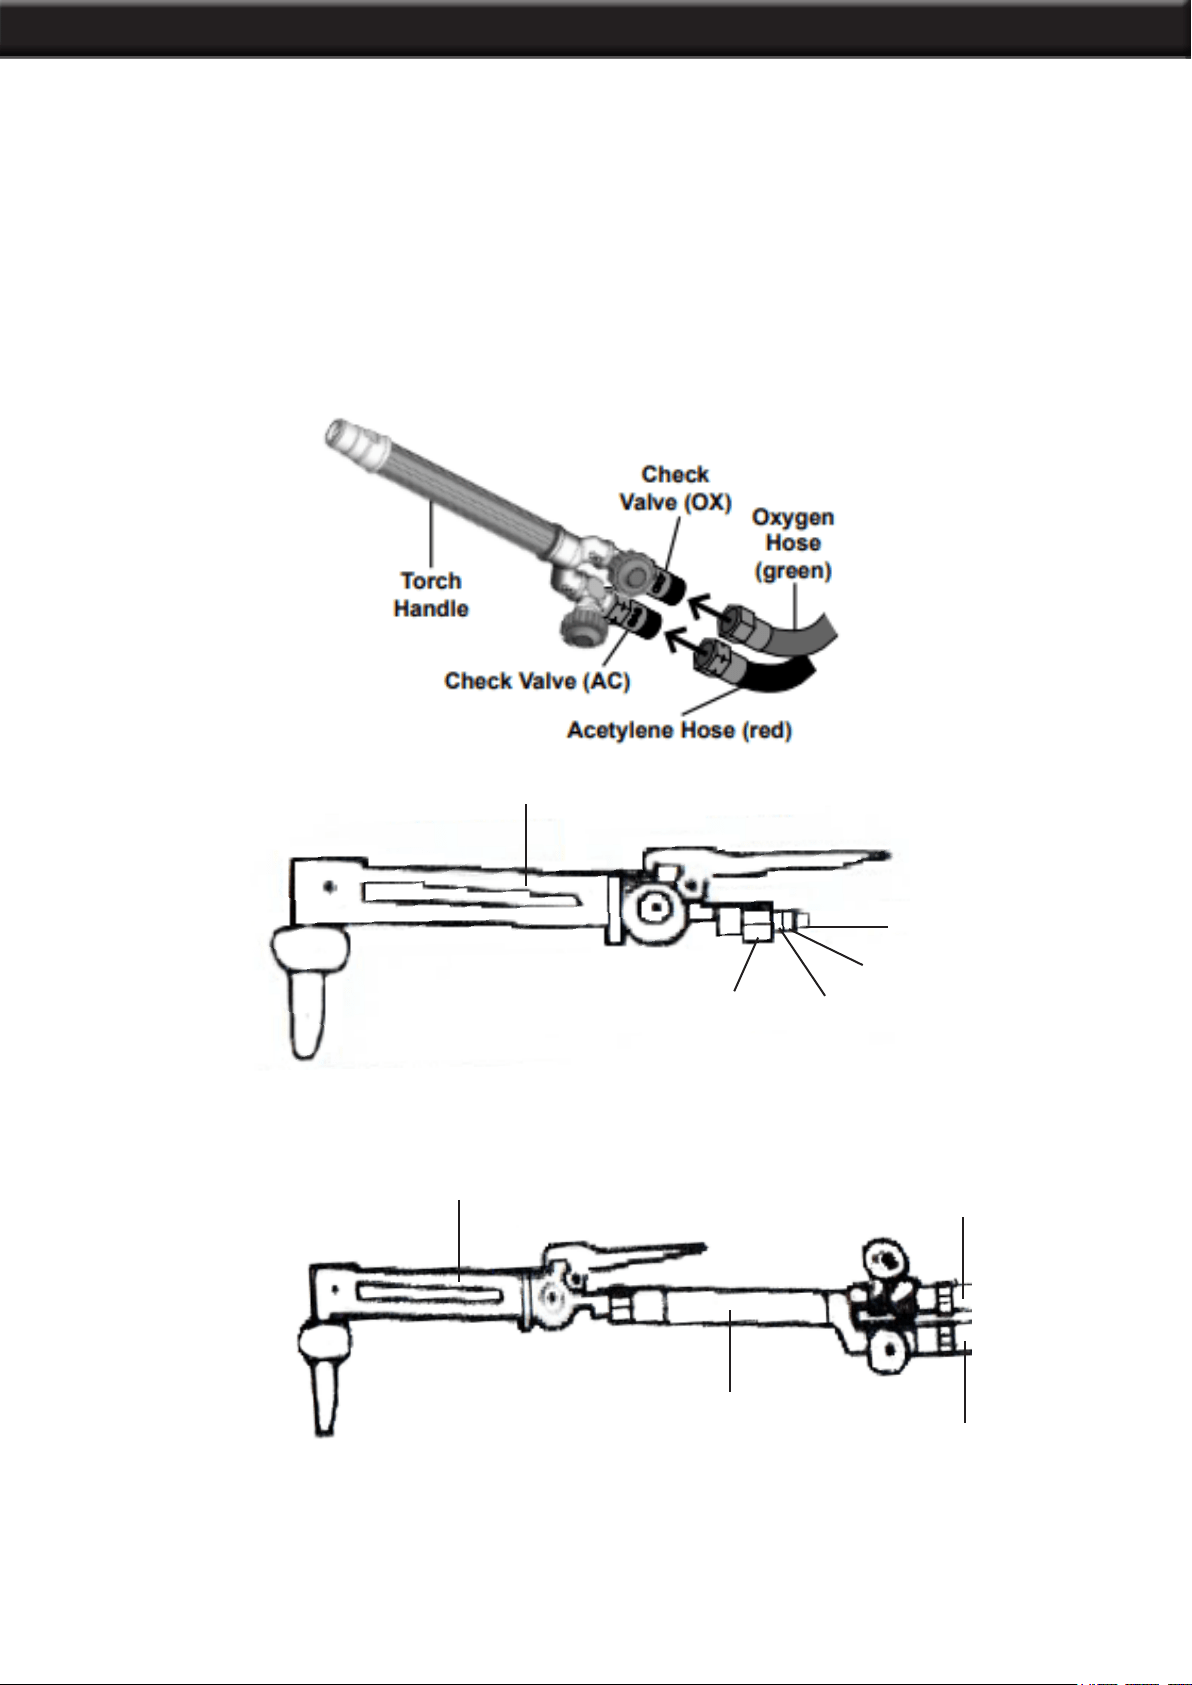
4. Connect the GREEN and RED welding hoses (1A or 1B) to the proper connections on the torch
handle (parts B1-B10)
5. Connect the cutting attachment (C1-C27) to the torch handle (B1-B10) Always check the cone end
(C23) and coupling nut (C22) for damage or oil. If either are found, discontinue use and contact your gas
supplier.
CUTTING ATTACHMENT (C1-C27)
COUPLING
NUT (C22)
O-RING
(C24)
O-RING
(C25)
CONE END (C24)
FIGURE G
GREEN OX
WELDING HOSE (1A)
CUTTING ATTACHMENT (C1-C27)
RED AC WELDING
HOSE (1B)
TORCH HANDLE
FIGURE H
FIGURE F
6. Check connections for leaks. Adjust the acetylene regulator (parts 1-19) and oxygen regulator (parts
A1-A20E) to their normal operating pressure. Use an approved leak detection solution to check for leaks
at the welding hoses (A1 and 1B) and cylinder valve connections. If leaks are fond, tighten nuts more
securely.
ASSEMBLY AND OPERATION
Loading ...
Loading ...
Loading ...