Loading ...
Loading ...
Loading ...
9
3. Attach rear stop (59) to the adjusting block
assemblies (61) with six hex cap screws
(68) and six flat washers (77).
4. Insert a scale rod (58) through each
adjusting block assembly and into cutter bar.
The scales must face up.
5. Secure the scale rods in the cutter bar by
tightening the two hex cap screws (40).
Tighten the rods in the adjusting blocks with
the four knobs (65).
7.4 Electrical connections
Electrical connections must
be made by a qualified electrician in
compliance with all relevant codes. This
machine must be properly grounded to help
prevent electrical shock and possible fatal
injury.
7.4.1 Grounding instructions
This machine must be grounded. In the event of
a malfunction or breakdown, grounding provides
a path of least resistance for electric current to
reduce the risk of electric shock.
The Pneumatic Shear is equipped with a 15 amp
cord and plug set, with a grounding prong. The
plug must be plugged into a matching outlet that
is properly installed and grounded in accordance
with all local codes and ordinances. Do not
modify the plug provided – if it will not fit the
outlet, have the proper outlet installed by a
qualified electrician.
Improper connection of the equipment-
grounding conductor can result in a risk of
electric shock. The conductor with insulation
having an outer surface that is green with or
without yellow stripes, is the equipment-
grounding conductor. If repair or replacement of
the electric cord or plug is necessary, do not
connect the equipment-grounding conductor to a
live terminal.
Check with a qualified electrician or service
personnel if the grounding instructions are not
completely understood, or if in doubt as to
whether the tool is properly grounded. Repair or
replace a damaged or worn cord immediately.
Use only 3-wire extension cords that have 3-
prong grounding plugs and 3-pole receptacles
that accept the machine’s plug. As received from
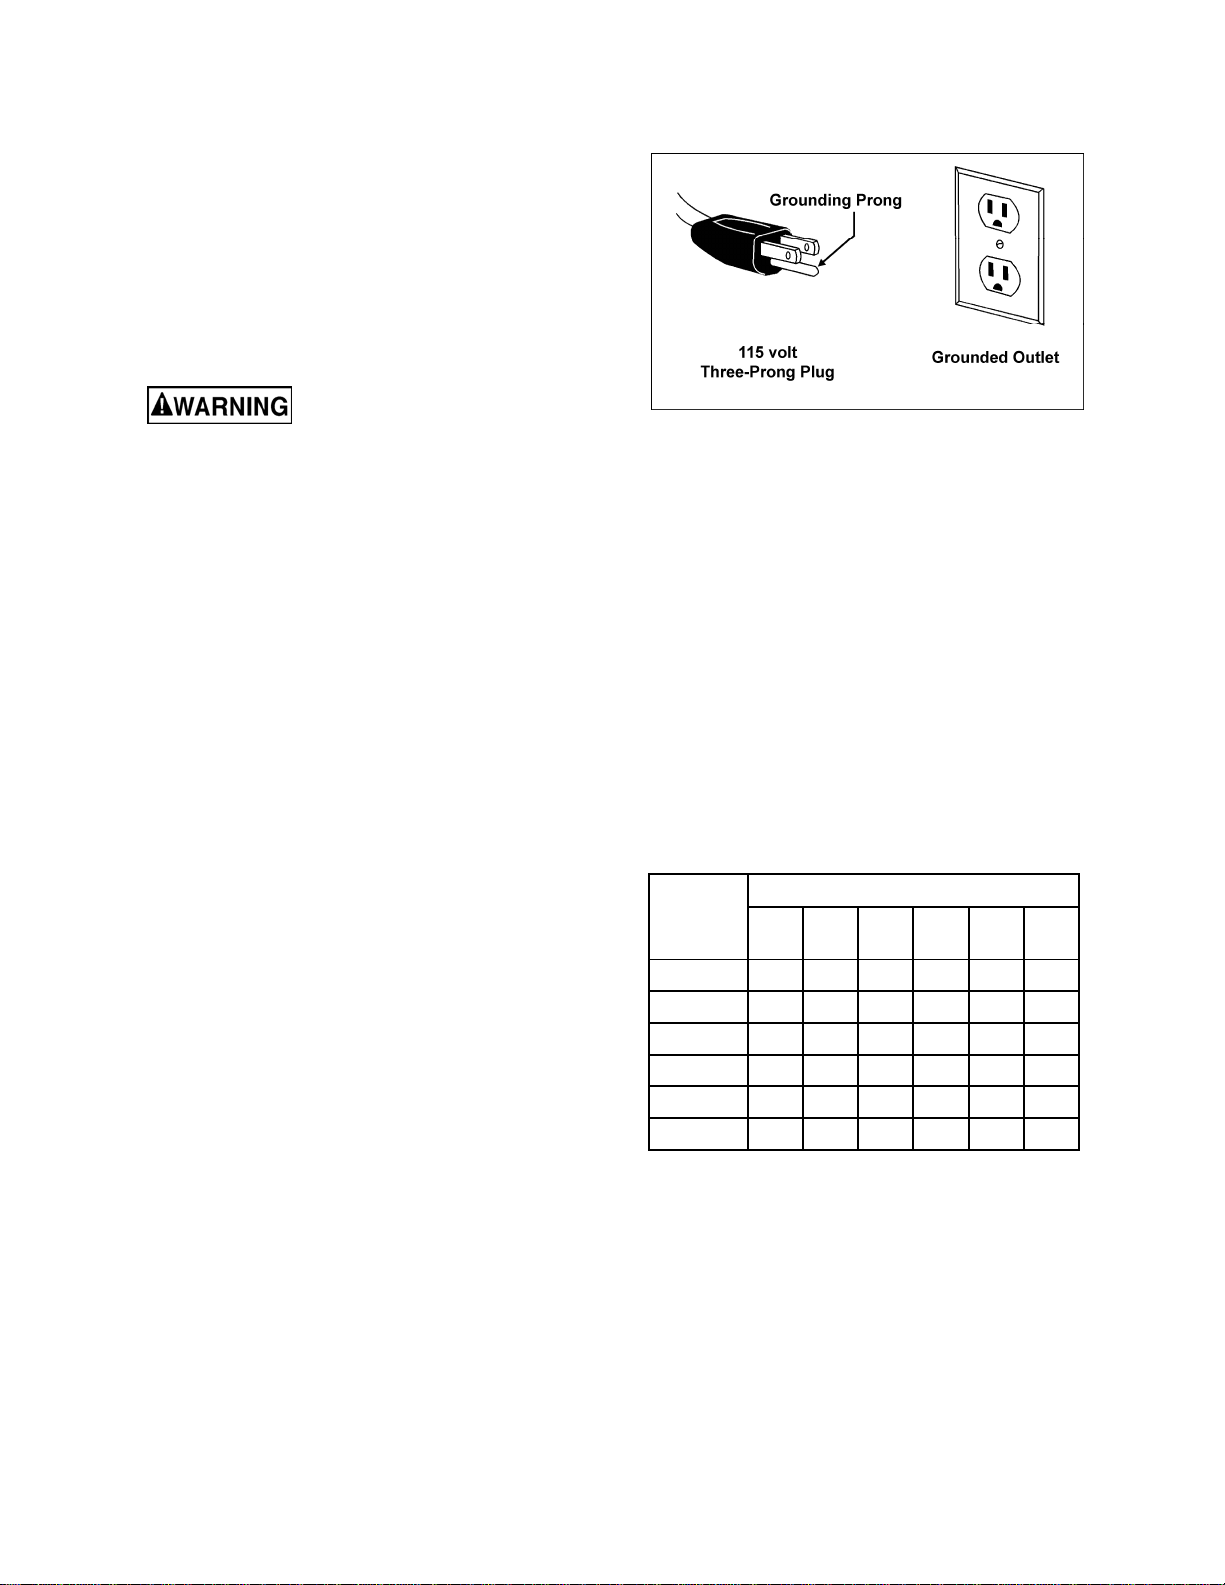
the factory, your shear is ready to operate at
115-volt operation. This shear, when wired for
115 volt, is intended for use on a circuit that has
an outlet that looks like the one illustrated in
Figure 3. The tool has a grounding plug that
looks like the plug illustrated in Figure 3.
Make sure your power supply matches the
information on the specification plate of the
machine.
Figure 3
7.4.2 Extension cords
The use of an extension cord is not
recommended. Try to place shop equipment
within reach of the power source. If an extension
cord becomes necessary, make sure the cord
rating is suitable for the amperage listed on the
machine’s motor plate. An undersized cord will
cause a drop in line voltage resulting in loss of
power and overheating.
Use the chart in Figure 17 as a general guide in
choosing the correct size cord. If in doubt, use
the next heavier gauge. The smaller the gauge
number, the heavier the cord.
Recommended Gauges (AWG) of Extension
Cords
Amps
Extension Cord Length *
25
feet
50
feet
75
feet
100
feet
150
feet
200
feet
< 5 1
6
1
6
1
6
14 1
2
1
2
5 to 8 1
6
1
6
14 1
2
10 N
R
8 to 1
2
14 14 1
2
10 N
R
N
R
12 to 15 1
2
1
2
10 10 N
R
N
R
15 to 20 10 10 10 N
R
N
R
N
R
21 to 30 10 N
R
N
R
N
R
N
R
N
R
*based on limiting the line voltage drop to 5V at 150% of the
rated amperes.
NR: Not Recommended.
Table 1
Loading ...
Loading ...
Loading ...