Loading ...
Loading ...
Loading ...
1312
Usage instructions.
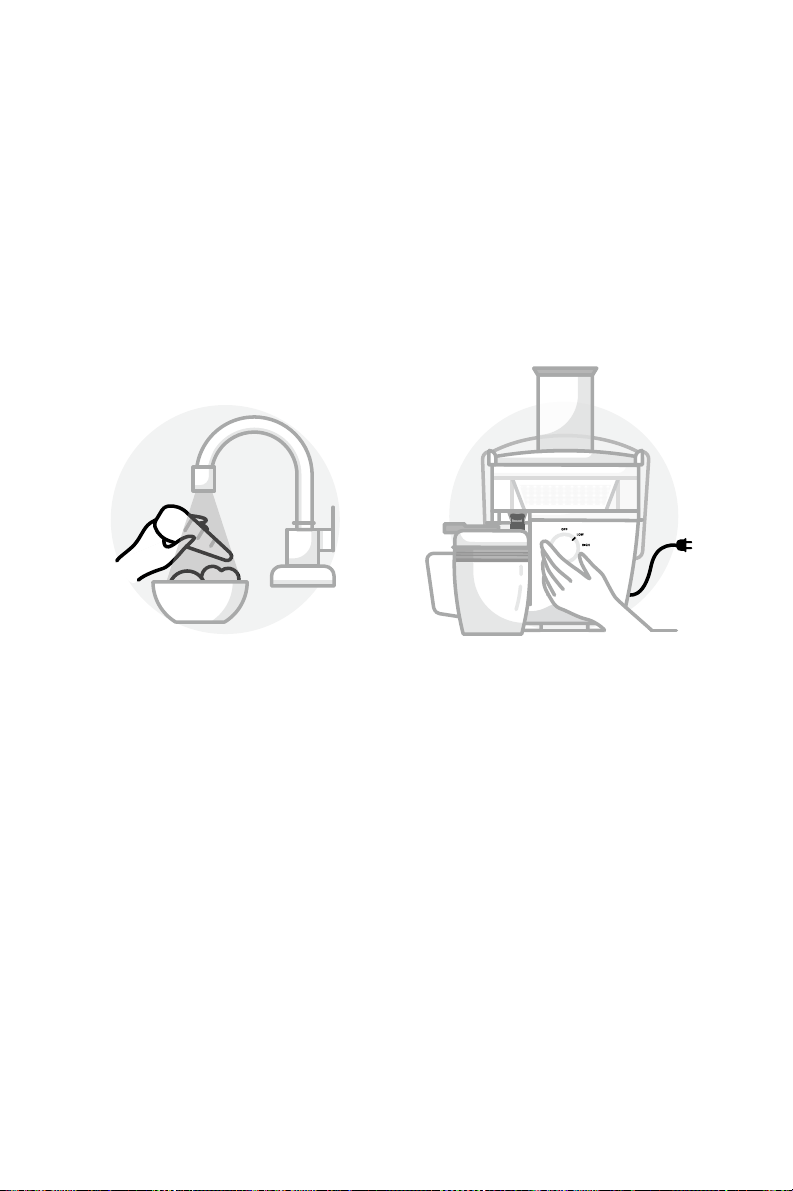
1 Gather all of your desired
ingredients and wash them.
Prepare the ingredients
to be juiced by cutting,
skinning, or removing the
rind, stems, or stone seeds.
2 After the juicer is fully
assembled, plug the power
cord into an outlet. Use
the Dual-Speed Control
Dial to select a speed to
begin juicing. You can
toggle between speeds as
desired depending on the
type of produce. (Refer to
the chart on page 16 for
recommended speeds for
dierent types of produce).
5 Raise the Locking Handle
and move it into the "ears" on
each side of the Basin Cover.
The Locking Handle should
be in a vertical position and
locked into place.
NOTE: if the Locking Handle is not
securely in place, the juicer will
not power on.
6 Swing the No-Drip Spout
cover up vertically, so that
it is no longer covering the
juice spout.
7 Place the Juice Pitcher
Lid on top of the Juice
Pitcher and open the
locking lid latch.
8 Slightly angle the Juice
Pitcher and place it under
the juice spout. Align the
spout with the hole in the
Juice Pitcher Lid and level
out the Juice Pitcher It will
fit snuggly into the spout to
hold it in place.
Loading ...
Loading ...
Loading ...