Loading ...
Loading ...
Loading ...
42
BEFORE YOU CALL
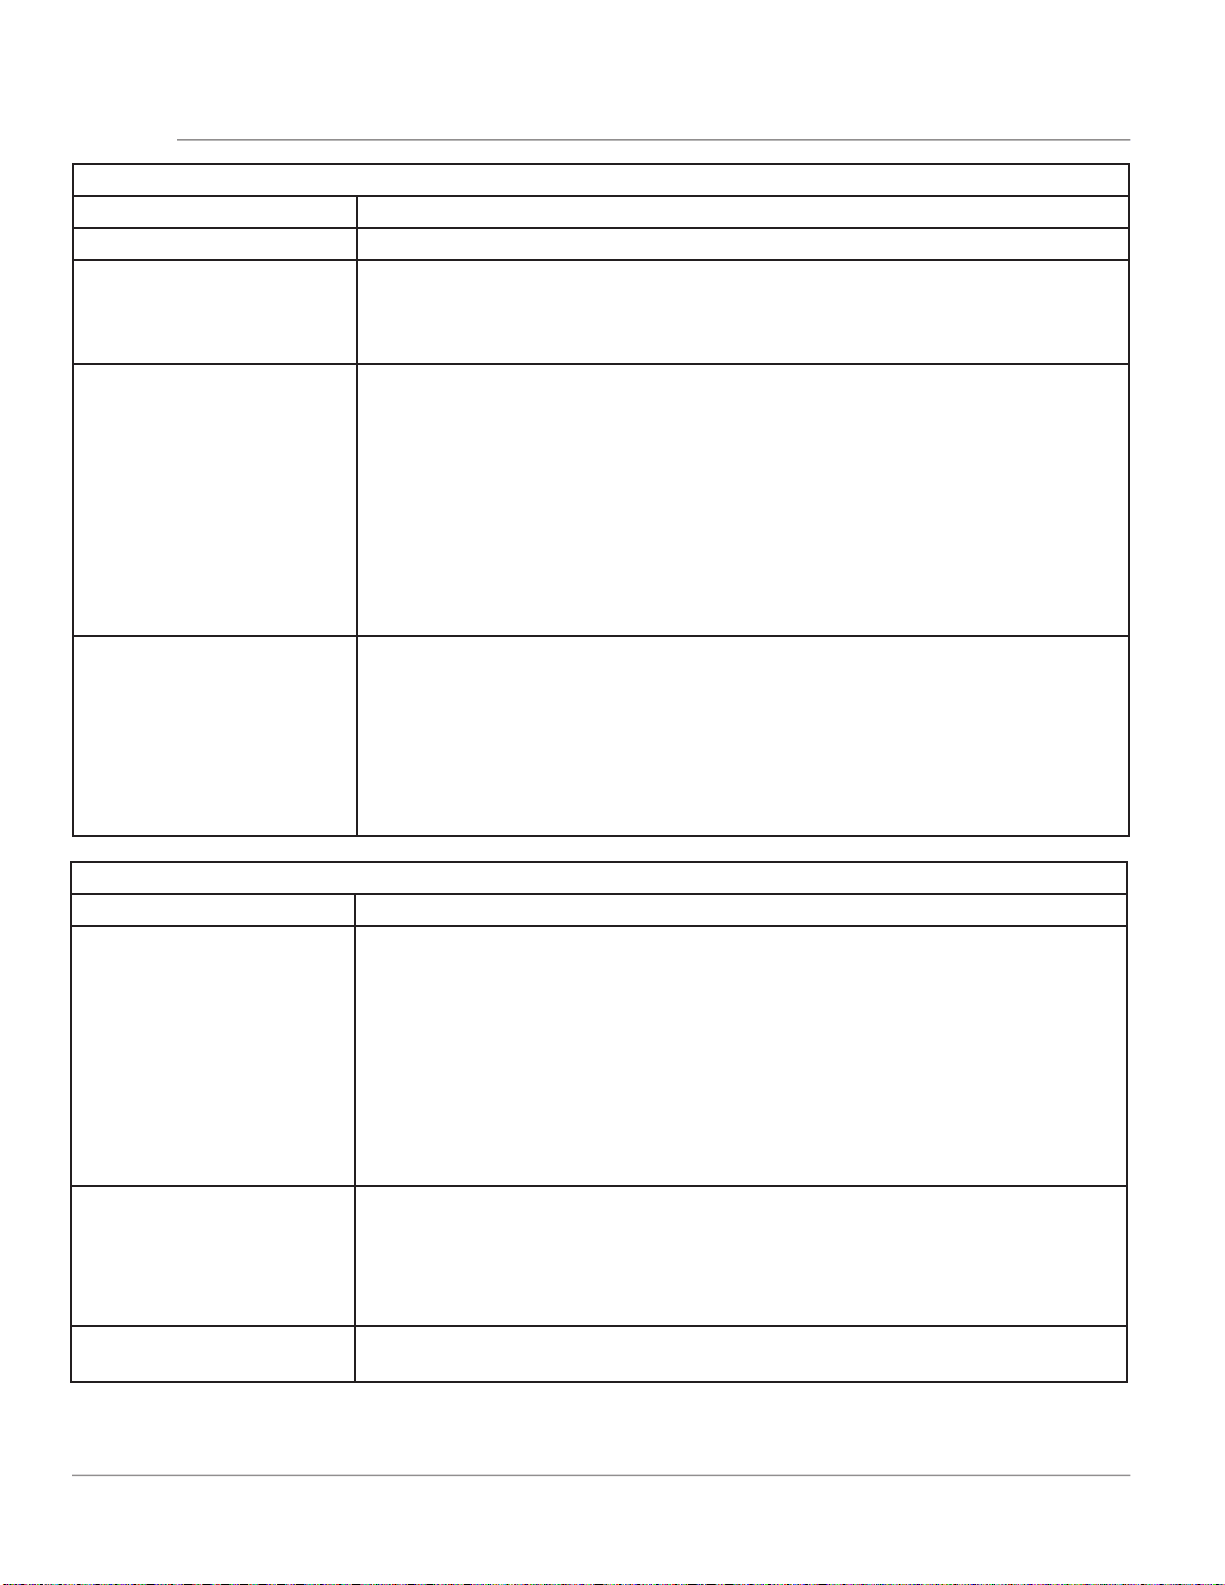
Other Problems
Problem Cause / Solution
Appliance is not level. Be sure the floor is level, strong, and stable enough to adequately support
the range.
If the floor is sagging or sloping, contact a carpenter to correct the situa-
tion.
Poor installation. Place the oven rack in the center of the oven. Place a level
on the oven rack. Adjust the leveling legs at the base of the appliance until
the rack is level.
Kitchen cabinet alignment may make range appear not level. Be sure cabi-
nets are square and have sucient room for appliance clearance.
Cannot move appliance
easily. Appliance must be
accessible for service.
Cabinets not square or are built in too tightly. Contact the builder or install-
er to make the appliance accessible.
Carpet interferes with appliance. Provide sucient space so the appliance
can be lifted over carpet. Installation over carpet is not advised. See the
installation instructions for guidelines specific to your appliance.
Oven light does not work. Be sure the oven light is secure in the socket. See “Replacing the Oven
Light” on page 37
Self-Clean Problems
Problem Cause / Solution
Self clean does not work. Oven control not set properly. See “Setting Self Clean” on page 28.
Oven racks discolored or
do not slide easily.
Oven racks left in oven cavity during self clean. Remove oven racks from
oven cavity before starting a self-clean cycle. Clean by using a mild abrasive
cleaner following manufacturer's instructions. Rinse with clean water, dry,
and replace in oven.
Soil not completely re-
moved after self clean.
Self clean was interrupted. Review instructions on “Self Cleaning” on page
27.
Excessive spills on oven bottom. Remove excessive spills before starting self
clean.
Failure to clean soil from the oven frame, the door liner outside the oven
door gasket, and the small area at the front center of the oven bottom.
These areas are not in the self-cleaning area, but get hot enough to burn on
residue. Clean these areas before starting the self-cleaning cycle. Burned-on
residue can be cleaned with a sti nylon brush and water or a nylon scrub-
ber. Be careful not to damage the oven gasket.
The oven control display
shows "SPr" and self-clean
is not working.
The cooktop should not be used during a self-clean cycle. On some models,
turning on any cooktop surface burner will cause the clean cycle to cancel.
If the clean cycle is canceled, the oven control display will show “SPr" for 5
seconds. The oven door will remain locked until the oven has cooled down
below cleaning temperature. If the oven is below cleaning temperature, the
user can start another clean cycle immediately. If the oven is in cleaning
temperature range, another self-clean cycle can be set once the door un-
locks (up to 4 hours).
Loading ...
Loading ...