The Importance of Using A Water Flosser
We all understand the importance of brushing your teeth daily. It’s also important to floss as well, to reach stubborn tartar and
leftover food between teeth that can cause gum problems. Daily dental flossing can prevent that from happening. A water
flosser, also known as an oral irrigator, can also be a great addition to your flossing routine.
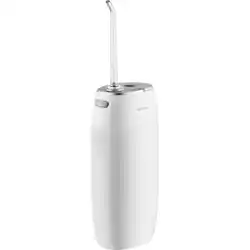
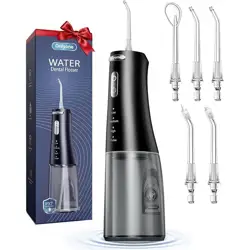
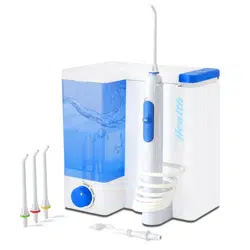
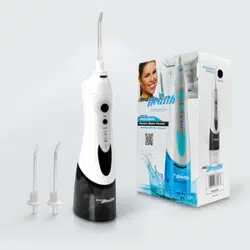
What Is a Water Flosser?
A water flosser is an oral irrigation device that directs a stream of water between your teeth and gums, removing food debris,
plaque and bacteria. Combined with daily flossing, an oral irrigator enhances your daily oral routine. Plus, it’s a gentle yet
effective way to clean crowns, braces, bridges, and dental implants.
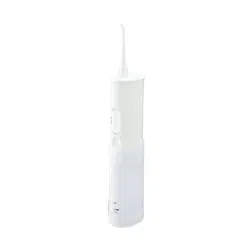
How to Use a Water Flosser
Using a water flosser like the Oral-B Water Flosser Advanced Cordless Irrigator, before brushing and flossing can loosen
leftover food, making it easier to remove later using string floss. Used after brushing and flossing, a water flosser can wash
away remaining food in hard-to-reach places. The Oral-B Water Flosser also takes your clean to the next level—targeting and
helping eliminate plaque bacteria* below the gum line helping to keep gums healthy. It’s very easy to use. Just follow these
simple steps:
1. Supply the water source — This may mean connecting it to the water tap or filling the reservoir with lukewarm
water.
2. Placement — Place the nozzle in your mouth and, starting with your molars, hold the irrigator away from your teeth
and gums rather than directly against them. You may want to lean over the sink now, so you don’t splash water on
your countertop when you turn it on.
3. Select pressure setting and turn on — There will be either an on-button or a dial that adjusts the water pressure. Start
with the lowest pressure setting and work your way up. Make sure the pressure is high but comfortable. You can
close your lips to prevent the water splashing but be sure to allow the water to drain out into the sink.
4. Follow gum line — Going tooth-by-tooth, direct the water at your gum line and areas between teeth. Aim for the top
of the tooth, baseline of the gum, and the space between each tooth. Hold the water over each tooth for about two
seconds, repeating the process on the inside and outside of your teeth until your whole mouth is treated. It should
take you about two minutes to complete.
5. Empty the reservoir — Once you’re done, turn off the device, remove the nozzle and drain the remaining water.
Leaving stale water in your reservoir can cause bacteria to grow.
6. Clean your device — Remember to rinse your water flosser’s reservoir after every session, to ensure it is hygienic.
Be sure to follow a complete oral care routine to get the most out of your Oral-B Water Flosser:
Brush at least twice a day or after meals with an electric toothbrush like the Oral-B iO Series to remove up to 100%
more plaque than a regular manual.
Floss at least once every day with string floss and supplement it with the Oral-B Water Flosser to further clean away
any leftover plaque bacteria and food particles.
See your dental professional once every 6 months for professional cleanings and checkups.

From Oral-B, the #1 dentist-recommended toothbrush brand, worldwide.
*Helps reduce plaque bacteria and inflammatory components associated with gingivitis, when used as an adjunct to brushing,
flossing and regular professional care.