Loading ...
Loading ...
Loading ...
16
ASSEMBLY
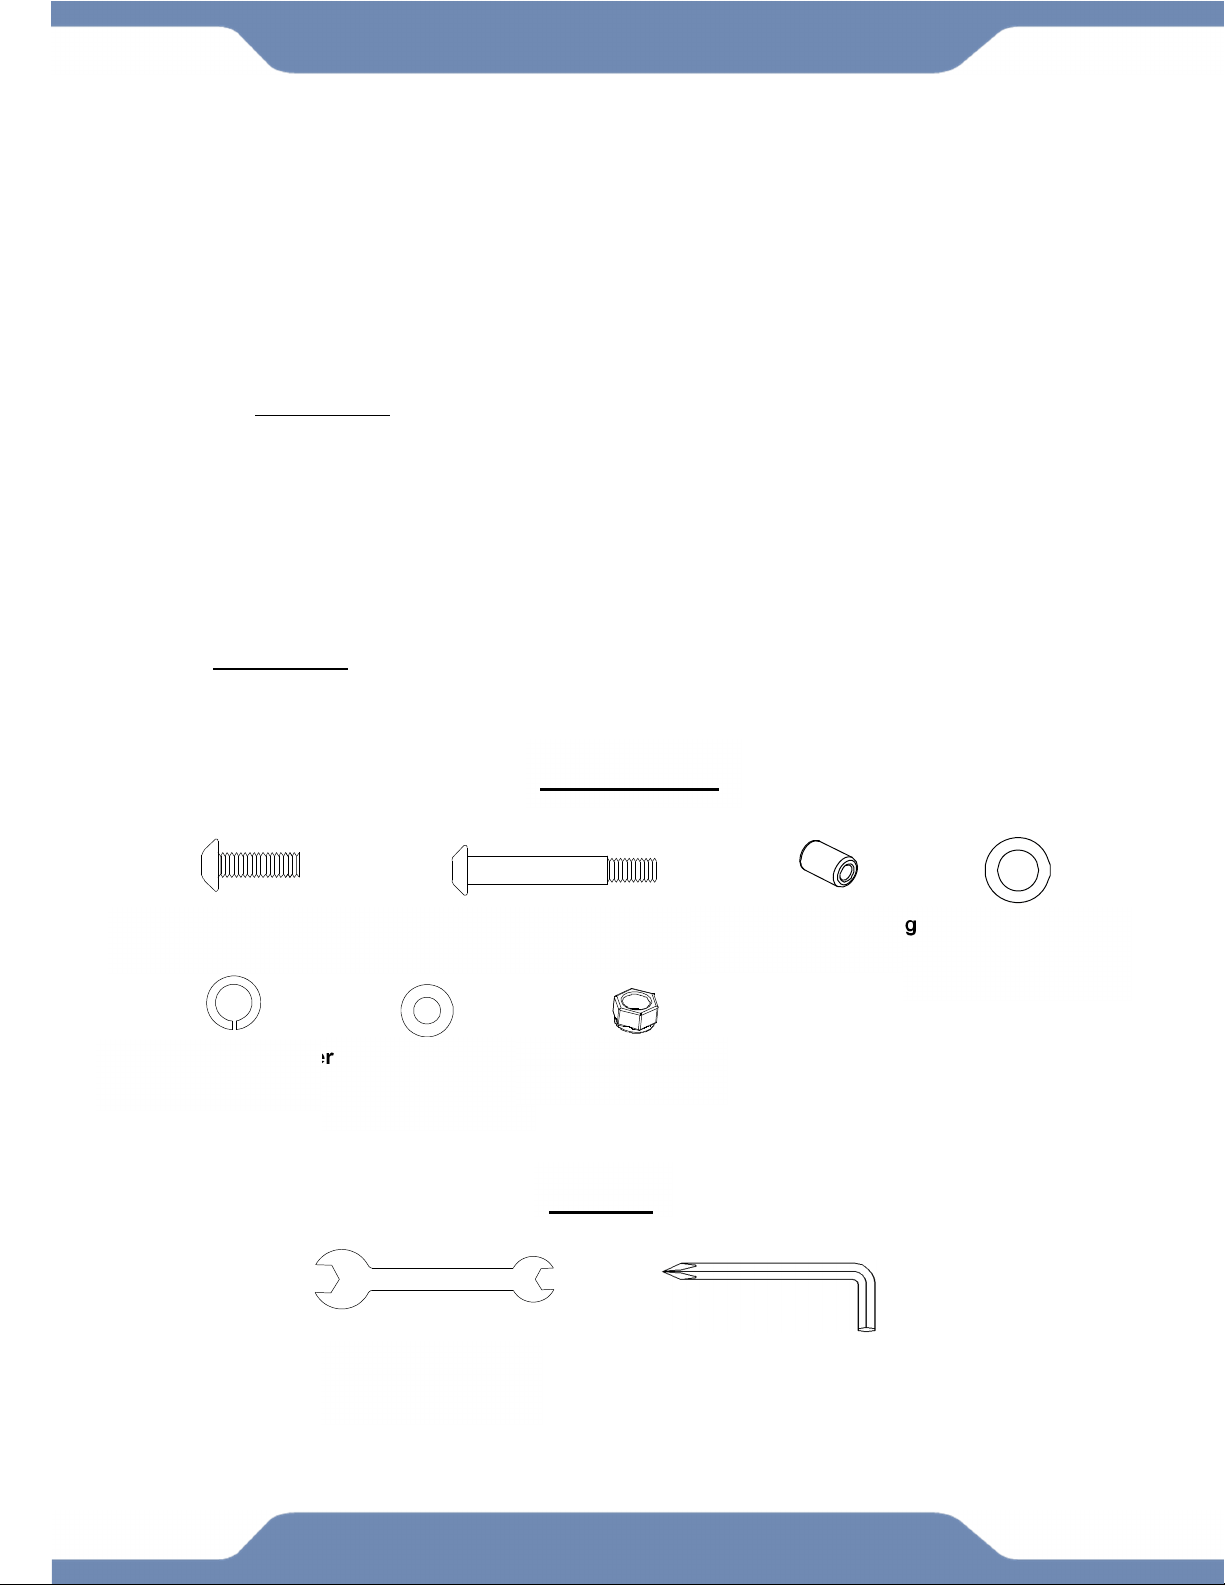
TOOLS
13-15mm Wrench
1 PC
STEP 6
6A. Installing the Desk: Align the bolt holes of the U shaped bracket on the underside of the
Desk (88) with the holes on the bracket at the top of the Desk Mount (87) and insert one Plastic
Bushing (92) into the bracket of the Desk Mount (87) as shown in Figure F. Insert one Hexagon
Socket Bolt (97) one Flat Washer (114) through the brackets and Bushing (92). On the
protruding end of the Hexagon Socket Bolt (97) insert one Flat Washer (33) and one Nylon Nut
(34) and one Flat Washer (114). Tighten the Nylon Nut (34) with the 13-15mm Wrench provided.
6B. Installing the Pulse Wires: Insert the Slide Knob (95) onto the underside of the Desk (88)
by twisting it CLOCKWISE. Connect the Connection Wire B (99) from the Desk Mount (87) to
the Upper Hand Pulse Wire (110B). See Figure G. Connnect the Console Wire (112) to the
Upper Console Wire (110A). See Figure H.
6C. Installing the Desk: Set the Desk (88) flat on the Desk Mount (87) and assemble the Desk
(88) angle adjustment by inserting one Hexagon Socket Bolt (103) with one Spring Washer (102)
and one Flat Washer (33) into the left side of the Desk Mount (87). Tighten the Hexagon Socket
Bolt (103) with the 5mm Allen Wrench with Phillips Screwdriver provided. Insert the Desk
Adjustment Knob (94) into the hole on the right side of the Desk Mount (87) and tighten it by
turning it CLOCKWISE until snug.
(97) Hexagon Socket Bolt
1PC
(103) Hexagon Socket Bolt
1PC
(102) Spring Washer
1 PC
(33) Flat Washer
2 PCS
(34) Nylon Nut
1 PC
(92) Plastic Bushing
1PC
(114) Flat Washer
1 PC
HARDWARE
5mm Allen Wrench
With Phillips Screwdriver
1 PC
Loading ...
Loading ...
Loading ...