Loading ...
Loading ...
Loading ...

3.2 Providing Power to Code Reader
Before using the code reader, make sure to provide power to the code reader.
The unit operates on any of the following sources:
•12-Volt vehicle power
•USB connection to personal computer
3.2.1 Connetcing to Vehicle Power
The code reader normally powers on whenever it is connected to the data link connector(DLC).
To connect to vehicle power:
1. Turn the ignition o.
2. Locate the data link connector (DLC). The DLC is generally located under the dash on the drievr side
of the vehicle.
3. Connect the code reader with the DLC
4. Switch the ignition key to the ON position.
5. The code reader auto matically boots up.
3.2.2 Connecting to Personal Computer with USB Cable
The Code Reader also receives power through the USB po when it is connected to a PC for updating
software and transferning saved les.
1. Inse the small end of the USB cable to the USB Po at the right side of the code reader and the
large end to computer.
2. Press the power switch of the code reader to power it on.
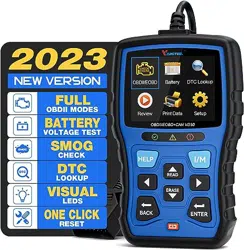
3.3 Application Oveiew
When the code reader boots up, the Home screen opens. This screen shows all applications loaded
on the unit.
Following applications are preloaded into the code reader:
•OBDII/EOBD- Shows OBDII screens for all 9 generic OBD System tests.
•Batte- Shows screen that tests and displays voltage of batte of vehicle.
•DTC Lookup- Shows screens for diagnostic trouble code lookup.
•Review- Shows screens for access to tested data les.
•Print Data- Shows screens for access to printing function.
OBDII / EOBD+CAN VD30 Code Reader User Manual
4
IMPORTANT
Never t to provide power for the code reader from USB cconnection when the code reader is
communicating with a vehicle.
Loading ...
Loading ...
Loading ...