Loading ...
Loading ...
Loading ...
-8-
▶ Purposes of Guide Fences
The Bosch planer guide fences all have a
protective shield that covers the unused
section of the blade. Therefore, we
recommend always attaching a planer
guide fence (except in situations when
the planing takes place farther in from
the edge of a workpiece than the width
of the planer blade and would interfere
with the work).
All of the Bosch planer guide fences can
be used to control the width of the cut,
such as when creating rabbets (See
page 12).
All of the Bosch planer guide fences also
provide added stability when planing
materials that are up to 3-1/4" wide.
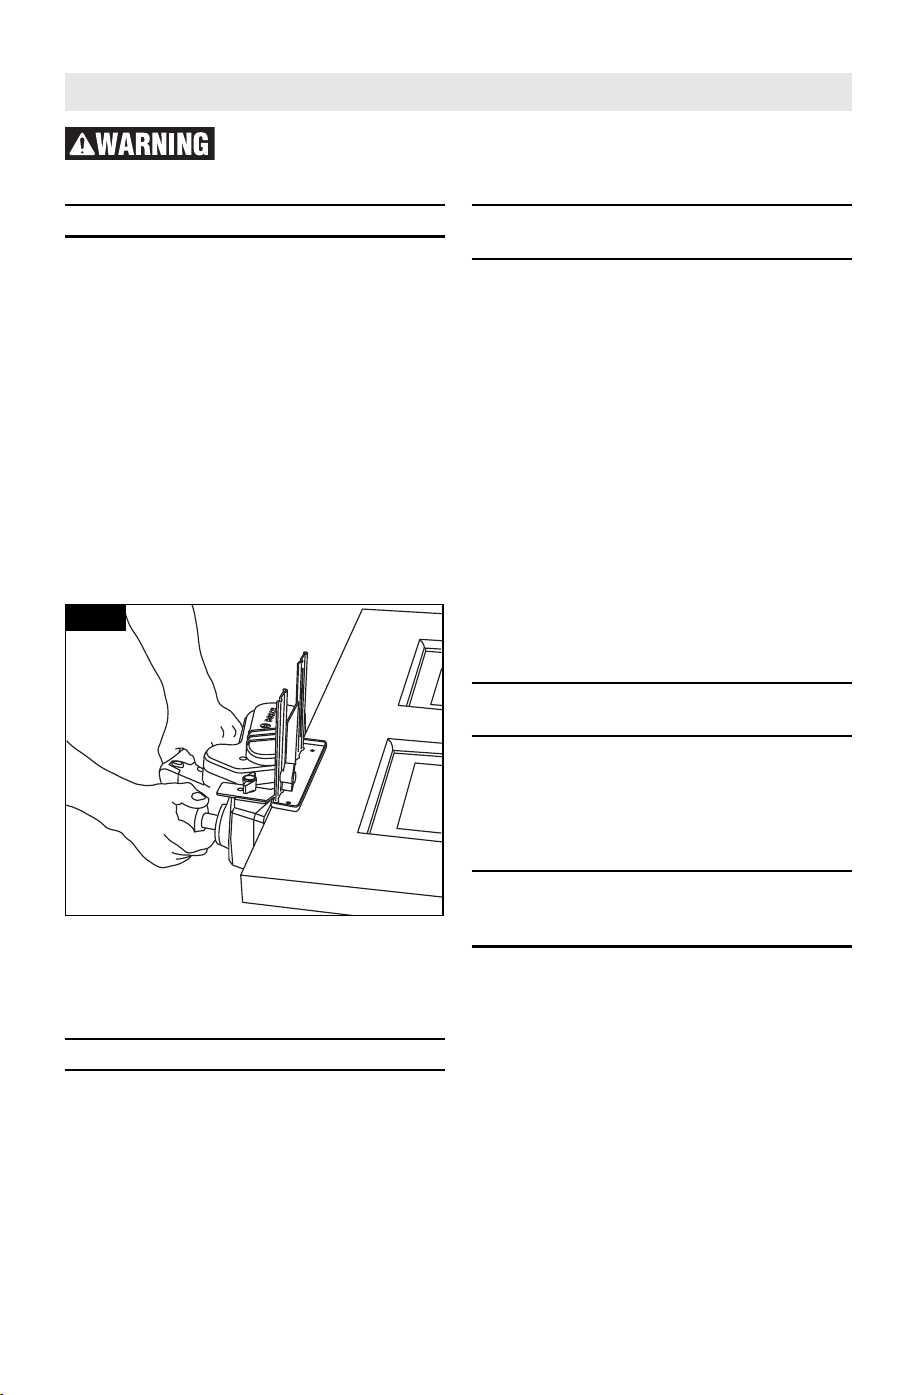
The optional dual-mount guide fence is
especially helpful when planing a
vertical edge, such as when planing an
un-mounted door that is laid flat, such
as on saw horses. (Fig. 2)
▶ Positioning of Guide Fences
For right-handed use, the guide fence
should be installed on the left side of
the tool. For left-handed use, the guide
fence should be installed on the right
side of the tool, except when using the
planer to create rabbets, which requires
the guide fence to be installed on the
left side of the tool.
▶ Installation of Basic Guide
Fence
1. Place a wing screw through the
bottom hole in the long end of the
bracket and screw into the front
mount on the appropriate side of the
planer and securely tighten wing
knob. (The O-ring should be on the
backside of the bracket and the flat
washer between the back of the knob
and the front side of the bracket.)
2. Place the bolt through the top of the
hole on the short end of the bracket
and then through the slot in the
appropriate arm of the fence. Place
the flat washer on the bottom of the
bolt below the guide fence’s arm and
then install wing knob. If the washer
is not installed, the guide fence is
likely to slip.
3. Securely tighten wing knob.
▶ Installation of Dual-Mount
Guide Fences
• This is the same as installing the
Basic Guide Fence, except that both
brackets are attached to the planer’s
front mount area and rear mount area
(Fig. 1).
▶ Attachment of Plastic
Overshoe to Dual-Mount
Guide Fences
• There are two plastic overshoes that
can be used with the dual-mount
fence, a straight overshoe and 3-
degree overshoe (sold separately).
• The PA1209 3-degree bevel plastic
overshoe is especially useful when
planing the long edges of typical
doors.
• The overshoes clip onto the steel fence.
• To remove either overshoe, gently
pull tabs on overshoe away from the
fence and then move overshoe
upward (Fig. 2a).
Assembly
Fig. 2
Disconnect the plug from the power source before making any
assembly, adjustments or changing accessories. Such preventive safety
measures reduce the risk of starting the tool accidentally.
2610052960.qxp_PL2632 7/17/19 8:53 AM Page 8
Loading ...
Loading ...
Loading ...