Loading ...
Loading ...
Loading ...
19
Media Bed LED Replacement
WARNING: If the rebox was operating prior to servicing, allow at least 10 minutes for the heating elements to cool
off to avoid accidental burning of skin.
WARNING: Disconnect power before attempting any maintenance to reduce the risk of electric shock or injury to
persons.
Tools Required: Phillips-Head Screwdriver
Suction Cup (if available)
1. Remove front glass bracket(s) (Figure 1, page 10).
2. Tilt the front glass outward and lift to remove it. Set it in a safe place for the duration of the service (Figure 2, page 10).
3. Remove the media and put it aside for the duration of the service.
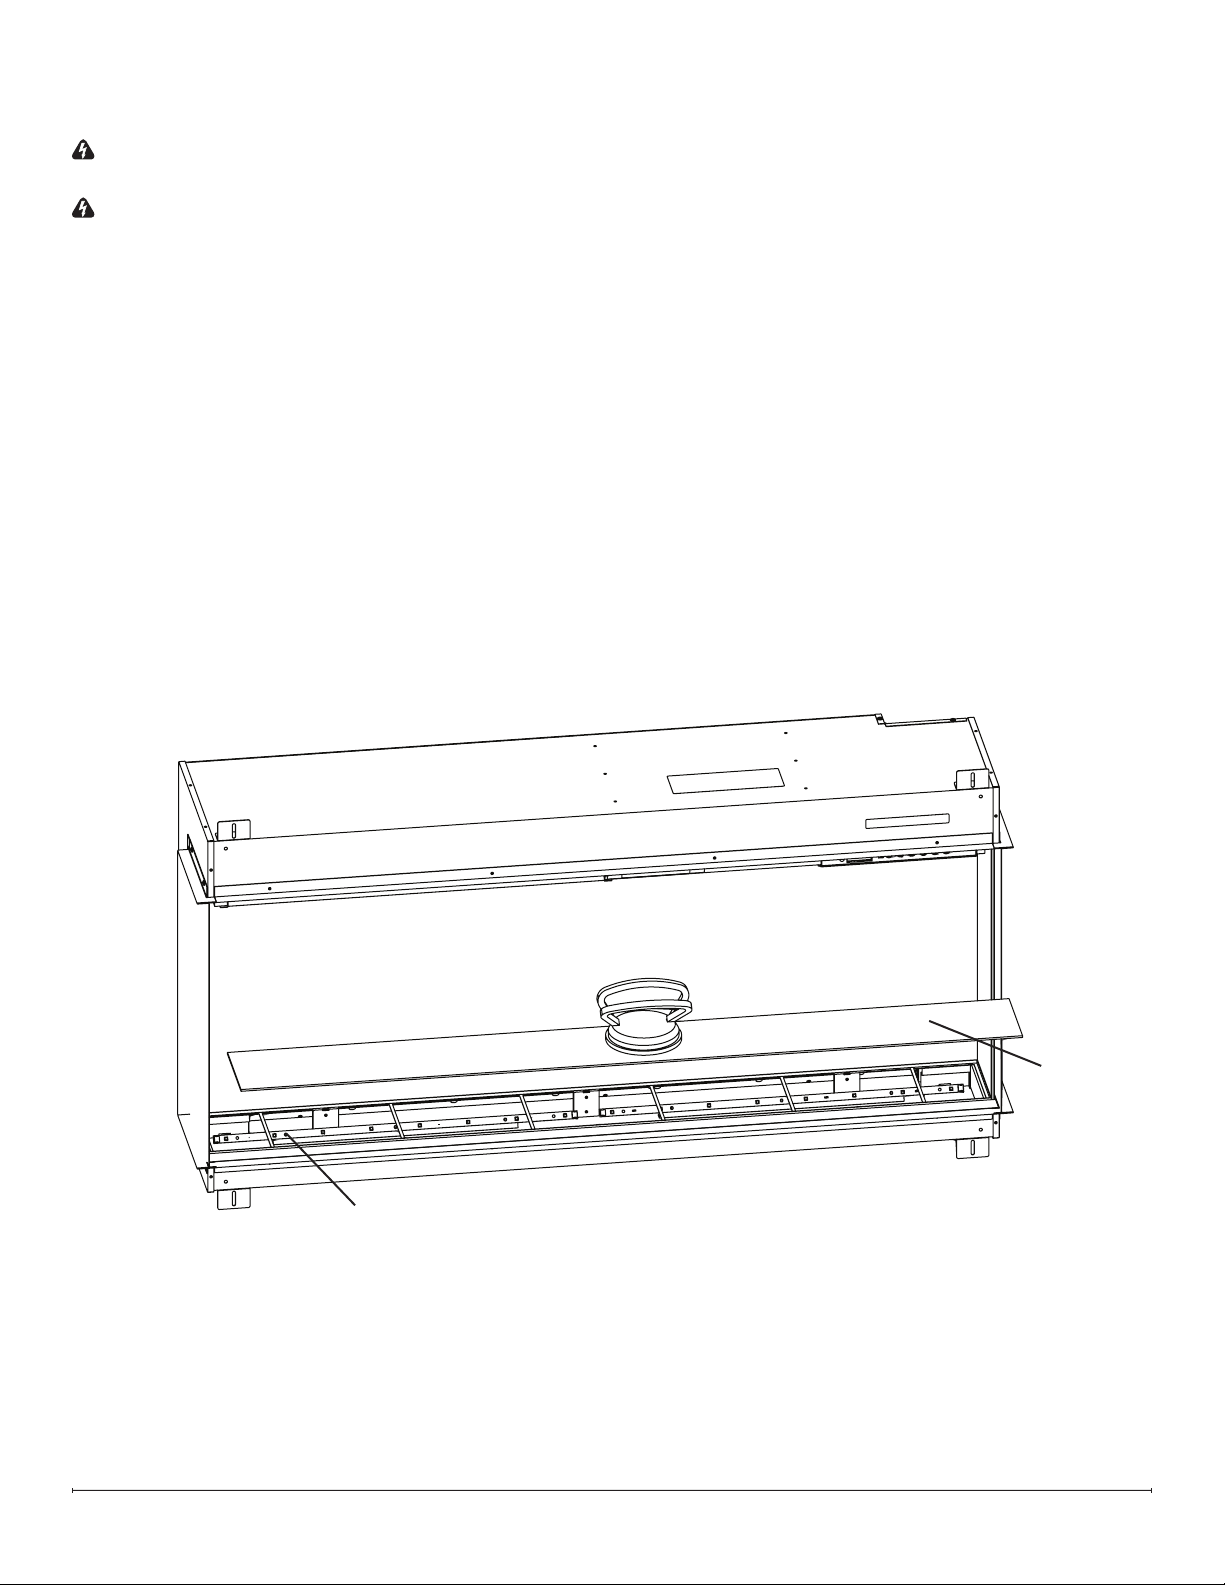
4. Remove the media tray using the suction cup, if available (Figure 20).
5. Remove the defective media LED board from the bracket by pinching each rivet using pliers, while gently pulling the
board off to release it (Figure 20).
6. Disconnect the connector from the defective media LED board.
7. Position the new media LED board, and secure it by gently pressing it onto the rivets. Ensure the IN marking on the
board is oriented toward the right side.
8. Reassemble the rebox.
Pinch rivets using pliers to
release LED board
Media bed
Figure 20
Loading ...
Loading ...
Loading ...