Loading ...
Loading ...
Loading ...
18 www.dimplex.com
Tools Required: Phillips-Head Screwdriver
Pliers
1. Follow the instructions for Preparing Firebox for Service on page 10.
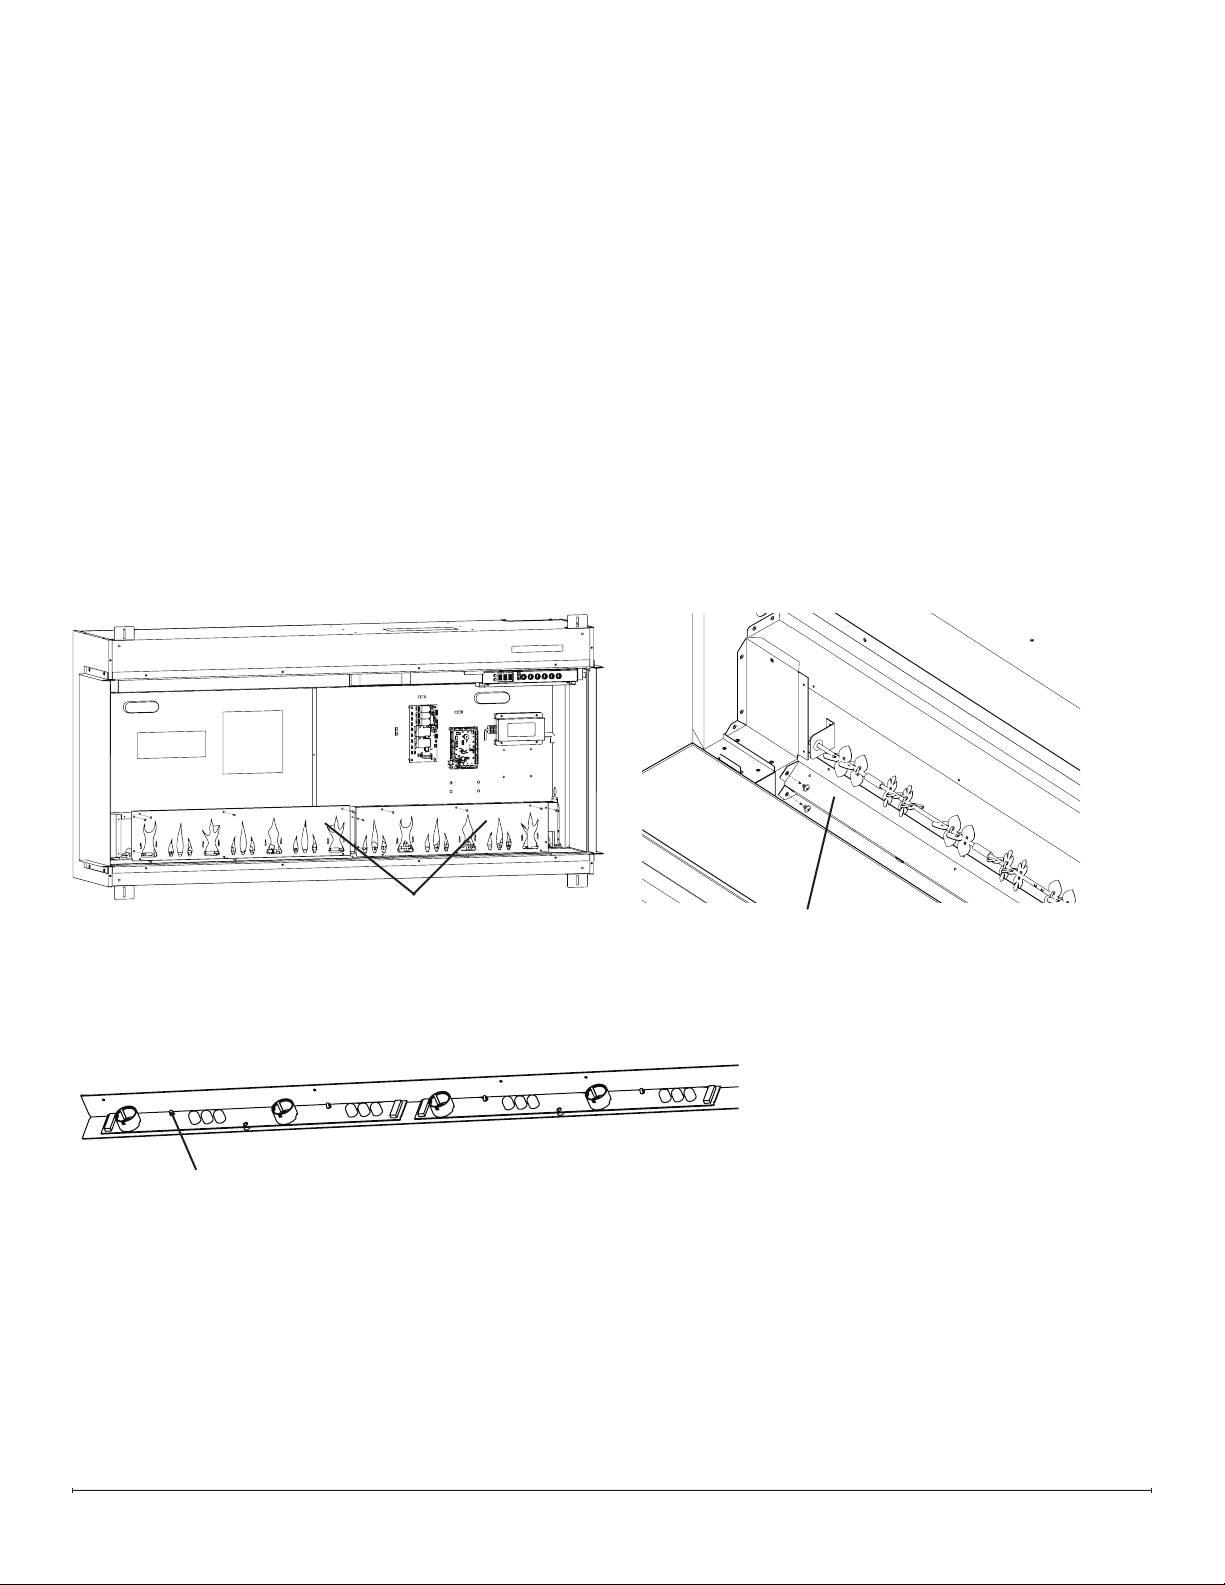
2. Remove the screws that secure the ame panels (number of screws will vary) (Figure 17). Set the ame panels aside,
making note of their original order as they are removed.
3. Remove the 2 screws on each extremity (4 total) of the ame LED bracket (Figure 18).
4. Pinch each rivet using pliers while gently pulling the LED board off to release it (Figure 19).
5. Position the new ame LED board, and secure it by gently pressing it onto the rivets. Ensure the IN marking on the
board is oriented toward the right side.
6. Secure the ame LED bracket using the 4 screws previously removed.
7. Reinstall the ame panels in the order opposite of which they were removed, ensuring they remain in the correct
order.
8. Reassemble the rebox.
Flame LED Replacement
Flame Panels (quantity
will vary by model)
Flame LED Bracket
Pinch rivets using pliers
to release LED board
Figure 17
Figure 18
Figure 19
Loading ...
Loading ...
Loading ...