Loading ...
Loading ...
Loading ...
3
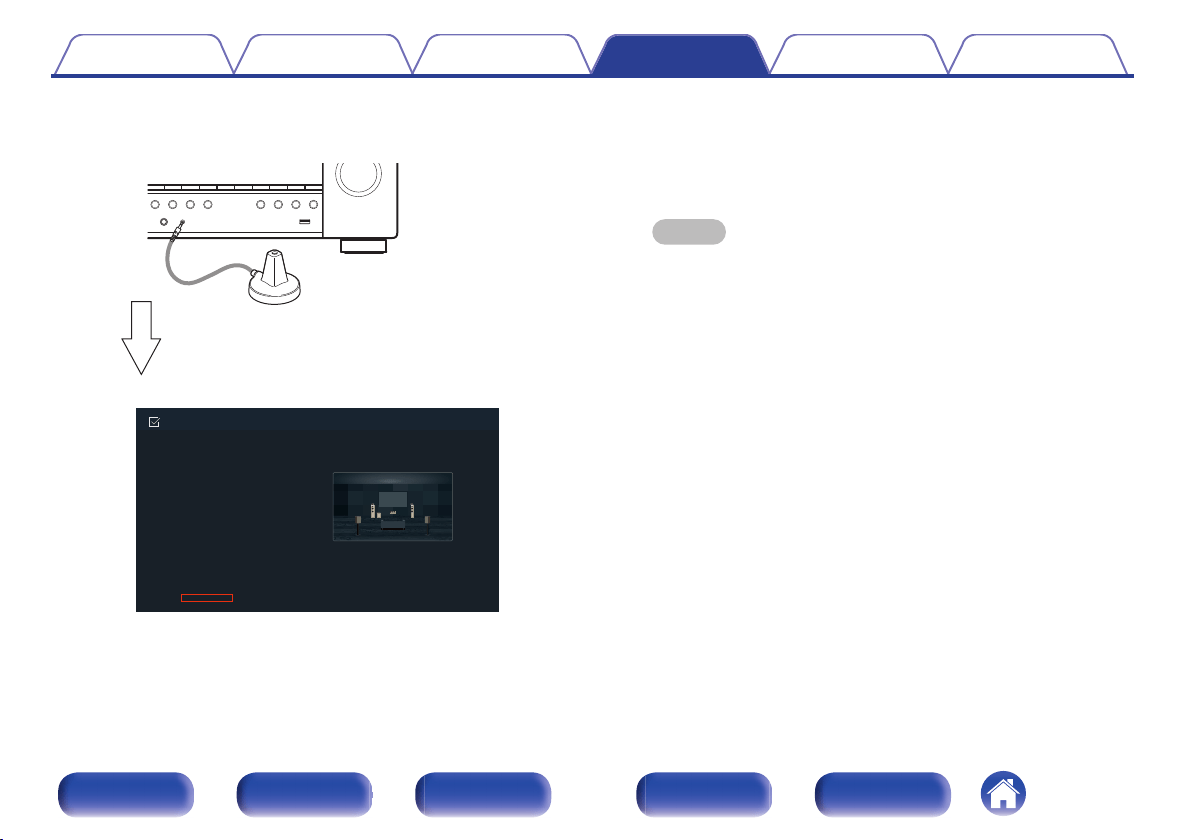
Connect the Sound calibration microphone to the
SETUP MIC jack of this unit.
When the Sound calibration microphone is
connected, the following screen is displayed.
Auto Setup
Start
Your AVR can automatically measure the
acoustics of your room and the optimize
your speakers.
4
Select “Start”, then press ENTER.
5
Select “Next”, then press ENTER.
6
Select “Begin Test”, then press ENTER.
0
Measurement requires several minutes.
NOTE
0
If “CAUTION” is displayed on TV screen:
0
Go to “Error messages” (v p. 93). Check any related items,
and perform the necessary procedures.
n
To cancel Auto Setup
A
Press BACK to display the popup screen.
B
Press o to select “Yes”, then press ENTER.
7
Unplug the Setup and measurement microphone from
the unit’s SETUP MIC jack.
Do not change the speaker connection or subwoofer volume after
“Auto Setup”. If these are changed, run “Auto Setup” again in order
to configure the optimum equalizer settings.
Contents
Connections Playback Settings Tips Appendix
92
Front panel Display Rear panel Remote Index
Loading ...
Loading ...
Loading ...