Loading ...
Loading ...
Loading ...
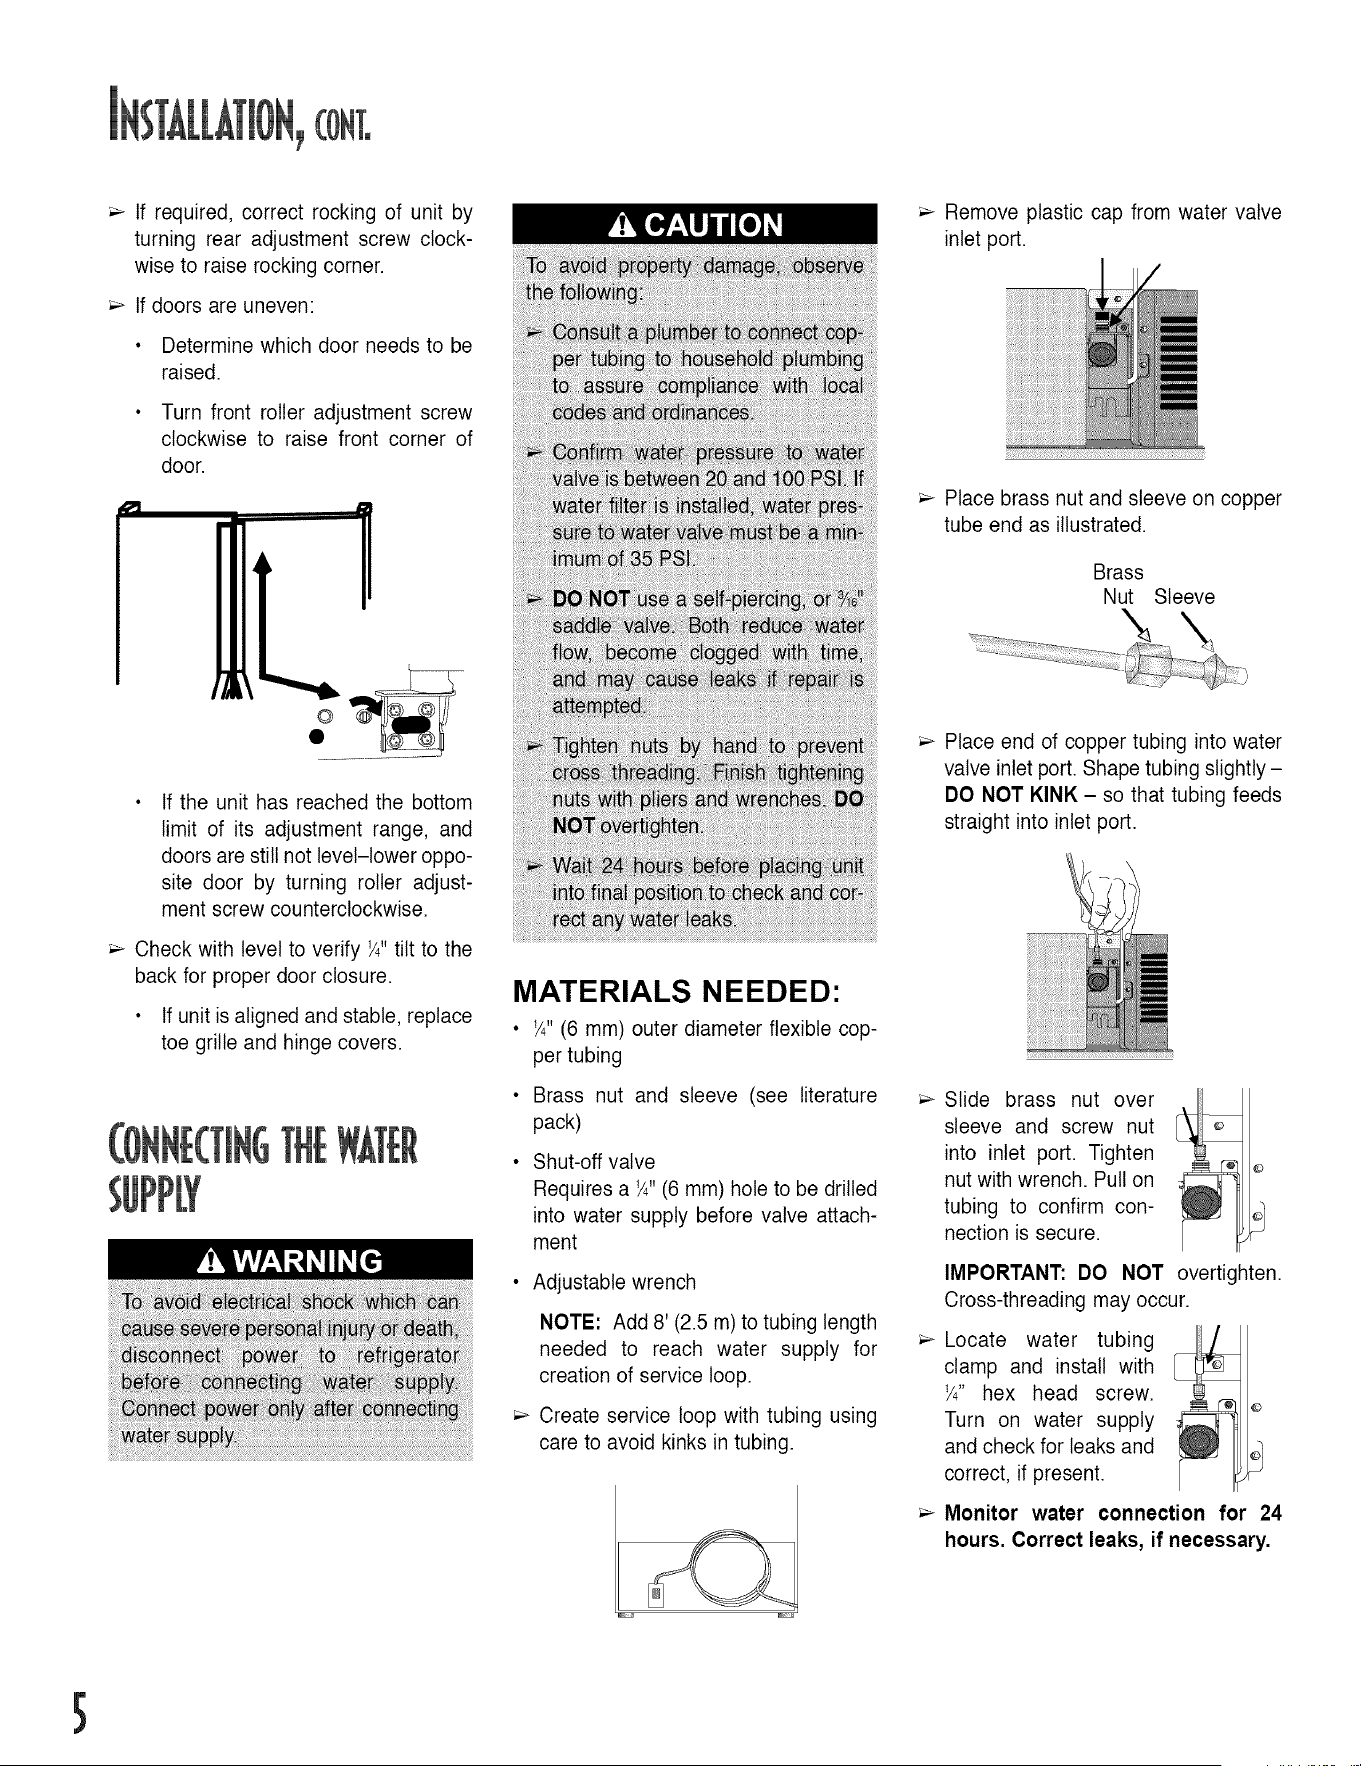
If required, correct rocking of unit by
turning rear adjustment screw clock-
wise to raise rocking corner.
If doors are uneven:
• Determine which door needs to be
raised.
• Turn front roller adjustment screw
clockwise to raise front corner of
door.
If the unit has reached the bottom
limit of its adjustment range, and
doors are still not level-lower oppo-
site door by turning roller adjust-
ment screw counterclockwise.
Check with level to verify ¼"tilt to the
back for proper door closure.
• If unit is aligned and stable, replace
toe grille and hinge covers.
MATERIALS NEEDED"
• ¼" (6 mm) outer diameter flexible cop-
per tubing
• Brass nut and sleeve (see literature
pack)
• Shut-off valve
Requires a ¼" (6 mm) hole to be drilled
into water supply before valve attach-
ment
• Adjustable wrench
NOTE: Add 8' (2.5 m) to tubing length
needed to reach water supply for
creation of service loop.
Create service loop with tubing using
care to avoid kinks in tubing.
Remove plastic cap from water valve
inlet port.
Place brass nut and sleeve on copper
tube end as illustrated.
Brass
Nut Sleeve
Place end of copper tubing into water
valve inlet port. Shape tubing slightly -
DO NOT KINK - so that tubing feeds
straight into inlet port.
Slide brass nut over
sleeve and screw nut
into inlet port. Tighten
nut with wrench. Pull on
tubing to confirm con-
nection is secure.
IMPORTANT: DO NOT overtighten.
Cross-threading may occur.
Locate water tubing
clamp and install with
¼" hex head screw.
Turn on water supply
and check for leaks and
correct, if present.
Monitor water connection for 24
hours. Correct leaks, if necessary.
5
Loading ...
Loading ...
Loading ...