Loading ...
Loading ...
Loading ...
7
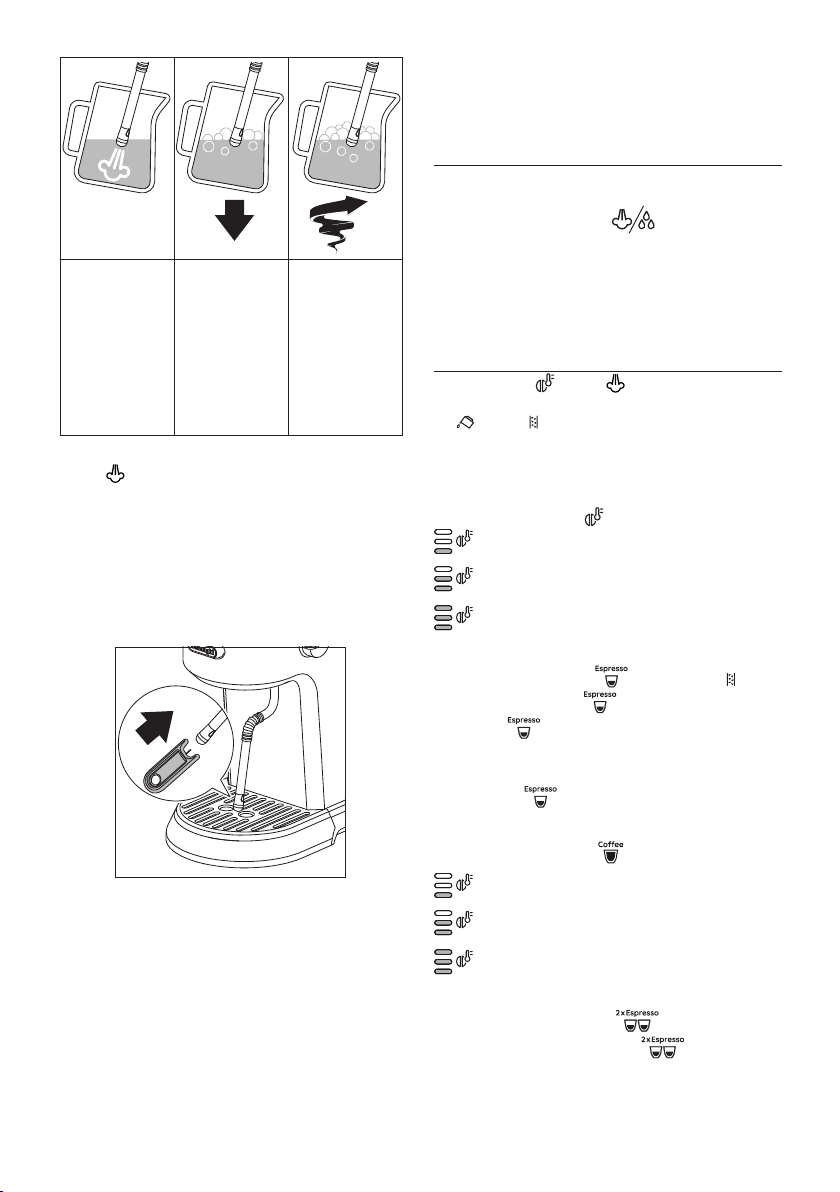
To froth the milk,
rest the steam
wand on the sur-
face of the liquid.
This mixes air
with the milk and
steam.
Keep the steam
wand in contact
with the surface,
taking care not to
let in too much
air and create
excessively large
bubbles.
Immerse the
steam wand be-
low the surface
of the milk, this
creates a vortex in
the liquid.
• Once the milk is heated to the desired temperature, press
the
(B4) button, then turn the steam dial back.
• Wait till steam stops completely before removing the milk
jug.
• After every use, remove with a soft damp cloth any milk
residues from the steam wand. Use the steam for a deeper
cleaning. Wait that the steam wand cool down and open
the hole of the nozzle with the cleaning needle (A10) (g.
11).
11
Barista tips: Fresh milk is best. Always use fresh milk straight
from the fridge.
For best results, always replace the jug in the fridge when not
in use.
Whole milk ensures optimum results. The appearance and tex-
ture of froth depending on the nature of the dairy milk or vege-
table beverages utilized.
After frothing the milk, eliminate unwanted bubbles by swirling
the jug gently.
When steam is ready, before frothing milk, position an empty
container under the frother and open the dial for a few seconds
to eliminate any air left in the circuit. Close the dial again and
proceed.
5. MAKING HOT WATER
• Place a container under the steam wand (A5).
• Wait for the coee lights to come on steadily.
• Turn the steam dial to the
position . Hot water is
delivered from the steam wand.
• To stop hot water delivery, close the dial
Please note: You should not deliver hot water for more than
60 seconds
6. MENÙ SETTINGS
Press and hold the (B1) and (B4) buttons for 3 seconds to
enter the menù settings.
The (B2) and (B3) indicator lights blinks.
The following settings will be saved after few seconds, when
appliance exit automatically by menu setting.
6.1 Delay ime between pre-infusion and infusion
To set the delay time, press
(B1) button:
No preinfusion delay
1 second
2 seconds
6.2 Descale
To set descale function, press
(B6) button; the (B3) in-
dicator light blinks and the
indicator light turns on. Press
and hold the
(B6) button for 3 seconds to start descaling
(see instructions in section Descaling) .
If you accidentally activate descaling, you can stop it by pressing
and holding the
(B6) button for at least 10 seconds.
6.3 Auto-o
To set the Auto-o time press
(B7) button:
5 minutes
1.5 hour
3 hour
6.4 Default values
To reset the default values press (B5) button; the indi-
cator light blinks. Press and hold the (B5) button for 3
seconds to resets all menu settings.
Loading ...
Loading ...
Loading ...