Loading ...
Loading ...
Loading ...
7WWW.SENIXTOOLS.COM
ASSEMBLY
,1&/8'('3$576
The equipment is supplied with one 58V battery and a
charger.
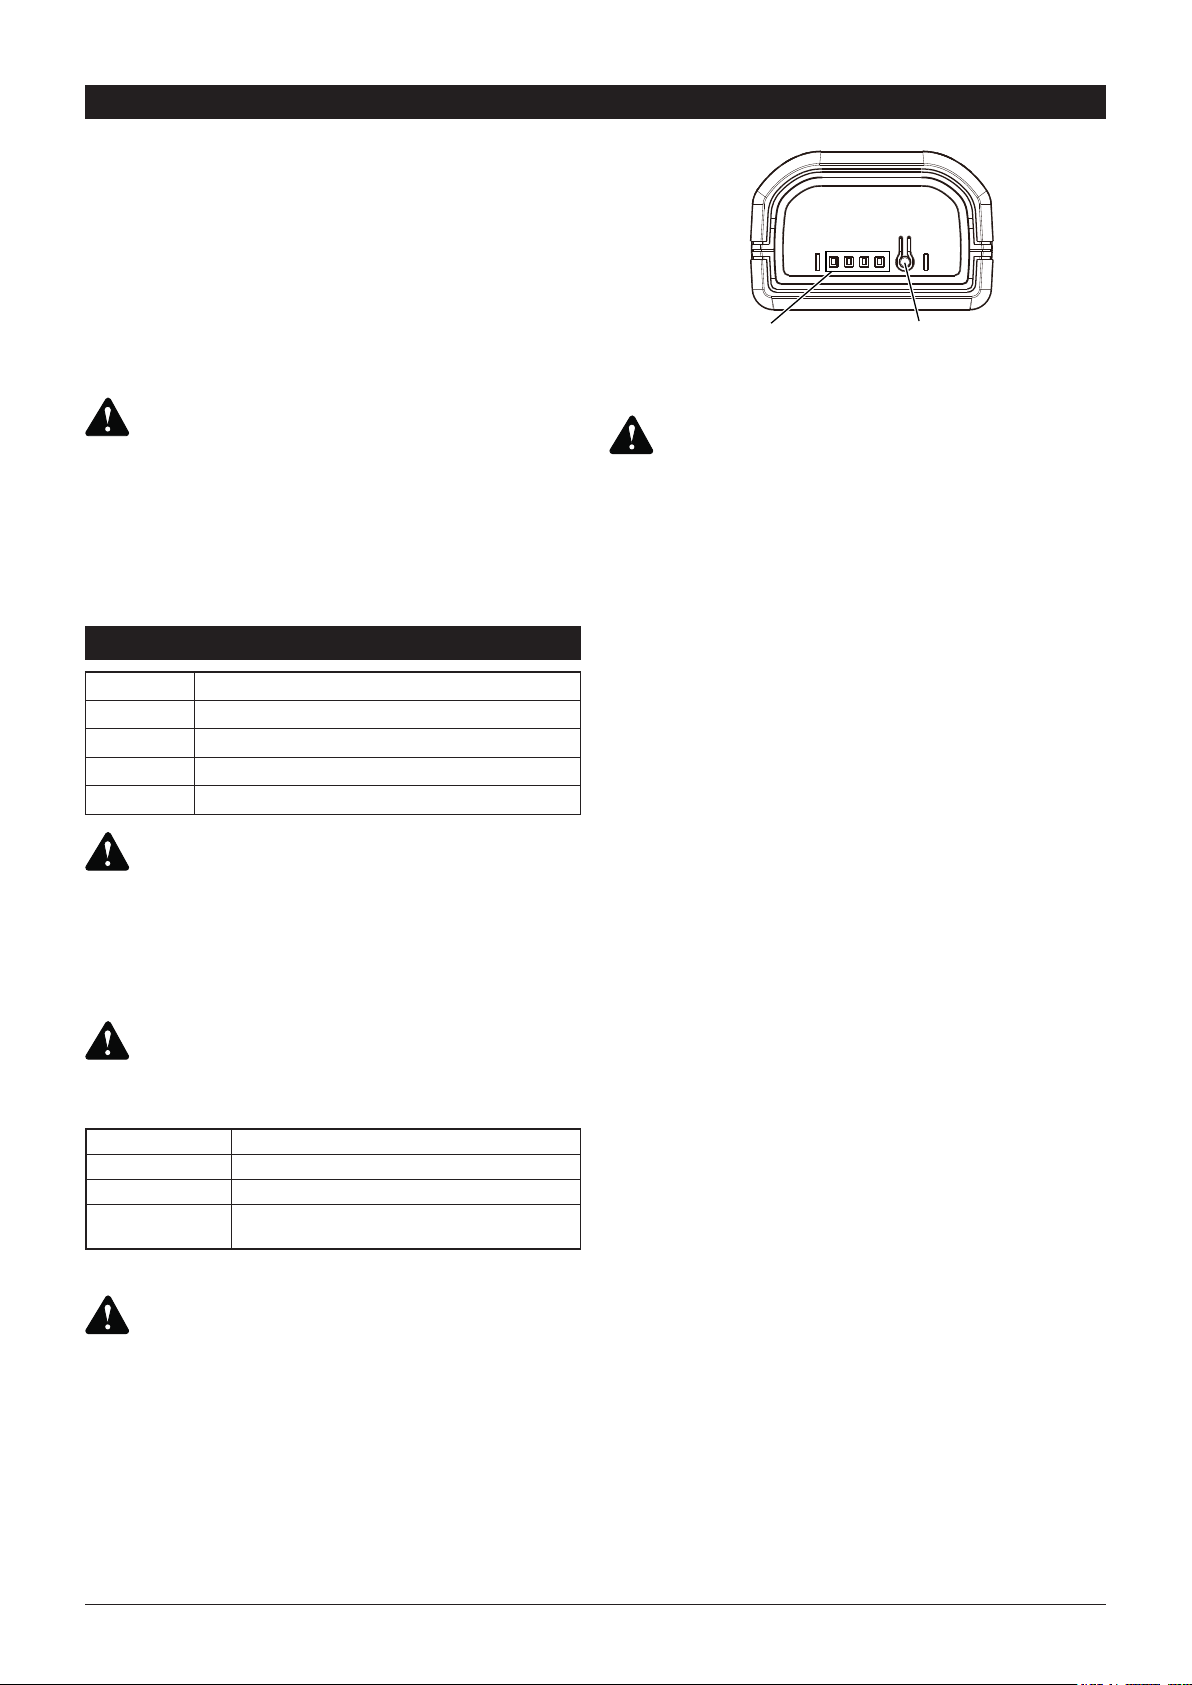
The battery pack is equipped with a push button for
checking the charge level. Push the button to read off
the battery charge level from the LEDs of the battery
indicator.
1. Take the battery pack out of the unit. The battery
green LED indicates the power when the button is
depressed.
2. Check that your outlet voltage is the same as marked
on the charger. Insert the power plug into the outlet.
The LED will light green.
3. Insert the battery pack into the charger.
4. See the Charger Indicator table for LED indicator
meaning.
The battery pack can become a little warm during the
charging. This is normal.
If the battery pack fails to charge, check:
:KHWKHUWKHUHLVYROWDJHDWWKHVRFNHWRXWOHW
:KHWKHUWKHUHLVJRRGFRQWDFWDWWKHFKDUJLQJ
contacts.
,IWKHEDWWHU\SDFNVWLOOIDLOVWRFKDUJHVHQGWKH
charging unit and the battery pack to our customer
service center.
To ensure that the battery pack provides long service,
you should take care to recharge it promptly. You must
recharge the battery pack when you notice that the
performance of the device drops.
Never allow the battery pack to become fully
discharged. This will cause it to fail.
This product requires assembly. Carefully remove the
product and any accessories from the box. Make sure
that all items listed in the packing list are included.
Inspect the product carefully to make sure no breakage
or damage occurred during shipping.
Do not discard the packing material until you have
carefully inspected and satisfactorily operated the
product. If any parts are damaged or missing, please
call 1-800-261-3981 for assistance.
Do not use this product if any parts on the packing
list are already assembled to your product when you
unpack it. Parts on this list are not assembled to the
product by the manufacturer and require customer
installation. Use of a product that may have been
improperly assembled could result in serious personal
injury.
Remove and pulling out the battery pack before
assembly! Wear protective gloves!
Charge only with supplied lithium-ion battery packs in
supplied battery chargers. Other types of batteries may
cause personal injury and damage.
To reduce the risk of electric shock, do not allow water
WRÀRZLQWRWKHFKDUJHU¶V$&'&SOXJ
When to Charge the Lithium-Ion Battery
8VHWKHEDWWHU\FKDUJHLQGLFDWRUOLJKWVWRGHWHUPLQH
when to charge your lithium-ion battery pack.
<RXFDQ³WRSRII´\RXUEDWWHU\SDFN¶VFKDUJHEHIRUH
starting a big job or after a long day of use.
Do not use or charge a defective battery pack.
Do not use or charge a defective battery pack.
Charger Indicator
:$51,1*
:$51,1*
:$51,1*
'$1*(5
'$1*(5
4XDQWLW\ ,WHP
1 Operator’s Manual
1 Handle and mounting hardware
1 Battery pack and charger
1 Cutting head shield and mounting screws
All 4 LEDs are lit: The battery is fully charged.
3 or 2 LED(s) are lit: The battery has an adequate remaining charge.
1 LED blinks: The battery is empty, recharge the battery.
$OO/('VÀDVK
The battery pack has undergone exhaustive
discharge and is defective.
%$77(5<3$&.$1'&+$5*(5
&+$5*(523(5$7,21
&+$5*,1*7+(%$77(5<
$66(0%/<,16758&7,216
LE
Loading ...
Loading ...
Loading ...