Loading ...
Loading ...
Loading ...
6
ninjakitchen.com
7
ninjakitchen.com
USING THE CONTROL PANEL
COOKING FUNCTIONS
SPEEDI MEALS: Make easy two-part meals with
one touch.
STEAM & CRISP: Use to create a combination of
juicy and crisp results.
STEAM & CRISP BAKE: Bake fluer cakes and
quick breads faster and with less fat.
STEAM: Gently cook delicate foods at a high
temperature.
PROOF: Create an environment for dough to rest
and rise.
AIR FRY: Give food crispness and crunch with
little to no oil.
BAKE/ROAST: Use the unit like an oven for
tender meats, baked treats, and more.
BROIL: Use high heat from above to caramelize
and brown the tops of your food.
DEHYDRATE: Dehydrate meats, fruits, and
vegetables for healthy snacks.
SEAR/SAUTÉ: Use the unit as a stovetop for
browning meats, sautéing veggies, simmering
sauces, and more.
SLOW COOK: Cook your food at a lower
temperature for a longer period of time.
SOUS VIDE: French for “under vacuum,” this
function slow cooks food sealed in
a plastic bag in an accurately regulated
water bath.
OPERATING BUTTONS
SMARTSWITCH: Move up and down to switch
between Rapid Cooker and Air Fry/Stovetop
mode. Available functions for each mode
will illuminate.
CENTER ARROWS: Once you've chosen a mode
using the SmartSwitch, use the center arrows
to scroll through the options until your desired
function is highlighted.
LEFT ARROWS: Use the up/down arrows to
the left of the display to adjust the cooking
temperature.
RIGHT ARROWS: Use the up/down arrows to the
right of the display to adjust the cooking time.
START/STOP button: Press to start cooking.
Pressing the button while the unit is cooking will
stop the current cooking function.
(POWER): The POWER button shuts the unit
o and stops all cooking functions..
NOTE: The position of the SmartSwitch
will determine which options are available
for selection.
BEFORE FIRST USE
BEFORE FIRST USE
1 Remove and discard any packaging material,
stickers, and tape from the unit.
2 Pay particular attention to operational
instructions, warnings, and important
safeguards to avoid any injury or property
damage.
3 Wash the removable pot, crisper tray, and
condensation collector in warm, soapy water,
then rinse and dry thoroughly.
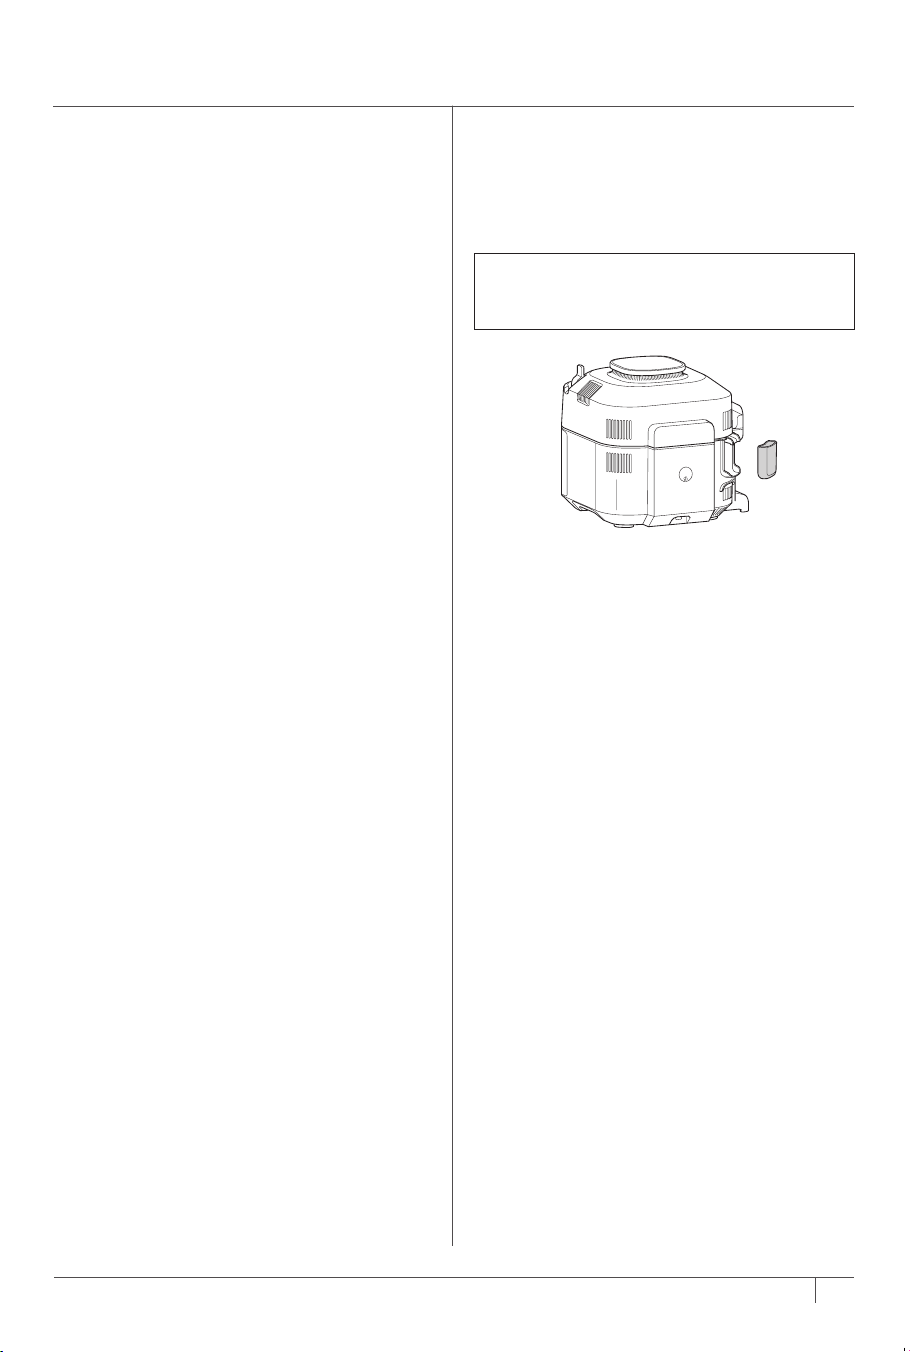
REMOVING & INSTALLING THE
CONDENSATION COLLECTOR
To install the condensation collector, slide it into the
slot on the cooker base. Slide it out to remove it for
hand-washing after each use.
NOTE: Make sure to empty out excess water
collected in the condensation collector after
cooking.
NOTE: Not all models include all functions.
Loading ...
Loading ...
Loading ...