Loading ...
Loading ...
Loading ...
5
Condenser Cleaning
WARNING
Explosion Hazard
Risk of Fire or Explosion due to Puncture of Refrigerant
Tubing;
Follow Handling Instructions Carefully.
Flammable Refrigerant Used.
There is no need for routine condenser cleaning in normal home
operating environments. If the environment is particularly greasy
or dusty or there is significant pet traffic in the home, the
condenser should be cleaned every 6 months to ensure maximum
efficiency.
1. Unplug refrigerator or disconnect power.
2. Remove the base grille.
3. Use a vacuum cleaner with a soft brush to clean the grille, the
open areas behind the grille, and the front surface area of the
condenser.
4. Replace the base grille when finished.
5. Plug in refrigerator or reconnect power.
NOTE: If you are unable to clean the condenser, please call for
service.
Changing the Light Bulb
IMPORTANT: The lights in both the refrigerator and freezer
compartments use LED technology that do not need to be
replaced. If the lights do not illuminate when the door or drawer is
opened, call for assistance or service. Refer to the Quick Start
Guide for contact information.
The lighting system in this appliance may consist of:
� Sealed LED modules
� LED Bulbs
� Incandescent Bulbs
� Or a combination of the above.
If an LED bulb does not illuminate when the refrigerator and/or
freezer door is opened, replace with like bulb following this
procedure:
1. Unplug refrigerator or disconnect power.
2. Remove the light shield (on some models).
� Remove the hardware holding the light shield in place.
� Top of the refrigerator compartment - Slide the light shield
toward the back of the compartment to release it from the
light assembly.
3. Not all appliance bulbs will fit your refrigerator. Replace the
burned-out bulb(s) with an appliance bulb of the same size,
shape and wattage. Order part number W10565137 (3.6 W).
NOTE: Some LED replacement bulbs are not recommended
for wet/damp environments. The refrigerator and freezer
compartments are considered to be wet/damp environments.
If using a brand of LED bulb other than the recommended
LED bulb, before installation, read and follow all instructions
on the LED packaging.
4. Replace the light shield (on some models) by inserting the
tabs on the shield into the liner holes on each side of the light
assembly. Slide the shield toward the front until it locks into
place.
NOTE: To avoid damaging the light shield, do not force the
shield beyond the locking point.
5. Replace the hardware that holds the shield in place.
6. Plug in refrigerator or reconnect power.
If an incandescent bulb does not illuminate when the refrigerator
and/or freezer door is opened, replace with like bulb using the
same procedure outlined above. Replace burned-out bulb with
only incandescent bulb(s) of the same size, shape, and wattage
(maximum 40 W) designed for household appliances.
Freezer Compartment Light (on some models)
1. Unplug refrigerator or disconnect power.
2. Remove the light shield.
Top of the freezer compartment - Slide the light shield toward
the back of the compartment to release it from the light
assembly.
3. Replace the burned-out bulb with an appliance bulb(s) no
greater than 40 W.
4. Replace the light shield.
5. Plug in refrigerator or reconnect power.
Refrigerator Shelves
Important information to know about glass shelves and
covers:
Do not clean glass shelves or covers with warm water when they
are cold. Shelves and covers may break if exposed to sudden
temperature changes or impact, such as bumping. Tempered
glass is designed to shatter into many small, pebble-size pieces.
This is normal. Glass shelves and covers are heavy. Use both
hands when removing them to avoid dropping.
The shelves in your refrigerator are adjustable to match your
individual storage needs.
Storing similar food items together in your refrigerator and
adjusting the shelves to fit different heights of items will make
finding the exact item you want easier. It will also reduce the
amount of time the refrigerator door is open, and save energy
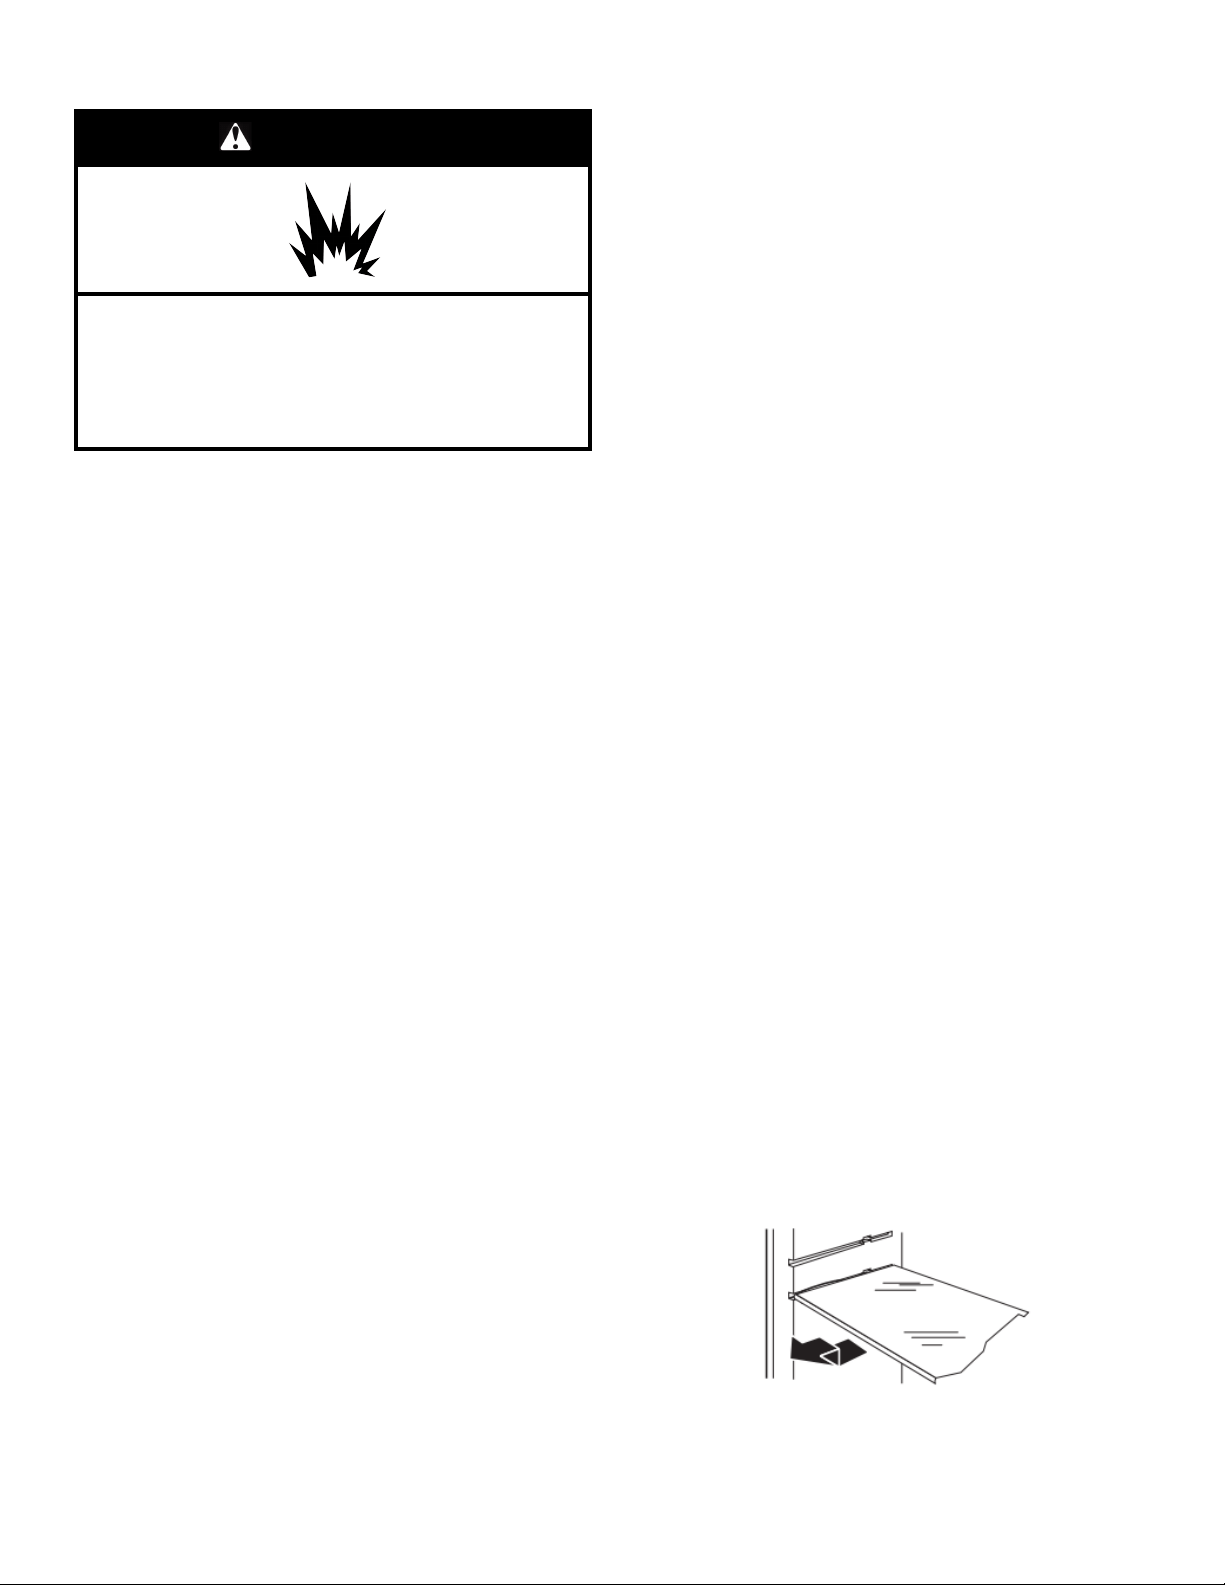
Glass Shelves
To remove a shelf:
1. Remove items from the shelf.
2. Slide the shelf straight out to the stop.
3. Depending on your model, lift the back or front of the shelf
past the stop. Pull the shelf out the rest of the way.
To replace a shelf:
1. Slide the back of the shelf into the track in the wall of the
cabinet.
2. Guide the front of the shelf into the shelf track. Be sure to slide
the shelf in all the way.
Loading ...
Loading ...
Loading ...