Loading ...
Loading ...
Loading ...
13
Style 1 – Located Inside the Refrigerator:
1. Find the Produce Preserver housing inside the refrigerator.
2. Lift up on the housing to remove it from the mounting tab.
3. Open the housing by pulling up and out on the back of the top
of the housing.
4. Remove the Produce Preserver pouches from the packaging.
Place them into the housing then snap housing back together.
NOTE: For best performance, always use two pouches.
5. Adhere the Produce Preserver housing to the back wall of the
crisper drawer according to the instructions included in the
package.
6. Place housing back on mounting tab.
Style 2 – Located in Crisper or Refrigerator Drawers:
For your convenience, the suction-mounted produce preserver
can be installed in either the crisper or the refrigerated drawers.
1. Wash the interior of a drawer with a solution of mild dish soap
and warm water and dry thoroughly.
2. Find the package containing the Produce Preserver inside the
refrigerator and install the Produce Preserver into the drawer,
according to the instructions provided in the package.
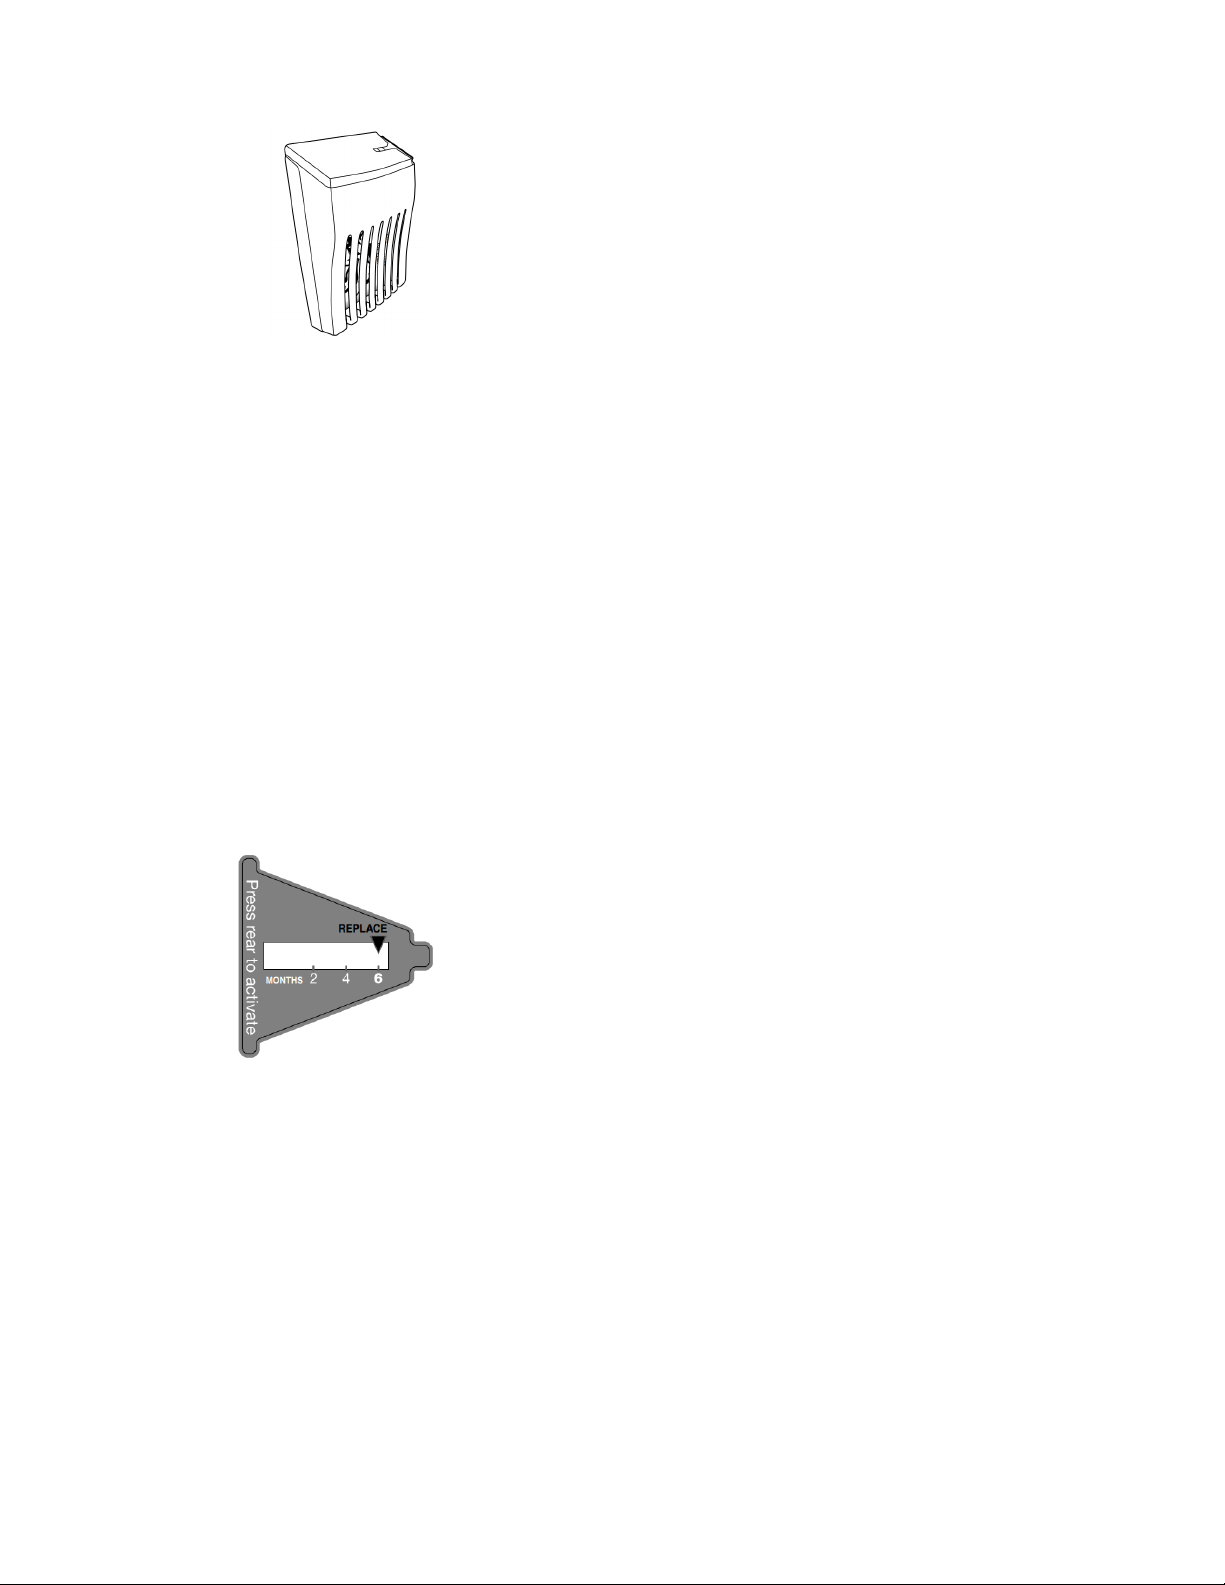
Installing the Status Indicator
The Produce Preserver comes with a status indicator, which
should be activated and installed at the same time the pouch is
installed.
1. Place the indicator facedown on a firm, flat surface.
2. Apply pressure to the bubble on the back of the indicator, until
the bubble pops to activate the indicator.
3. Slide open the cap on the Produce Preserver housing.
4. Place the indicator in the top of the housing, facing outward.
5. Slide the cap closed, and check that the indicator is visible
through the rectangular hole in the cap.
NOTE: The cap will not close easily if the indicator’s rear
bubble has not been popped.
Replacing the Produce Preserver Pouches
The disposable pouches should be replaced every 6 months,
when the status indicator has completely changed from white to
red.
To order replacements, see the contact information in the Quick
Start Guide. Order part number W10346771A or FRESH1.
1. Remove the used pouches from the produce preserver
housing.
2. Remove the used status indicator.
3. Install the new pouches and status indicator using the
instructions in the previous sections or instructions included in
the replacement packets.
REFRIGERATOR FEATURES
Crisper Humidity Control (on some
models)
You can control the amount of humidity in the moisture-sealed
crisper. Depending on your model, adjust the control to any setting
between Fruit and Vegetables or Low and High.
Fruit/Low (open):
Move control to allow moist air out of the crisper for best storage
of fruits and vegetables with skins.
� Fruit: Wash, let dry and store in refrigerator in plastic bag or
crisper. Do not wash or hull berries until they are ready to use.
Sort and keep berries in original container in crisper, or store in
a loosely closed paper bag on a refrigerator shelf.
� Vegetables with skins: Place in plastic bags or plastic
container and store in crisper.
Vegetables/High (closed):
Move control to keep moist air in the crisper for best storage of
fresh, leafy vegetables.
� Leafy vegetables: Wash in cold water, drain and trim or tear off
bruised and discolored areas. Place in plastic bag or plastic
container and store in crisper.
Loading ...
Loading ...
Loading ...