Loading ...
Loading ...
Loading ...
W005I_SVG
2
1
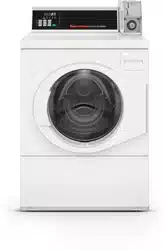
1. Risers (Air cushions)
2. Water Supply Faucets
Figure 8
Connect Drain Hose to Drain
Receptacle
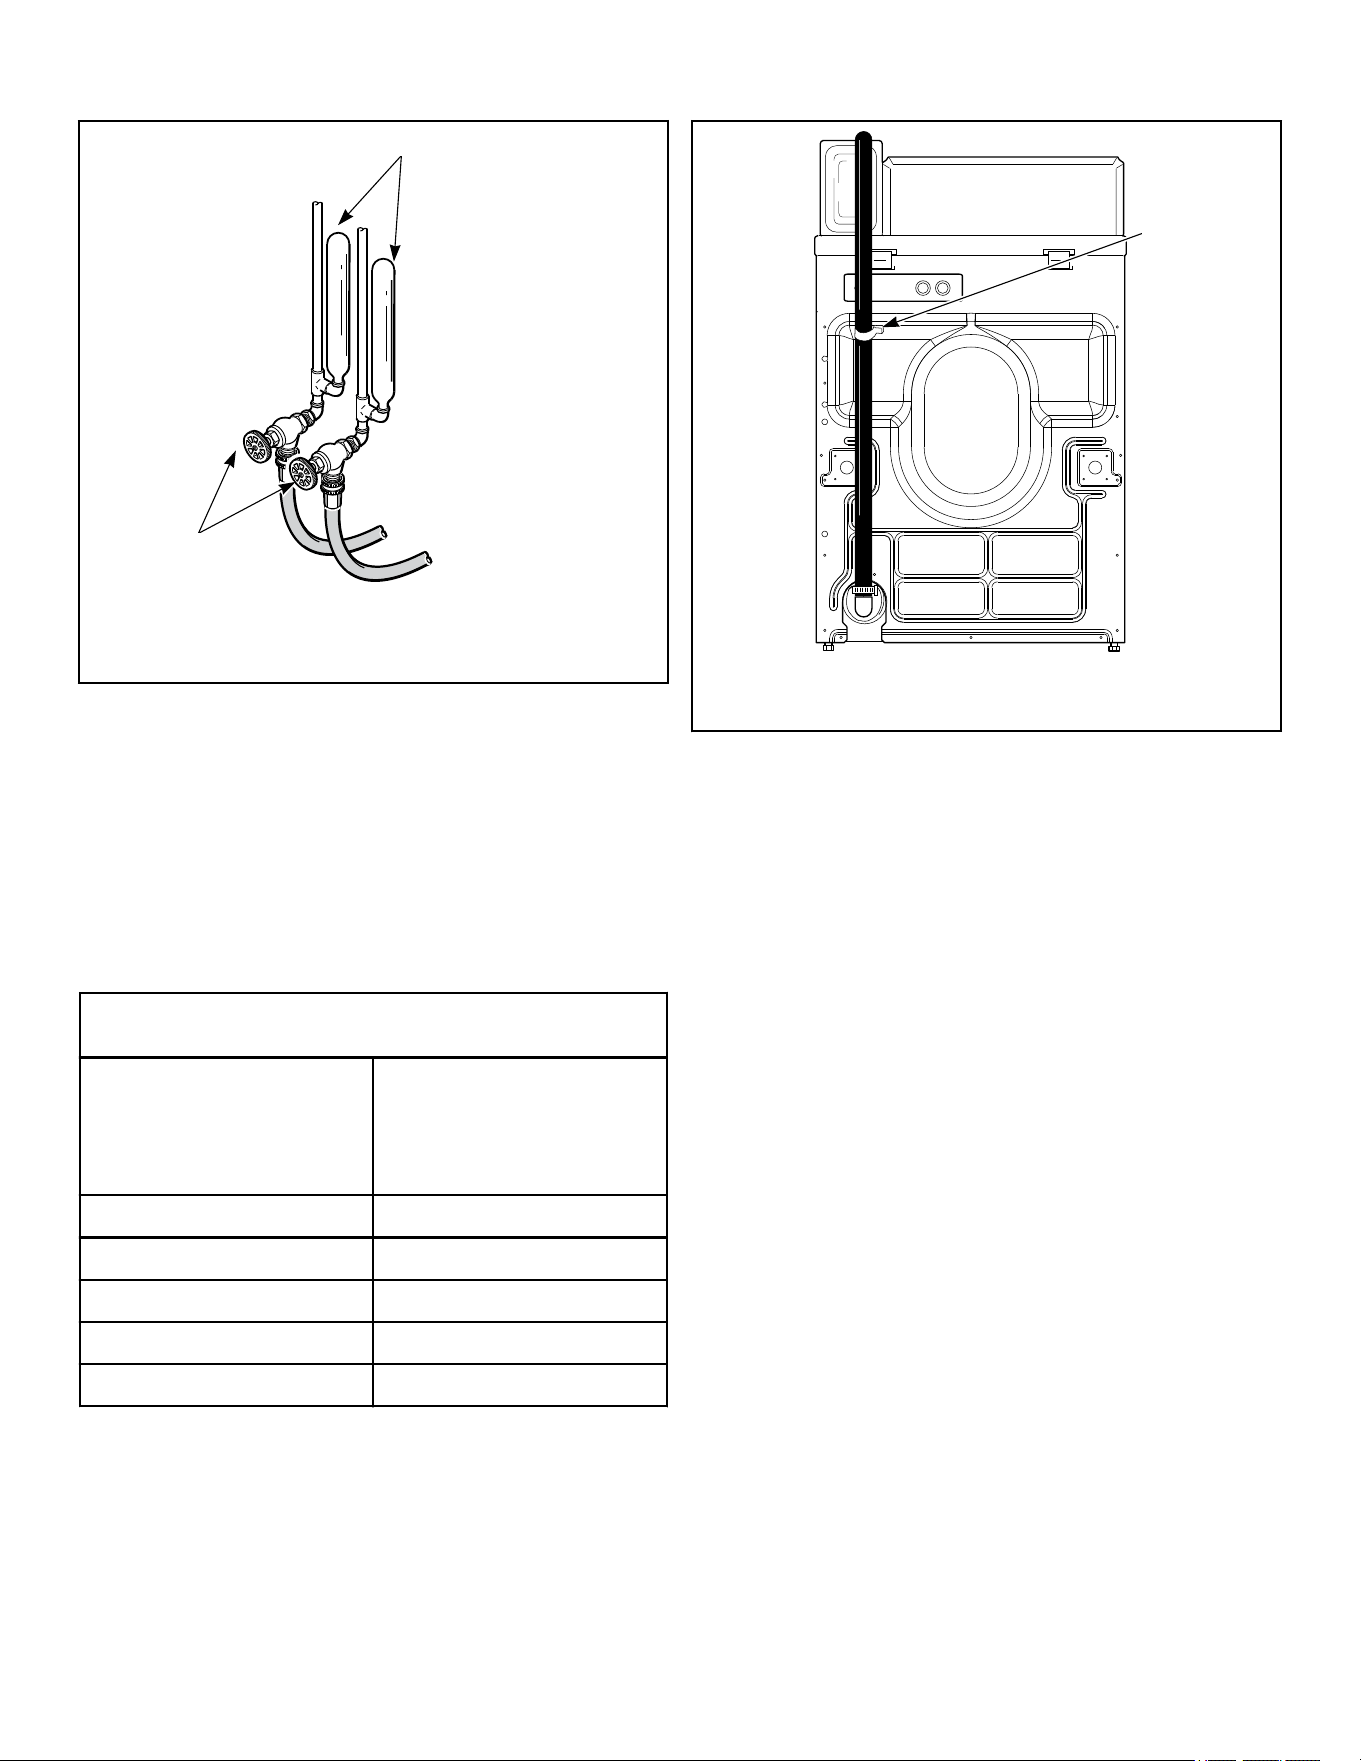
Remove the drain hose from its shipping position on the rear of
the washer by removing the shipping tape.
IMPORTANT: Drain receptacle must be capable of han-
dling a minimum of 1-3/8 inch [35 mm] outside diame-
ter drain hose.
Drain Flow Rate
Drain Height
Flow Rate
gallons per minute [lit-
ers per minute]
3 ft. [0.9 m] 8.6 [32.7]
5 ft. [1.5 m] 6.8 [25.9]
6 ft. [1.8 m] 6.0 [22.7]
7 ft. [2.1 m] 5.1 [19.5]
8 ft. [2.4 m] 4.0 [15.2]
FLW2348_SVG
1
1. Shipping Tape
Figure 9
Standpipe Installation
1. Place the drain hose into the standpipe.
2. Remove the beaded tie-down strap from accessories bag and
place around standpipe and drain hose and tighten strap to
hold hose to standpipe. Refer to Figure 10 . This will prevent
the drain hose from dislodging from drain receptacle during
use.
3. If hose does not fit securely in standpipe because it is too
long:
a. Remove hose clamp attaching it to washer.
b. Cut hose to desired length.
c. Reattach hose and hose clamp.
Installation
©
Copyright, Alliance Laundry Systems LLC -
DO NOT COPY or TRANSMIT
14 Part No. 807871ENR3
Loading ...
Loading ...
Loading ...