Loading ...
Loading ...
Loading ...
33
Press the power button to turn on the unit.
Turn the cycle selector in either direction
or repeatedly press the cycles button
(depending on your model) to scroll to the
desired cycle. The indicator light for the cycle
selected will be illuminated and the estimated
drying time for Auto Dry cycles or the actual
drying time for Time Dry cycles will be
displayed on the LED display screen.
Default settings and options will automatically
be indicated for the cycle selected. In most
cases cycle settings and options can be
changed. See
Cycle Settings, Cycle Options,
and
Setting Charts
for more details.
To change the cycle once it has begun,
press the cancel button before selecting a
new cycle. Turning the cycle selector ring
or pressing the cycles button WILL NOT
change the cycle.
Auto dry cycles
Auto dry cycles take the guesswork out of
selecting the correct drying time for each
load. Moisture sensors sense the moisture
level of the load as it tumbles through the
heated air. With auto dry cycles, the load
will automatically be dried at the selected
temperature to the desired dryness level.
Auto dry cycles save time and energy and
protect fabrics. When the load has reached
the selected dryness level, it will continue to
tumble, unheated, during a cool down period.
This helps reduce wrinkling and makes items
easier to handle during unloading.
CONTROLS AND SETTINGS
Selecting the right cycle to save energy
This dryer has been specifically designed with options to help you save energy and at the
same time utilize the optimal drying setting for your clothing.
The normal cycle was used to rate the dryer for energy efficiency. The normal cycle resets
to normal temperature setting, normal dryness level.
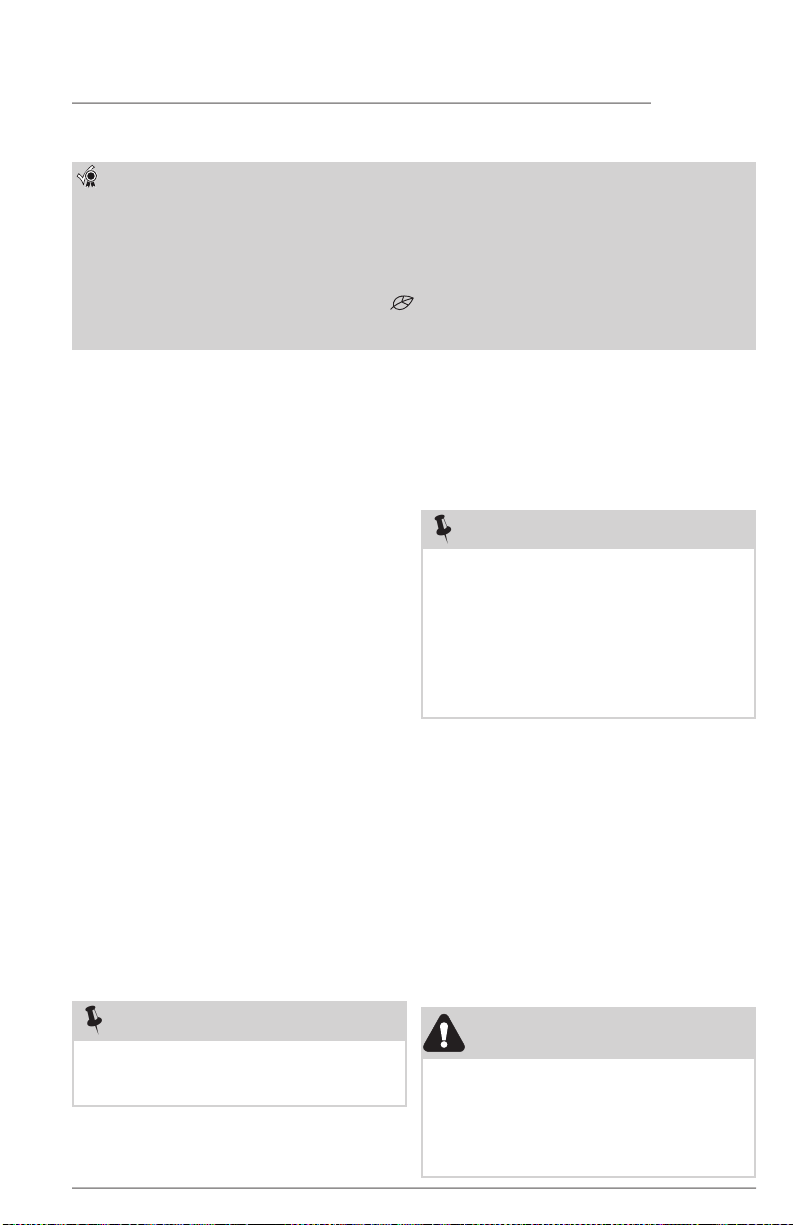
Some cycles save more energy than others. Cycles that use the least amount of heat save
the most energy and display the leaf icon on the console. Use the lowest heat setting
(auto and timed dry cycles) and less dry setting (auto dry cycles) to save on energy and
prevent over drying your clothing.
Cycle selection
Drying times vary depending on size and
dampness of the load and fabric type. If the
load is too small or almost dry, the moisture
sensors may not detect enough moisture to
continue the cycle and the cycle may end
after a few minutes. If this occurs, then select
the time dry cycle to dry such loads.
Room temperature and humidity, type of
installation and electrical voltage or gas
pressure can also affect drying time.
Timed dry cycles
The timed drying cycles allow the selection
of exact drying times. The time dry cycle
allows the option to select drying time
settings ranging from 30 to 75 minutes
(depending on the model). Various drying
times and temperature settings can be
selected when using this cycle.
The fast dry cycles (on select models)
have preset times of 15, 18 or 20 minutes
(dependent on model) with a preset
temperature of high only.
Dryness levels will not be an available option
when using either of the timed drying cycles.
NOTE
Initial cycle times for auto dry cycles are
only estimates, the actual drying time may
differ slightly from the time displayed.
NOTE
Models equipped with the Predictive Dry
feature use the first 90 seconds of Auto Dry
cycles to sense the load in the dryer. During
this 90 second period the LED display will
show 2 circling lines. When the sensing
is complete, the LED display will show
the remaining cycle time in minutes and
accurately count down to the end of the
cycle.
WARNING
FIRE HAZARD
To avoid fire hazard, DO NOT use heat
to dry items containing feathers or down,
foam rubber, plastics similarly textured,
rubber-like materials. Use the time dry
cycle and the eco dry (no heat) setting.
Loading ...
Loading ...
Loading ...