Loading ...
Loading ...
Loading ...
8 Philips · NeoPix Ultra One
Prepare the remote control
CAUTION!
The improper use of batteries can
lead to overheating, explosion, risk of
fire and injury. Leaking batteries can
possibly damage the remote control.
Never expose the remote control to
direct sunlight.
Avoid deforming, dismantling or
charging the batteries.
Avoid exposure to open fire and water.
Replace empty batteries immediately.
Remove the batteries from the remote
control if not in use for long periods of
time.
1 Open the battery compartment.
2 Insert the supplied batteries (type AAA)
with correct polarity (+/-) indicated.
3 Close the battery compartment.
• When using a remote control with infrared
signals, point the remote control at the IR
sensor on the projector, and make sure
there is no obstacle between the remote
control and the IR sensor.
Power on and set up the
projector
1 Press
to turn on the projector. The LED
on the projector turns from red to green.
• To turn off the projector, press
twice. The
projector enters standby mode and its LED
turns from green to red. To fully shut down
the projector, disconnect the power cable
from the electrical socket.
• The distance between the projector and the
projection surface determines the actual
screen size.
Screen size adjustment
The projection screen size (or size of images) is
determined by the distance between the lens
of the projector and the projection surface.
This projector has a projection distance of 80
cm to 200 cm, and thus creates a screen size of
20" to 65".
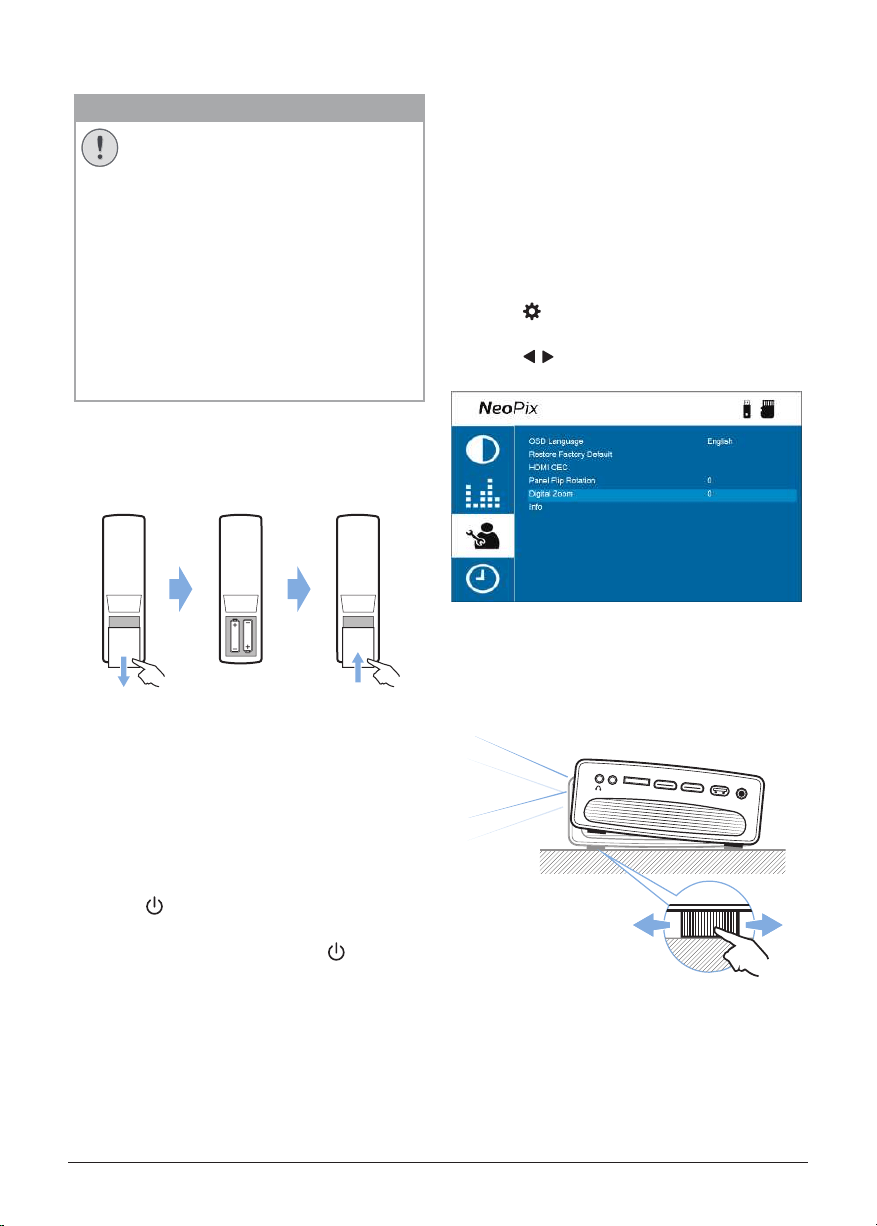
Digital zooming
You can use the digital zooming to reduce the
screen size.
1 Press
on the remote control to access
the setup options and go to Digital Zoom.
2 Press
/ or the OK button to adjust the
screen size.
Screen height adjustment
To adjust the screen height when placing
the projector on a flat surface, turn the angle
adjustment knob located at the bottom of the
projector.
MI
C
R
O
S
DA
UX
H
DMI
1
HDMI 2
USB
D
C
MICRO SDAV HDMI 1 HDMI 2 USB DC
Loading ...
Loading ...
Loading ...