Loading ...
Loading ...
Loading ...
MAINTENANCE
How to Reseat the
Flange
At some point, you may {:ind
that the tines won't turn when
you press the throttle. This
may mean the engine isn't
sitting all the way down on the
worm gear housing.
:Perhaps you've been using
your Tilter for several years.
Or perhaps you've removed
tile engine ibr use with our
hedge trimmer attachment,
then replaced it. In either case,
the flange bolt (Key #22, page
29) may have come loose and
notice a gap bet_zeen the
bottom of the engine flange
(Key #24, page 29) and the
top of the worm gear housing.
(Picture 1)
(continued)
To fix this, loosen the flange
bolt. 'lake the engine off the
worm gear housing. Notice
the hex head on top of the
drive shaft (Key #28, Page 27),
Inside the flange housing,
you'I1 find the clutch drum
(Key #25, Page 29). Make sure
the hex head lines up with the
clutch drum reside the flange
housing.
Then put the engine back
on the worm gear housing.
Make sure the plastic carrying
handle is not under the fuel
tank.
If you've followed these steps
properly, there will be no gap
between the engine flange and
the worm gear housing.
(Picture 2) Make sure you
tighten the flange bolt!
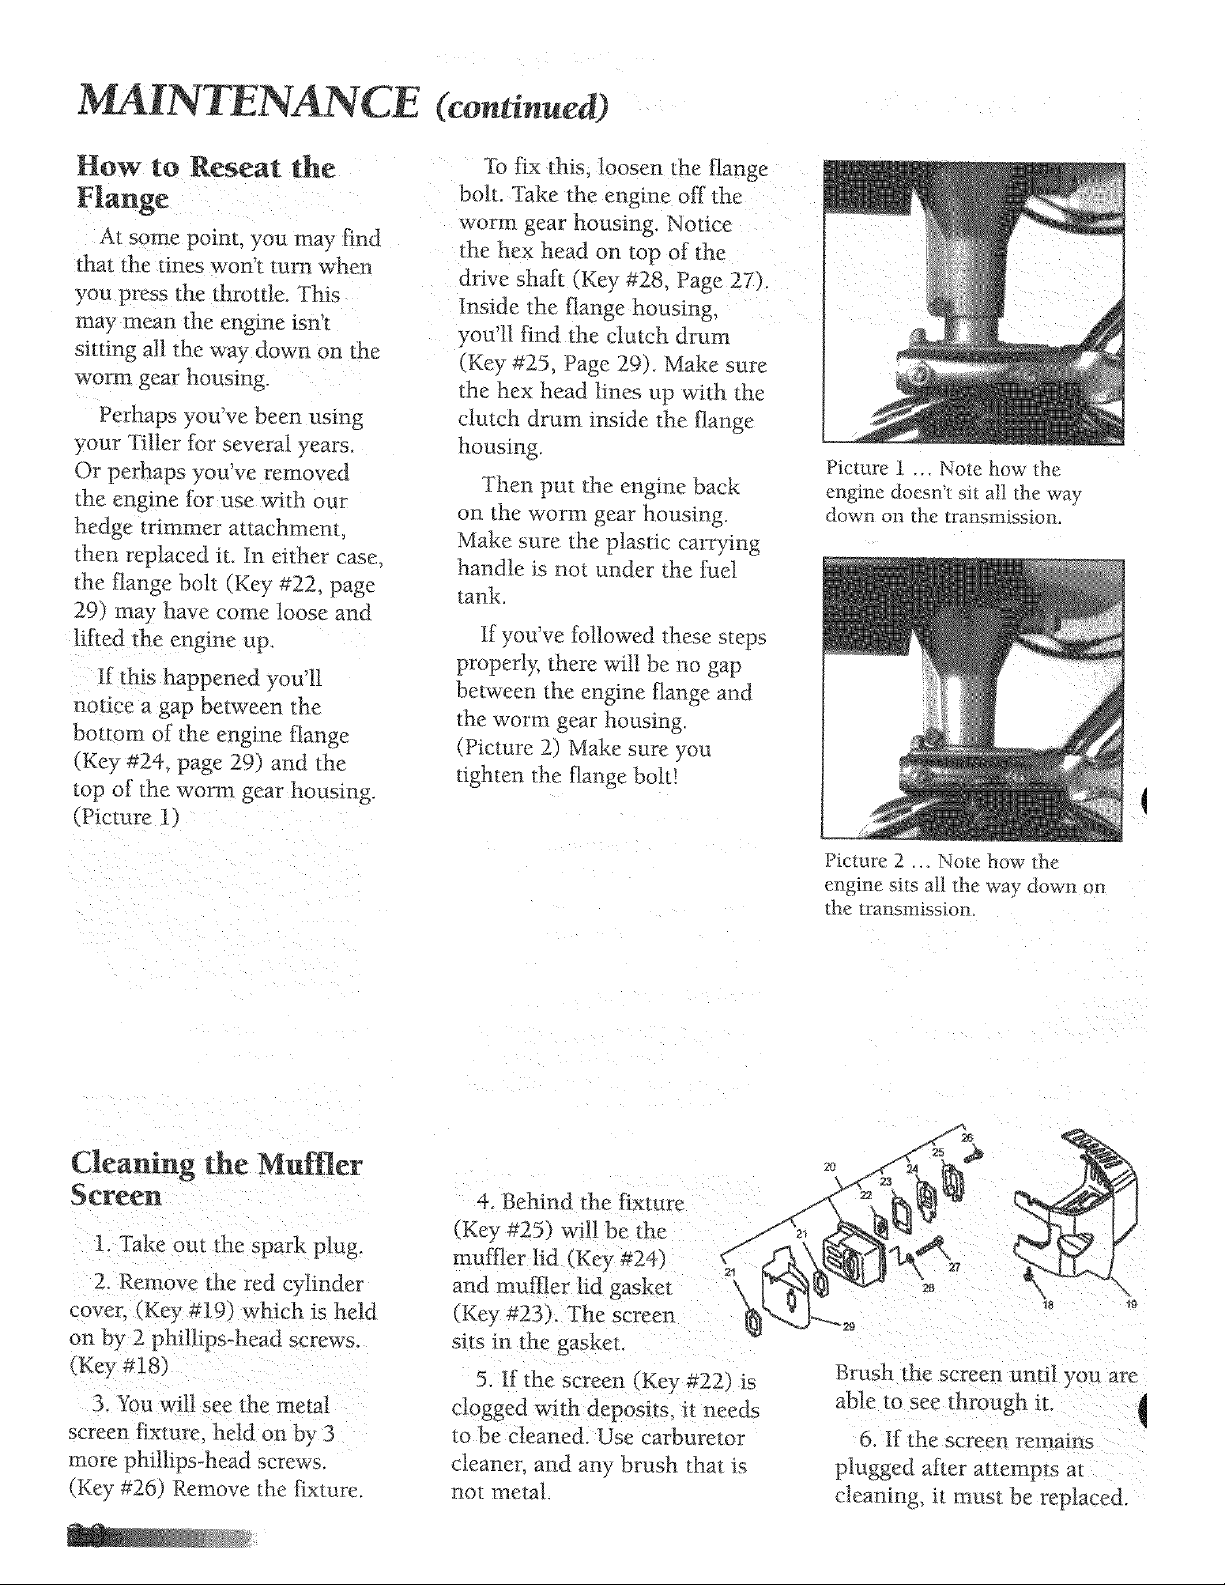
Picture 1 _. Note how _he
engine doesn't sit all the way
down on the transmission.
Picture 2 .._ Note how the
engine sits all the way down on
the transmission.
Cleaning the Muffler
Screen
]. Take out the spark plug.
2. Remove the red @inder
cover, (Key #19) which is held
on by 2 phillips-head screws,
(Key #18
3. You will see _he metal
screen fixture held on b) 3
more phillips-head screws.
(Key #26) Remove the fixture
4. Behi nd the fixture
(Key #25) will be the
muffler hd (Key #24)
and muffler lid gasket
s_ts in the gasket.
5. If the screen (Key _22 } is
clogged with deposits, it nee&
to be cleaned. Use carburetor
cleaner, and any brush that is;
noc metal.
_8 {9
Brush t ae screen until you are
able to see through it.
6. If the screen remams
plugged after attempts al
cleaning, it must be replaced
Loading ...
Loading ...
Loading ...