Loading ...
Loading ...
Loading ...
— 13 —
STEP 9
Attaching Vent
• There are two venting ways, with two type of damper options, one is top 7 inch (17.7 cm) round, another is top or rear
10 inch (25.4 cm) rectangle.
NOTE: Please only punch the vent hole you want to use. Do not punch more than one vent hole, otherwise the air
power suction will be greatly affected.
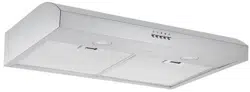
Top venting using 7 inch round damper:
If you require 7 in. round venting, keep the unit as provided in the packaging and install the round damper provided. Below
gures 4, 5 and 6 show how to punch the 7 in. round venting.
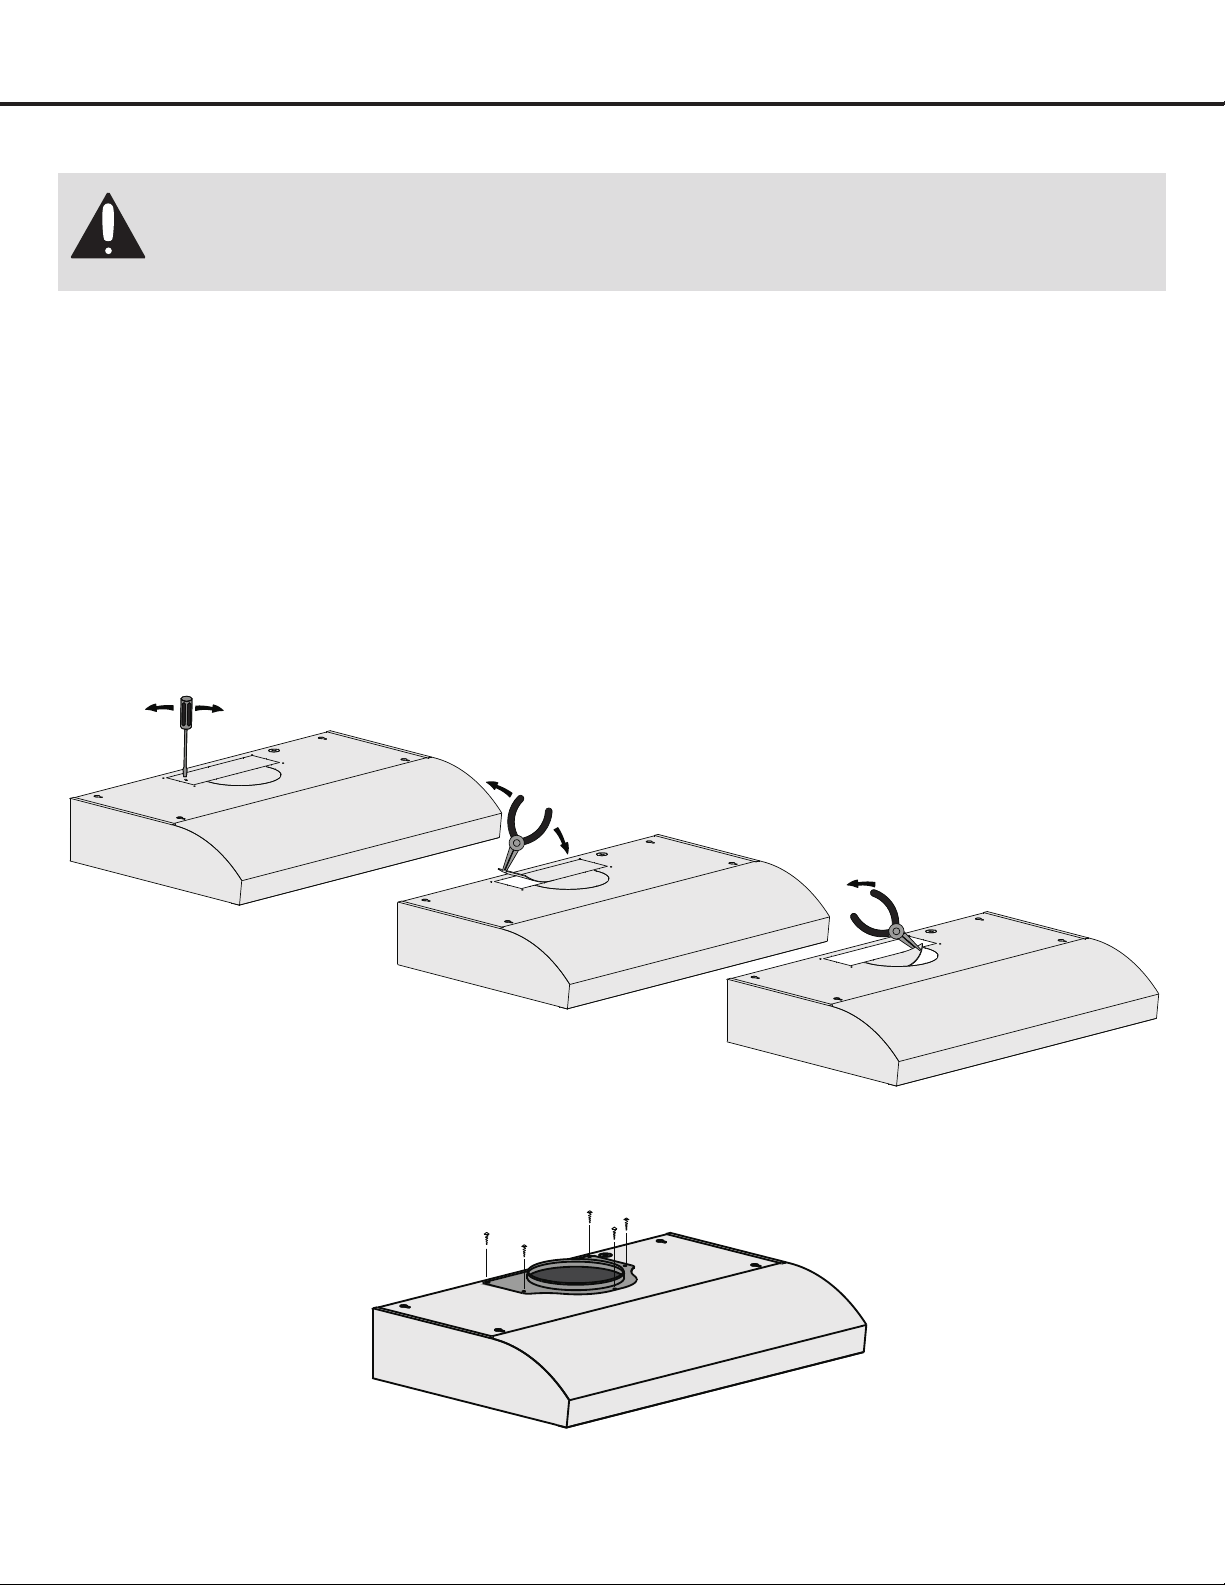
• Then put the round vent kit to the top and xed by screws, position round damper on top of the unit and set in place
with screws provided (Figure 7).
Fix round damper kit to the
top by screws nine pieces
(ST4 × 8 mm).
Installation
Figure 4
Figure 6
Figure 5
• Put the junction box cover back in place and then install the two mounting screws to x it.
Warning: Forsafetyreasons,pleaseuseonlytheappropriatesizeofxingormountingscrews
recommended in this instruction manual.
Failure to install the screws or xing device in accordance with these instructions may result in electrical
hazards.
Figure 7
Loading ...
Loading ...
Loading ...