Loading ...
Loading ...
Loading ...
22 INSTALLATION
CAUTION
Make sure that the set screws are in place and
the pockets at the ends of the handles are
aligned correctly over the mounting fasteners on
the doors. The set screws should be loose
enough to allow the pockets to slide down into
place over the mounting fasteners on the door.
Make sure that there is not a gap between the
door and handle after assembling the handle.
After assembling the handle, pull the door open
to make sure the screws are fully assembled.
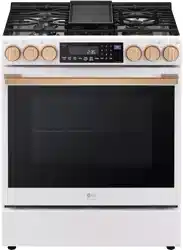
Removing Oven Door Handle
1
Loosen the set screws
a
located on the lower
side of the handle with a 3/32 in. Allen wrench
and remove the handle.
Assembling Oven Door Handle
1
Place the handle on the door by fitting the
handle footprints over the mounting
fasteners and tightening the set screws
a
with a 3/32 in Allen wrench.
Removing/Assembling Knob
and knob Rings
Before Removing/Assembling the
Knob and Knob Rings
CAUTION
Turn off power to the appliance before removing
or replacing the knobs.
Work with one knob at a time to ensure you
don’t mix up replacement pieces.
Check the labels on each knob and knob ring
and set the parts out in the order you will
replace them. This will help ensure you don’t put
them on in the wrong order.
When assembling or disassembling the knob
and knob rings, wear gloves for your safety.
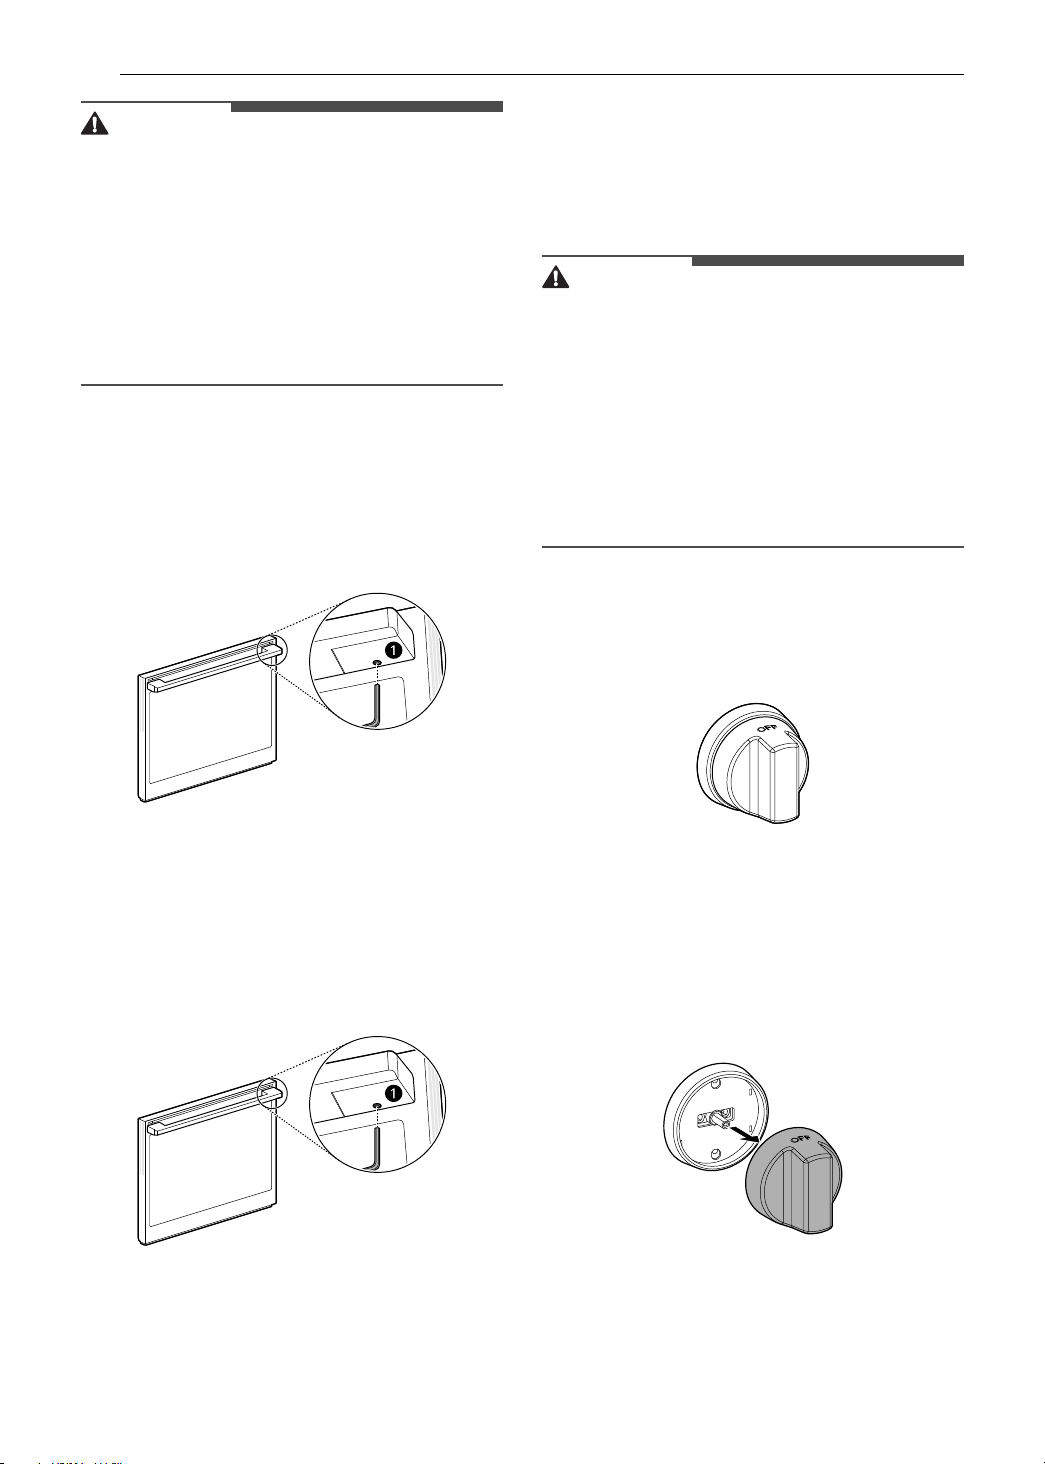
Removing Knob Rings
1
Make sure all knobs are in the OFF position.
2
Choose which knob you will work with first.
3
Remove the knob by grasping the sides and
pulling away from the appliance until the
knob is free from its shaft. You may have to
wiggle it slightly as you pull.
4
To remove the knob ring, turn it
counterclockwise to release the tabs on the
knob ring from the notches.
en-us_main.book.bookPage22Wednesday,July19,20238:51AM
Loading ...
Loading ...
Loading ...