Loading ...
Loading ...
Loading ...
20
Using the Convenient Functions in Performances
Playing Songs
You can copy an audio le (MP3 or WAV) from your computer to a
USB ash drive, and perform on the RD-88 while that audio le plays
back.
1. Format your USB ash drive on the RD-88.
“Formatting a USB Flash Drive (FORMAT USB MEMORY)” (p. 27)
MEMO
5 Use a commercially available USB ash drive. However, we cannot
guarantee operation with all commercially available ash drives.
5 We recommend that you use single-byte alphanumeric characters
for the le name. If you use double-byte characters, the le name
will not be shown correctly in the display.
2. Copy the audio le into the “SONG LIST” folder.
Audio les that can be played
MP3
Format MPEG-1 audio layer 3
Sampling Frequency 48 kHz
Bit rate
32/40/48/56/64/80/96/112/128/160/
192/224/256/320 kbps, VBR (Variable Bit Rate)
WAV
Sampling Frequency 48 kHz
Bit Depth 16/24-bit
* For both MP3 and WAV, the only sampling frequency supported
is 48 kHz. If your le has a sampling frequency of other than
48 kHz, use software on your computer to convert it to 48 kHz
beforehand.
3. Connect the USB ash drive to the USB MEMORY
port of the RD-88.
4. Press the [SELECT] button to make the button
indicator light.
The SONG/RHYTHM screen will appear.
5. Press the [SELECT] button to access the SONG
screen.
Each time you press the [SELECT] button, you’ll alternate between
the SONG screen and the RHYTHM screen.
6. Move the cursor to the song number and use the
[DEC] [INC] buttons to select a song.
7. To play the song, press the [ ] button to make
it light.
When you press the [ ] button to turn o its light, the song
will stop playing.
MEMO
Move the cursor to “Volume” and use the [DEC] [INC] buttons to
adjust the volume of the song.
If you want to save the volume setting, execute the System Write
operation (p. 27).
Assigning the Function of Each Controller
You can change the parameters that are controlled by the [1]–[8]
knobs, WHEEL 1/2, and pedals FC1/FC2.
1. Press the [MENU] button.
2. Use the cursor [ ] [ ] buttons to select “SYSTEM,”
and then press the [ENTER] button.
3. Use the cursor [ ] [ ] buttons to select “ASSIGN” and
then press the [ENTER] button.
4. Use the cursor [<] [>] buttons to select the
controller whose assignment you want to change.
5. Use the cursor [ ] [ ] buttons to select a parameter,
and use the [DEC] [INC] buttons to change its value.
For details, refer to “Parameter Guide” (PDF).
6. If you want to save the setting, execute the System
Write operation.
“Saving the System Settings (System Write)” (p. 27)
MEMO
The settings of these controllers can be specied and remembered
individually for each Scene. This is convenient when you want to
switch the controller assignments for each sound (Scene). In the
Scene edit parameters, change each controller’s Source from System
to Scene. For details, refer to “Parameter Guide” (PDF).
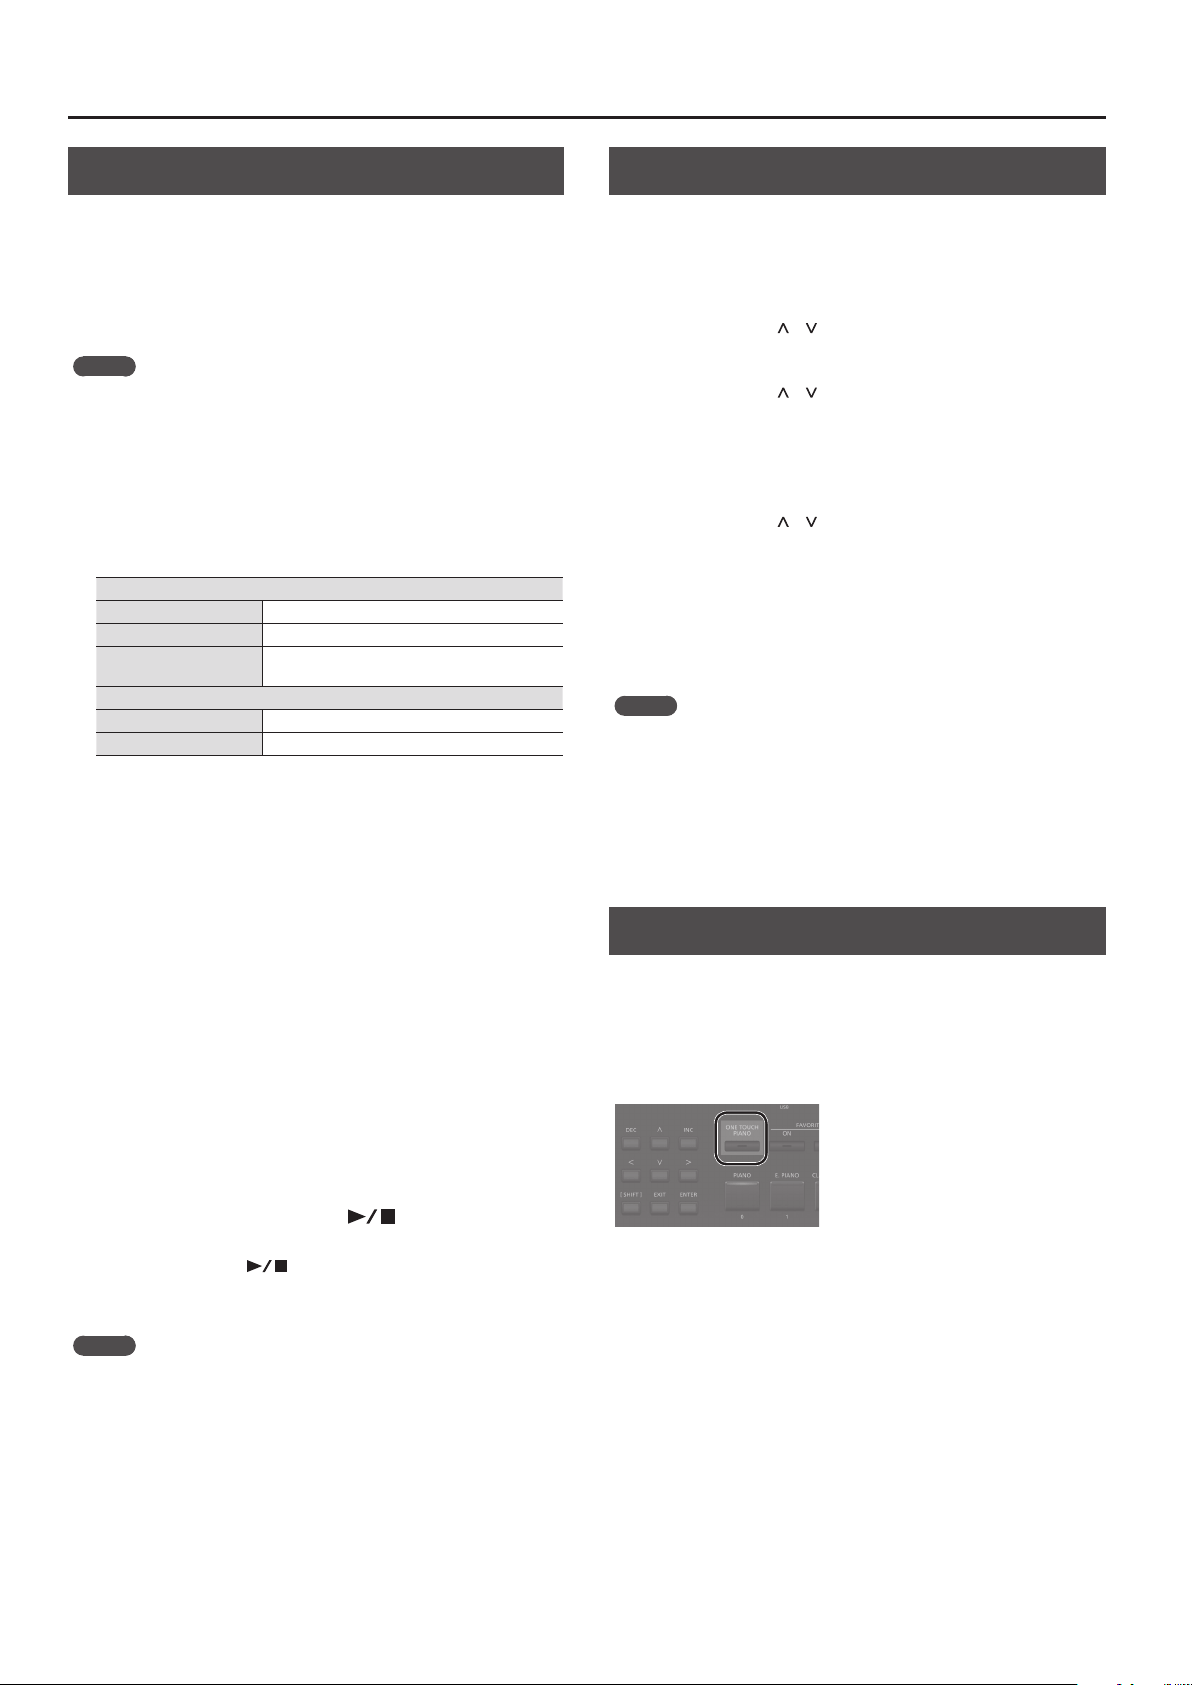
Using the [ONE TOUCH PIANO] Button
With the factory settings, pressing the [ONE TOUCH PIANO] button
recalls the piano sound of Scene 001.
Alternatively, you can assign a favorite Scene to the [ONE TOUCH
PIANO] button by using the following procedure. The Scene assigned
to the [ONE TOUCH PIANO] button is the Scene that is rst selected at
start-up.
1. Select a favorite Scene.
2. Hold down the [WRITE] button and press the [ONE
TOUCH PIANO] button.
The current settings are saved to the [ONE TOUCH PIANO] button.
Loading ...
Loading ...
Loading ...