Loading ...
Loading ...
Loading ...
Memo :
0
If the SD card contains files recorded by devices
other than this camera recorder or files that are
saved from a PC, the recordable time may be
shorter or data may not be properly recorded.
0
For each file format, up to 600 clips can be
recorded to one SD card on this camera
recorder. When 600 clips are recorded to one
card, the remaining space is displayed as 0 min
regardless of the estimated recordable time,
and no further recording can be performed.
0
When [System] is configured to “High-Speed”,
the remaining time display for recording to the
SD card will run out faster than usual. 2
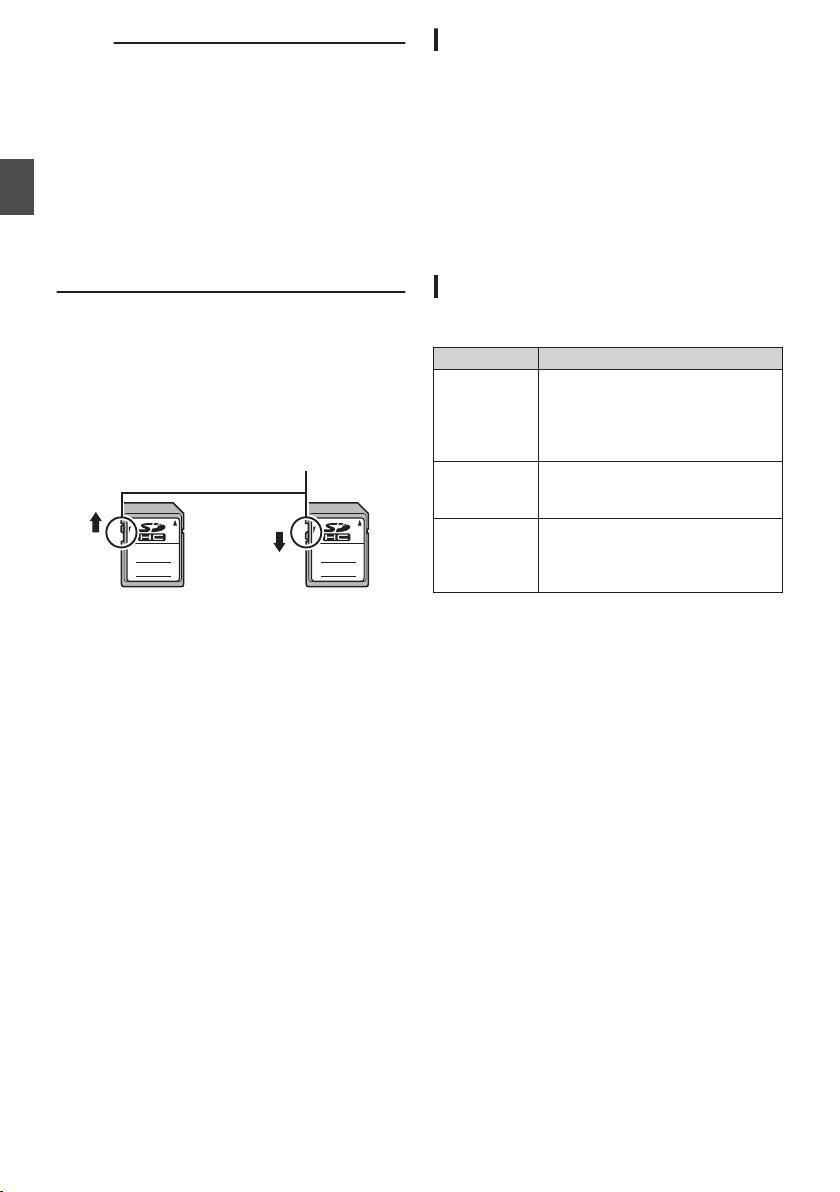
Write-Protect Switch on the SD Card
A
Slide the write-protect switch upward to enable
writing or deleting.
B
Slide the write-protect switch downward to
prevent writing or deleting. (Images in the card
are protected.)
.
AB
Write/Delete Enabled Write/Delete Disabled
Write-Protect Switch
Inserting an SD Card
This camera recorder comes with two card slots
(Slot A and B) for video/audio recording and
playback.
1
Press the SD card cover knob to open the
cover.
2
Insert an SD card with the notched corner
pointing up.
The status indicator of the card slot to which the
card was inserted lights up in red.
3
Close the SD card cover.
Card Slot Status Indicator
The following table shows the respective states of
slot A and B.
Lamp Slot Status
Lights up in
red
The inserted SD card is being
accessed. (writing/reading data)
Do not turn off the power of the
camera
recorder or remove the SD
card.
Lights up in
green
On standby. The inserted SD card
can be used for recording or
playback.
Light goes out
0
SD card is not inserted.
0
An unusable card is inserted.
0
An SD card is inserted but a
different slot is selected.
48
SD Card
Preparations
Loading ...
Loading ...
Loading ...