Loading ...
Loading ...
Loading ...
12
13
LOW HIGH
3. Press the button to conrm the selection. The
lights go o.
Tips for a hotter coee
For a hotter coee, before delivery you are recommended to:
• rinse the appliance through by pressing the
button. Hot water ows out of the coee spouts and
heats the internal circuit of the machine so that the coee
delivered will be hotter.
• warm the cups with hot water (using the hot water
function);
• setahottercoeetemperature(seesection“Settingthe
temperature”).
Making coee using coee beans
Important!
Do not use caramelised or candied coee beans as they could
stick to the coee mill and damage it.
1. Fill the container with coee beans (g. 9).
2. Place under the coee spouts:
- 1 cup if you want one coee (g. 10);
- 2 cups if you want 2 coees (g. 11).
3. Lower the spouts as near as possible to the cup. This makes
a creamier coee (g. 12).
4. Press the button corresponding to the number of coees
required
5. Preparation begins and the light corresponding to the
selected button ashes on the control panel.
Once the coee has been made, the appliance is ready for use
again.
Please note :
• Whilethecoeemakerismakingcoee,deliverycanbe
interrupted at any moment by pressing one of the coee
buttons.
• Attheendofdelivery,toincreasethequantityofcoee
in the cup, just press (within 3 seconds) one of the coee
buttons.
Please note :
For hotter coee, see the section “Tips for a hotter coee”.
Important!
• Ifthecoeeisdelivereda dropatatime, toothin and
not creamy enough or too cold, read the tips in the
“Troubleshooting” section on page 19.
• Lightsmaybedisplayedonthecontrolpanelduringuse.
Their meaning is given in the section “Explanation of the
lights” on page 18.
Making coee using pre-ground coee
Important!
• Neverplacecoeebeansinthepre-groundcoeefunnel
as this could damage the appliance.
• Neveraddpre-groundcoeewhenthemachineisoorit
could spread through the inside of the machine and dirty
it. This could damage the appliance.
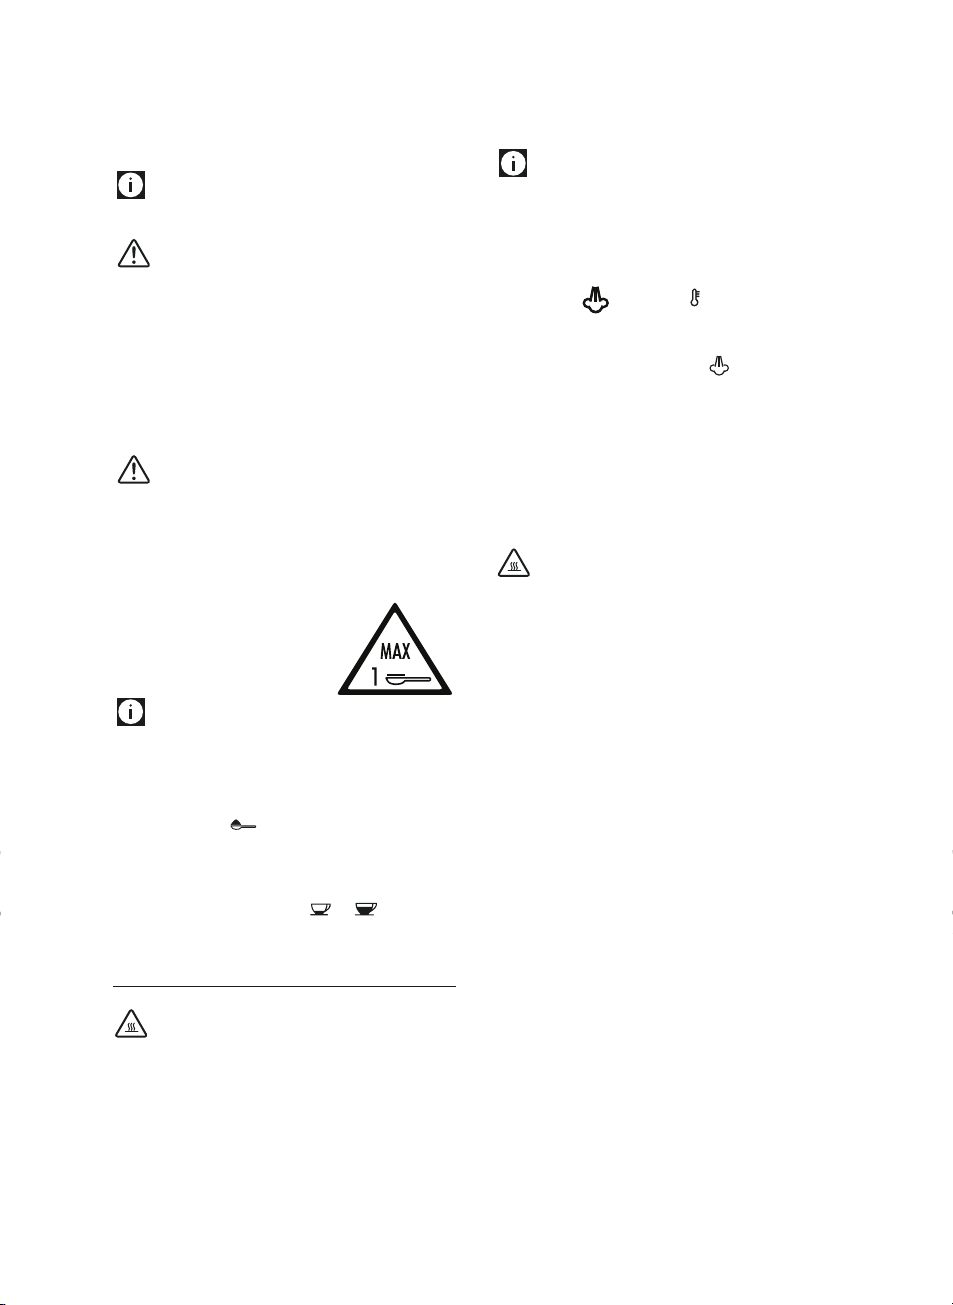
• Never use more than 1 level
measure or it could dirty the
inside of the coee maker or
block the funnel.
Please note :
When using pre-ground coee, you can only make one cup of
coee at a time.
1. Make sure the appliance is on.
2. Turn the coee taste selection dial anticlockwise as far as
it will go to the position (g. 18).
3. Make sure the funnel is not blocked, then add one level
measure of pre-ground coee (g. 19).
4. Place a cup under the coee spouts.
5. Press the 1 cup coee button ( or ).
6. Preparation begins.
MAKING CAPUCCINO
Danger of burns!
During preparation, steam is given o. Take care to avoid
scalds.
1. When making cappuccino, prepare the coee in a large
cup;
2. Fill a container (preferably with a handle to avoid burns)
with about 100 grams of milk for each cappuccino to be
made. In choosing the size of the container, bear in mind
that the milk doubles or triples in volume.
Please note :
For a richer denser froth, use skimmed or partially
skimmed milk at refrigerator temperature (about 5°C).
To avoid milk with poor froth or large bubbles, always
clean the cappuccino maker as described in the section
“Cleaning the cappuccino maker after use”.
3. Press the button. The light ashes.
4. Immerse the cappuccino maker in the milk container (g.
20).
5. After a few seconds, when the light ashes, turn
the steam dial to the I position (g. 5). Steam is delivered
from the cappuccino maker, giving the milk a creamy
frothy appearance and making it more voluminous.
6. To obtain a creamier froth, rotate the container with slow
upward movements. You should not deliver steam for
more than 3 minutes at a time.
7. When you have obtained the required froth, stop steam
delivery by turning the steam dial back to the 0 position.
Danger of burns!
Stop steam delivery before removing the container with
the frothed milk to avoid burns caused by splashes of
boiling milk.
8. Add the milk froth to the coee prepared previously.
The cappuccino is ready. Sweeten to taste and, if desired,
sprinkle the froth with a little cocoa powder.
Cleaning the cappuccino maker after use
Clean the cappuccino maker after use to avoid the build-up of
milk residues or blockages.
1. Place a container under the cappuccino maker and deliver
a little water for a few seconds by rotating the steam dial
to the I position (g. 5).
Then turn the steam dial to the 0 position to stop the ow
of hot water.
2. Wait a few minutes for the cappuccino maker to cool
down. Grip the handle of the cappuccino maker tube
rmly in one hand and with the other rotate the
cappuccino maker anticlockwise (g. 16), then remove by
pulling downwards.
3. Also remove the steam nozzle by pulling it downwards
(g. 17).
4. Make sure the two holes shown by the arrow in g. 18 are
not blocked. If necessary, clean with a pin.
5. Wash all parts of the cappuccino maker thoroughly with a
sponge and warm water.
6. Replace the nozzle and put the cappuccino maker back
on the nozzle, pushing it and turning it upwards until it
is attached.
Loading ...
Loading ...
Loading ...