Loading ...
Loading ...
Loading ...
10
11
Using the appliance for the rst time
Please note :
• Coeehasbeenusedtofactorytesttheapplianceandit
is therefore completely normal for there to be traces of
coee in the mill.
The machine is, however, guaranteed to be new.
• Youshouldcustomisewaterhardnessassoonaspossible
following the instructions in the section “Setting water
hardness” on page 16.
Follow the instructions:
1. Remove the water tank, ll to the MAX line with fresh
water (g. 1A) then put back in the appliance (g. 1B).
2. Place a container with a minimum capacity of 100 ml
under the cappuccino maker (g. 2).
3. Plug the appliance into the mains socket and place the
main switch on the back of the appliance in the I position
(g. 3).
4. The light ashes on the control panel (g. 4).
5. 5. Turn the steam dial to the “I” position (g. 5). The
appliance delivers water from the cappuccino maker then
goes o.
6. Turn the steam dial to the “0” position.
The coee maker is now ready for normal use.
Please note :
• Whenusingtheapplianceforthersttime,youneedto
make 4-5 cups of coee or 4-5 cappuccinos before the
appliance starts to give satisfactory results.
TURNING THE APPLIANCE ON
Please note :
• Before turning the appliance on, make sure the main
switch on the back of the appliance is in the I position (g.
3).
• Each time the appliance is turned on, it performs an
automatic preheat and rinse cycle which cannot be
interrupted. The appliance is ready for use only after
completion of these cycles.
Danger Of burns!
During rinsing, a little hot water comes out of the coee spouts
and is collected in the drip tray underneath.
Avoid contact with splashes of water.
• To turn the appliance on, press the (g. 6): The
corresponding light ashes while the appliance is
heating up and performing an automatic rinse cycle (by
circulating hot water, the appliance heats both the boiler
and the internal circuits).
The appliance is at temperature when the light goes o and
the lights corresponding to the coee buttons come on.
TURNING THE APPLIANCE OFF
Each time the appliance is turned o, it performs an automatic
rinse cycle which cannot be interrupted.
Danger Of burns!
During rinsing, a little hot water ows from the coee spouts.
Avoid contact with splashes of water.
To turn the appliance o, press the button (g. 6). The
appliance performs a rinse cycle, then goes o.
Please note :
If the appliance is not used for an extended period, also place
the main switch in the 0 position (g. 3).
Important!
To avoid damaging the appliance, do not place the main switch
(g. 3) in the 0 position until the appliance has been turned o
using the button.
AUTOOFF
The appliance is set to turn o automatically if not used for 2
hours.
The time can be changed so that the appliance switches o
after 15 or 30 minutes, or after 1, 2 or 3 hours.
The set the auto-o, proceed as follows:
1. With the machine o and the main switch in I position
(g. 3), press the button and keep it pressed until the
lights on the control panel come on.
2. Press the button (on the left side of the dial) until
until the lights corresponding to the number of hours be-
fore the appliance goes o automatically come on:
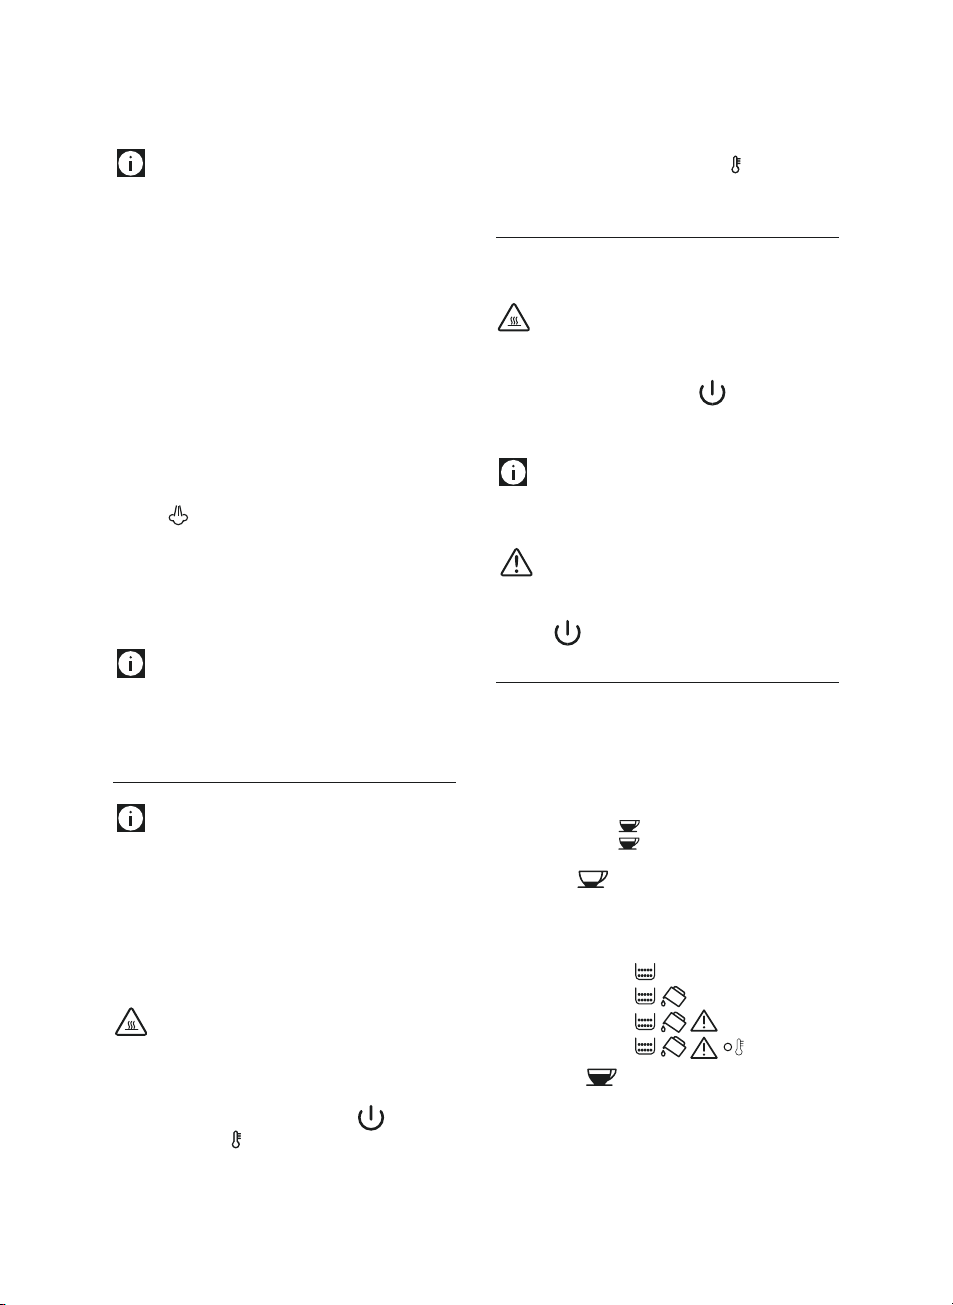
15 minutes ECO
30 minutes ECO
1 hour ECO
2 hours ECO
3 hours ECO
3. Press the button (on the left side of the dial) to
conrm; the lights switch o.
ENERGY SAVING
Use this function to enable or disable energy saving mode.
When enabled, the function reduces energy consumption in
compliance with European regulations.
Energy saving mode is active when the green ECO light is on
(g. 7).
1. With the appliance o and the main switch in the I
position (g. 3), press the button and hold it down
until the ECO light comes on (g. 7).
2. To disable the mode, press the button (on the left of
the dial). The ECO light ashes.
3. To re-enable the mode, press the ECO button (on the left
of the dial) again. The ECO light comes on steadily.
4. Press the button (on the right of the dial) to
conrm the selection. The ECO light goes o.
Please note :
A few seconds may elapse between energy saving mode
and delivery of the rst coee as the appliance must heat up
again.
WATER SOFTENER FILTER
Certain models are tted with a water softener lter. If this
is not the case with your model, you are recommended to
purchase one from De’Longhi Customer Services.
Important:
• Keepinacooldryplaceoutofdirectsunlight.
• Afteropeningthepac,,usethelteratonce.
• Removetheltebeforedescalingthemachine.
To use the lter correctly, follow the instructions below.
Installing the lter
1. Remove the lter from packaging and rinse the lter with
about half a litre of tap water (g. 8).
2. Rotate the calendar disk so that the next two months are
displayed (g. 9).
Please note:
The lter lasts about two months if the appliance is used
normally. If the coee maker is left unused with the lter
installed, it will last a maximum of three weeks.
3. Remove the tank from the appliance and ll with water
(g. 1A).
4. Insert the lter in the water tank and immerse it
completely, sloping it to enable the air bubbles to escape
(g. 10).
5. Insert the lter in the lter housing and press as far as it
will go (g. 11).
Loading ...
Loading ...
Loading ...