Loading ...
Loading ...
Loading ...

34
Maintenance
Install a Printer
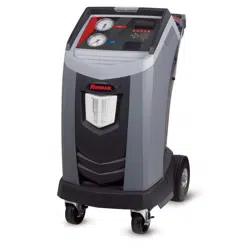
A printer may be purchased and installed on any model
not containing a printer. All models of the machine already
contain a printer connection harness that is ready for use.
To install a printer:
1. Turn OFF the machine and disconnect it from its power
source.
2. Remove the four screws holding the shroud. See Figure 8.
3. Hang the shroud on the back of the machine as shown
in Figure 9.
4. Remove the two screws on the top corners of the control
panel, allowing the control panel to swivel forward.
5. The printer connection harness is fastened to the back
of the cap that is in the printer location cut-out. Remove
the zip tie, freeing the harness. The harness will be used
in a later step.
6. Remove the cap from the printer location cutout by pressing
on the cap’s tabs from the back of the control panel and
pushing the cap out of the panel.
7. Remove the two locking arms from the printer by inserting
the face of a athead screwdriver under each tab near the
back of its locking arm. Pry the tab outward while sliding
the entire arm away from the printer.
8. Place the printer into the cut-out area on the control panel.
Press the face of the printer ush to the panel, oriented
with the paper coming out at the top of the printer as
shown in Figure 12.
9. Replace the printer locking arms from within the inside
of the control panel. Push them forward until they come
into rm contact with the inside face of the control panel.
10. Locate the free end of printer connection harness which
was detached from the cap in Step 5.
11. Attach the two free connectors to the appropriate
connectors on the back of the printer.
12. Swivel the control panel back into place and fasten it
using the two screws removed in Step 4.
13. Assemble the shroud back onto the machine and install
the four screws removed in Step 2.
The printer is now ready for use.
Loading ...
Loading ...
Loading ...