Loading ...
Loading ...
Loading ...
10 | ENGLISH
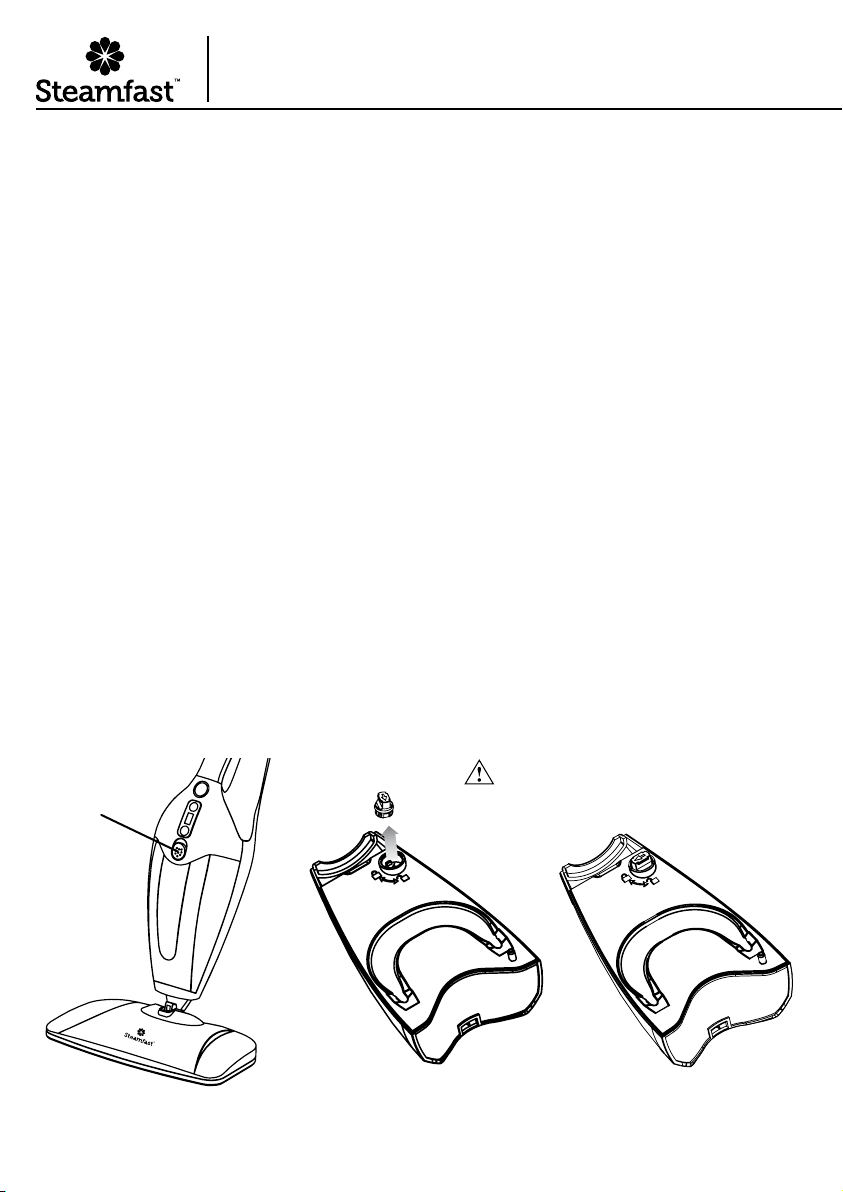
FIGURE 1 FIGURE 2 FIGURE 3
Water Tank
Release
Button
±
FILLING WATER TANK
NOTE: Do not turn unit upside-down when Water Tank is full - a small amount of water may
leak out.
1. Slide the Water Tank Release Button upward (Figure 1) and hold as you remove Water Tank.
Pull Water Tank upwards and towards you to remove.
2. Remove Water Tank Cap by unscrewing it in a counter-clockwise direction to unlock. Pull
Water Tank Cap out (Figure 2). Fill Water Tank with room temperature water, up to 15 oz.
(444 ml.), and replace Water Tank Cap so that the grooves on top and bottom of Water Tank
Cap align with the tabs inside Fill Hole. Screw Water Tank Cap in a clockwise direction to
lock (Figure 3).
3. Slide the Water Tank Release Button upward and hold. Insert Water Tank inside the cavity of
Mop Body (inserting and aligning the bottom of Water Tank rst). Push Water Tank forward
until locked into place.
NOTE: In order to signicantly reduce mineral build-up and prolong the life of your 3-in-1
Steam Mop, use of distilled or de-mineralized water in the unit is highly recommended.
NOTE: The tube that transfers water from the Water Tank to the boiler is weighted down
with a brass ball. This is an intentional design to improve efciency of water usage. It is
normal for this ball to create a rattling sound inside of Water Tank during use.
If you think brass ball has come loose from tube, refer to troubleshooting guide.
Using Your
3-in-1 Steam Mop
Choking hazard. Small parts.
Keep away from children and pets.
Loading ...
Loading ...
Loading ...