Loading ...
Loading ...
Loading ...
Automatic Ice and
Water Dispenser
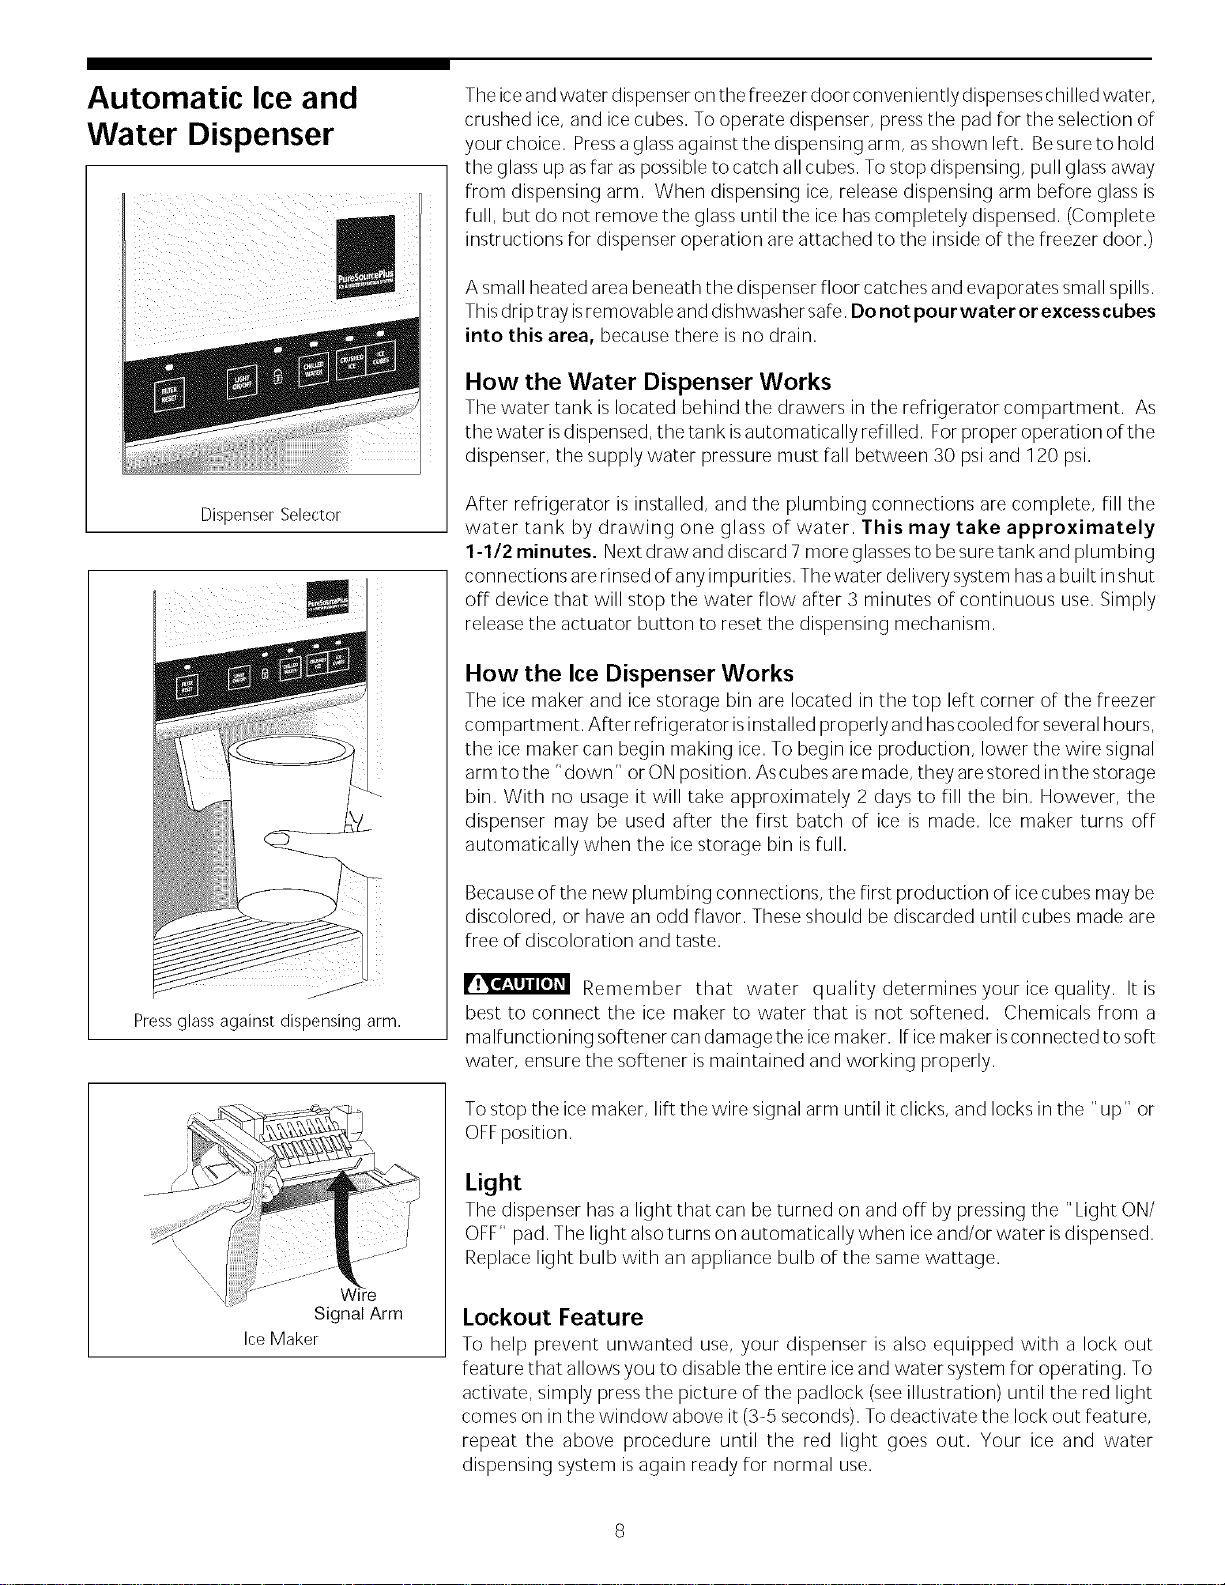
Dispenser Selector
Press glass against dispensing arm.
W_iFe
Signal Arm
IceMaker
Theiceand water dispenser on the freezer door conveniently dispenseschilled water,
crushed ice, and ice cubes. To operate dispenser, pressthe pad for the selection of
your choice. Pressa glassagainst the dispensing arm, asshown left. Besure to hold
the glass up asfar aspossible to catch all cubes. To stop dispensing, pull glass away
from dispensing arm. When dispensing ice, release dispensing arm before glass is
full, but do not remove the glass until the ice hascompletely dispensed. (Complete
instructions for dispenser operation are attached to the inside of the freezer door.)
A small heated area beneath the dispenser floor catches and evaporates small spills.
Thisdrip tray isremovable and dishwasher safe. Do not pour water or excesscubes
into this area, because there isno drain.
How the Water Dispenser Works
The water tank is located behind the drawers in the refrigerator compartment. As
the water isdispensed, the tank isautomatically refilled. Forproper operation of the
dispenser, the supply water pressure must fall between 30 psi and 120 psi.
After refrigerator is installed, and the plumbing connections are complete, fill the
water tank by drawing one glass of water. This may take approximately
1-1/2 minutes. Nextdraw and discard 7 more glassesto be suretank and plumbing
connections are rinsed of any impurities. Thewater delivery system hasabuilt inshut
off device that will stop the water flow after 3 minutes of continuous use. Simply
release the actuator button to reset the dispensing mechanism.
How the Ice Dispenser Works
The ice maker and ice storage bin are located in the top left corner of the freezer
compartment. After refrigerator isinstalled properly and hascooled for severalhours,
the ice maker can begin making ice. To begin ice production, lower the wire signal
arm to the "down" or ONposition. Ascubes are made, they are stored in the storage
bin. With no usage it will take approximately 2 days to fill the bin. However, the
dispenser may be used after the first batch of ice is made. Ice maker turns off
automatically when the icestorage bin isfull.
Becauseof the new plumbing connections, the first production of icecubes may be
discolored, or have an odd flavor. These should be discarded until cubes made are
free of discoloration and taste.
Remember that water quality determinesyouricequality. It is
best to connect the ice maker to water that is not softened. Chemicals from a
malfunctioning softener candamagethe ice maker. If icemaker isconnected to soft
water, ensure the softener ismaintained and working properly.
To stop the ice maker, lift the wire signal arm until it clicks, and locks in the "up" or
OFFposition.
Light
The dispenser hasa light that carl be turned on and off by pressing the "Light ON/
OFF" pad. The light alsoturns on automatically when iceand/or water isdispensed.
Replace light bulb with an appliance bulb of the same wattage.
Lockout Feature
To help prevent unwanted use, your dispenser is also equipped with a lock out
feature that allows you to disable the entire iceand water system for operating. To
activate, simply press the picture of the padlock (seeillustration) until the red light
comes on in the window above it (3-5 seconds). Todeactivate the lock out feature,
repeat the above procedure until the red light goes out. Your ice and water
dispensing system isagain ready for normal use.
Loading ...
Loading ...
Loading ...