Loading ...
Loading ...
Loading ...
18
Be sure you have a thorough familiarity with the
assembly and installation process before turning
on your wine keg dispenser.
NOTE: Once casters are assembled, place your
unit in an upright position and allow it to sit for at
least 8-10 hours before plugging into an outlet.
This will allow the refrigerant to settle before
operation.
Caster Assembly
1. Remove
everything
from the
cabinet and lay
the unit on a
clean, dry, and
padded surface.
2. Install casters
into holes on
the bottom of
the unit as
shown and
tighten with a wrench. Two of the four casters
provided are equipped with locks to prevent
slippage of the unit on smooth surfaces such
as hardwood floors, linoleum, or tile. These
casters should be installed on the front of
the unit.
3. Once all four casters are attached, return the
wine keg dispenser to an upright position and
allow to remain for at least 8-10 hours. (See
Note above.)
Guardrail Installation
To install the guardrail,
1. Place the guardrail on top of the wine keg
dispenser and line up the feet of the guardrail
with the holes on top of the cabinet.
2. Using the screws provided, secure each foot to
the cabinet.
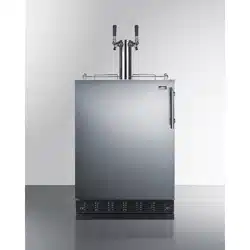
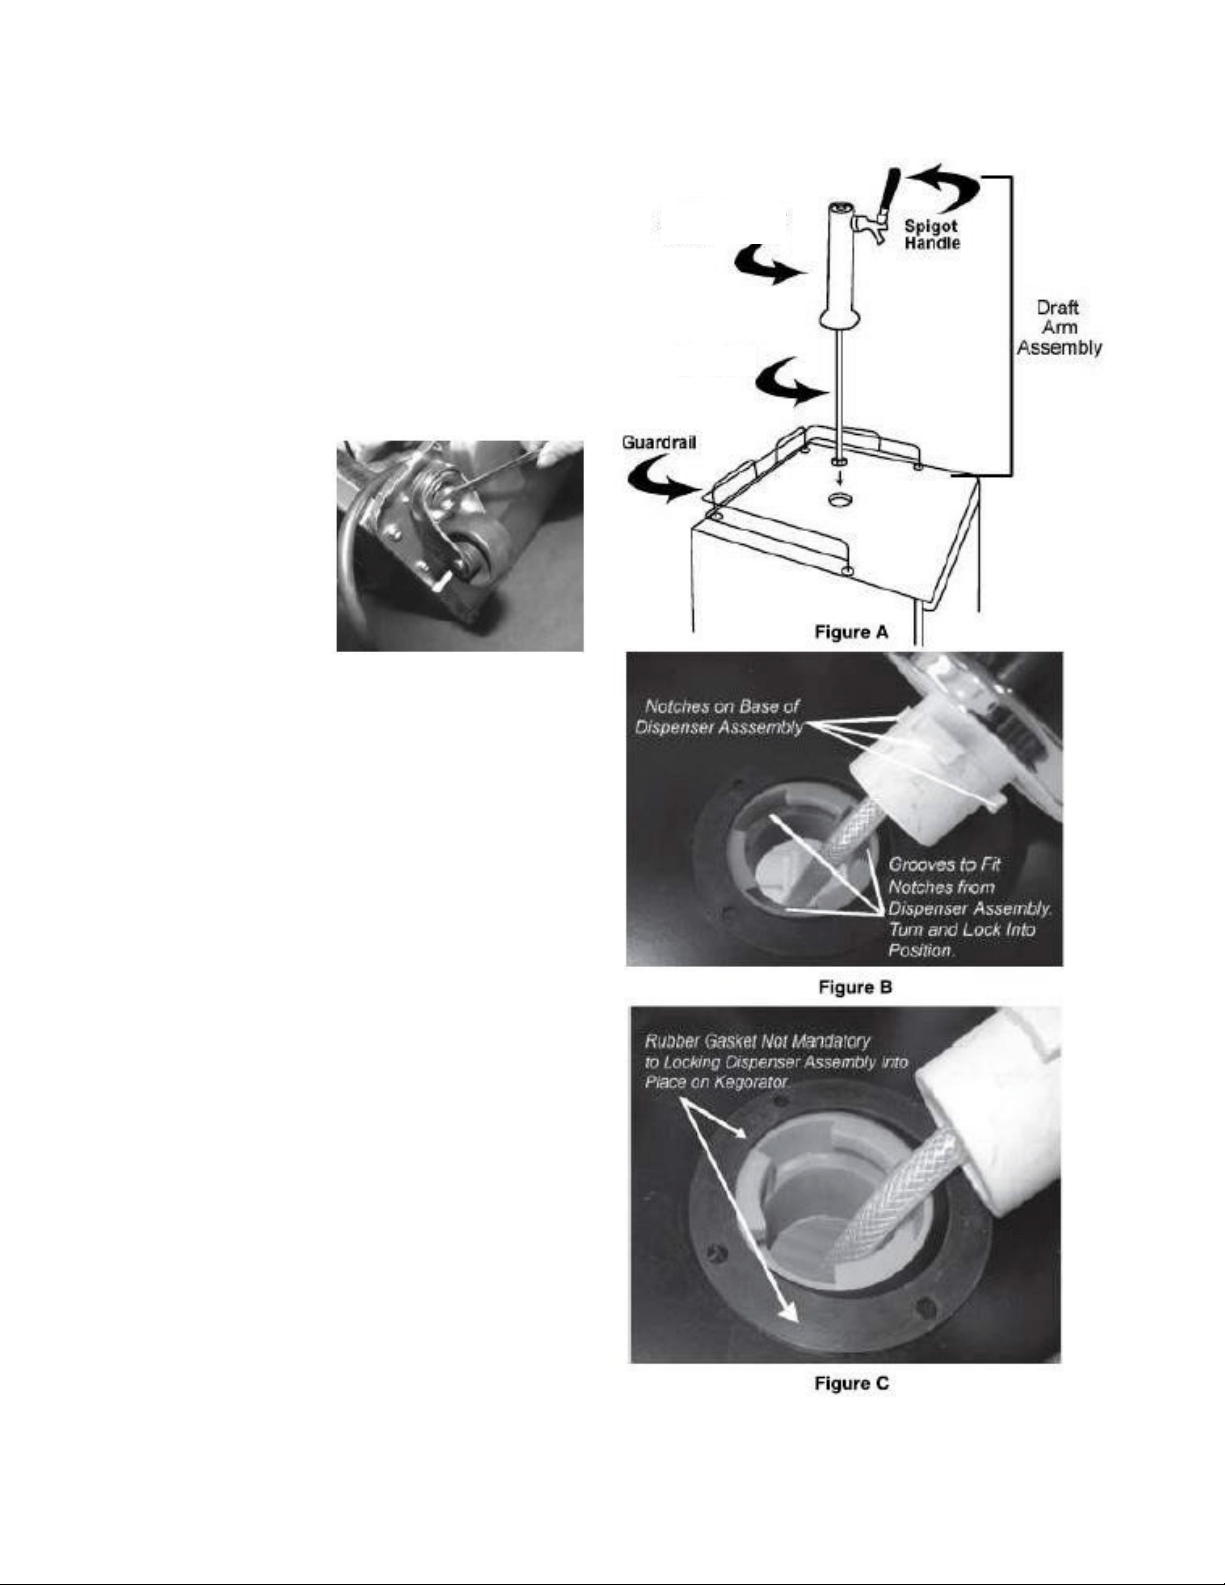
Wine Tap Installation
To install the wine tap, first line up the draft arm
notches with the notches in the hole in the top of
the wine keg dispenser. Feed the arm into the
hole, making sure that the notches are aligned
properly. Slide arm down and twist until the arm is
secure. (No screws or fasteners are necessary.)
While not required, we recommend the use of the
black rubber gasket when installing the wine tap.
Using the gasket will provide a more secure
seating for the arm assembly. (See figures A, B,
and C in the next column.)
Wine Duct
Wine Dispenser
Tower
Loading ...
Loading ...
Loading ...