Loading ...
Loading ...
Loading ...
8
Navigating the Setup Menu
Entering Setup Menu:
setup menu. See next section for the setup menu
overview.
Note: “Enter Code” will appear if the INPUT knob is held
too long. This is for support purposes only. Press the
knob again to exit.
Selecting/Adjusting Menu Settings:
see additional options.
Exiting/Navigating Back:
A brief deliberate press (not hold) and release of
additional presses until the display shows the
main operating screen to continue normal use of
the unit.
The following is a list of the available settings
the display says “Hold Input”. The selectable
what each option does when selected.
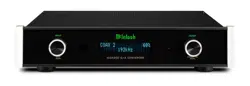
Serial Number:
The MDA200’s unique serial number can be
viewed by entering the setup menu and rotating
-
bers and letters to the right are the unit’s serial
number. This number can also be found on the
rear of the unit.
Firmware Version:
Firmware is internal software that controls the
MDA200’s functionality. Firmware upgrades
technicians.
can be viewed by entering the setup menu. The
-
number following the V to the right is the digital
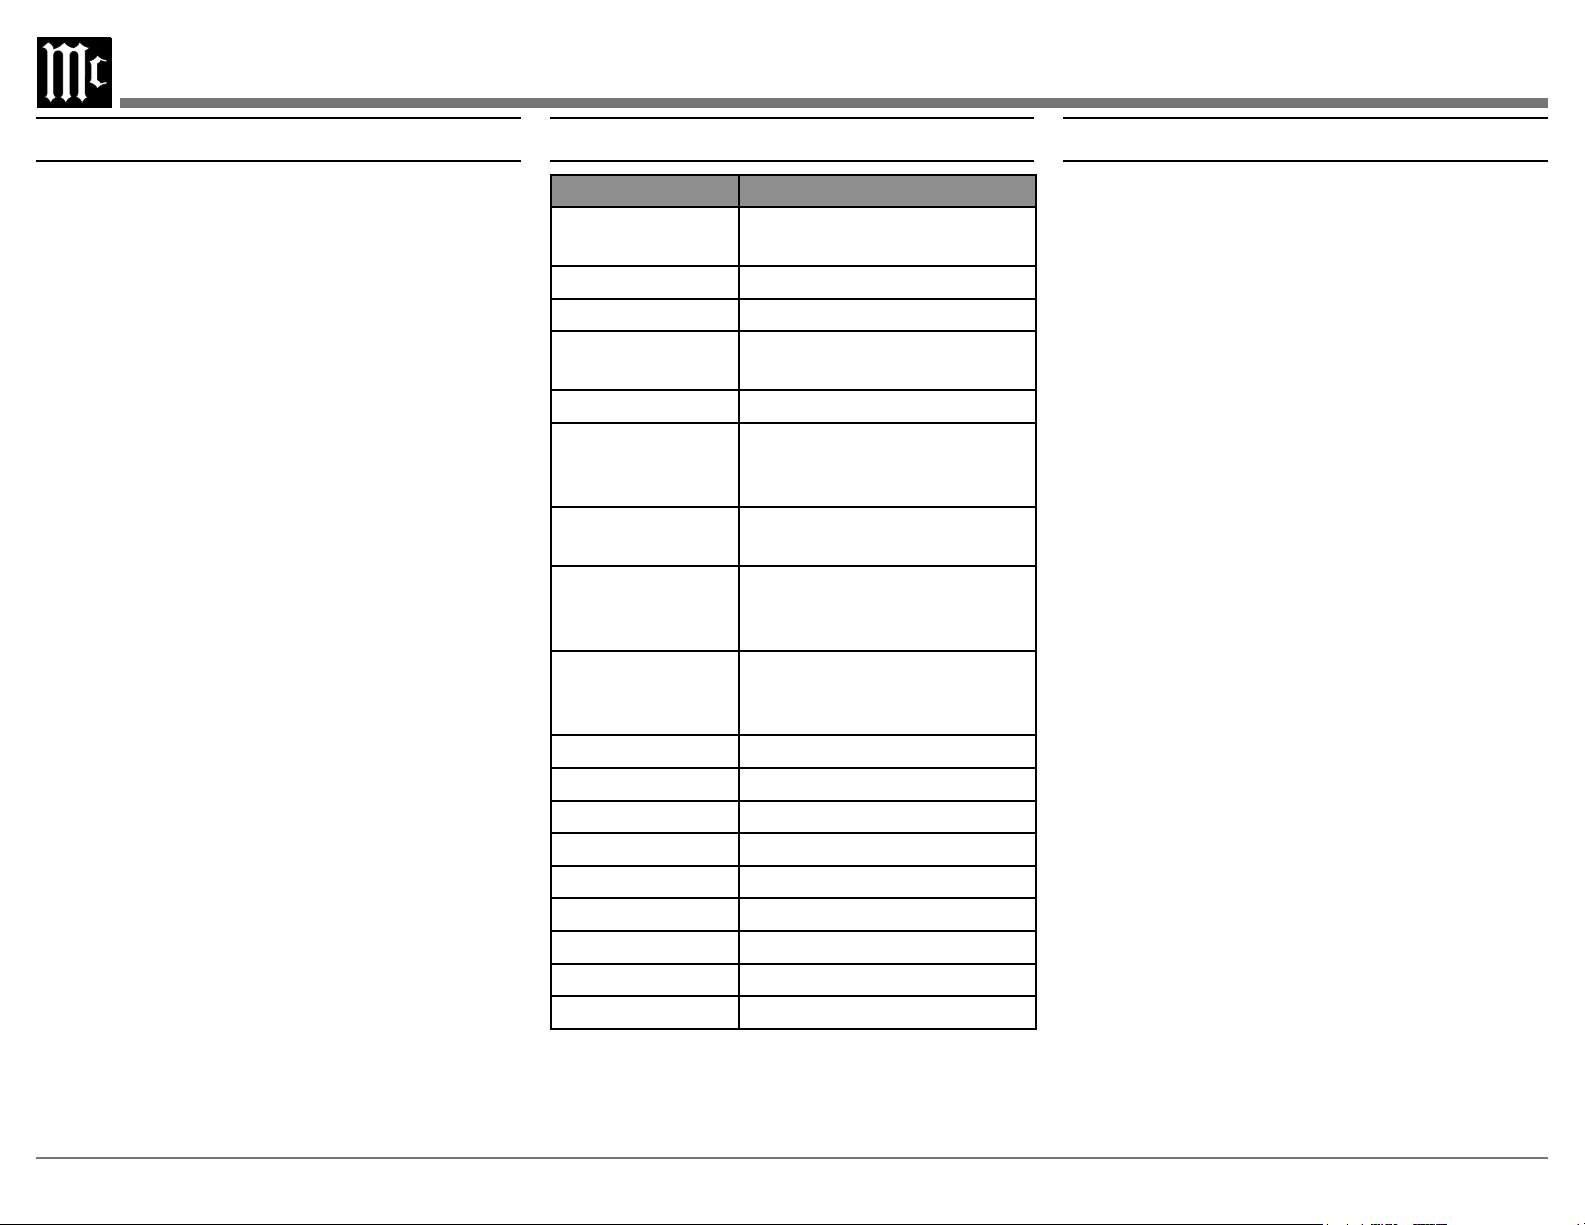
Setup Menu SettingsSetup Menu Settings and Options
Setting Options
Displays the serial number
of the MDA200
MDA200 V_ . _ _
DA2 V_ . _ _
Setup: Level
On / Rename
HDMI CEC VOL
(Consumer Elec-
tronic Control)
Control Command
HDMI CEC
PWR
Mode (Audio
Only)
Auto / Manual
Digital Gain (for
1&2)
DATA PORT All Data / Individual Input
IR Codes
Front IR Enabled / Disabled
Power IR Enabled / Disabled
Input IR Enabled / Disabled
Trim IR Enabled / Disabled
Enabled / Disabled
Factory Reset Default Settings
Loading ...
Loading ...
Loading ...