Loading ...
Loading ...
Loading ...
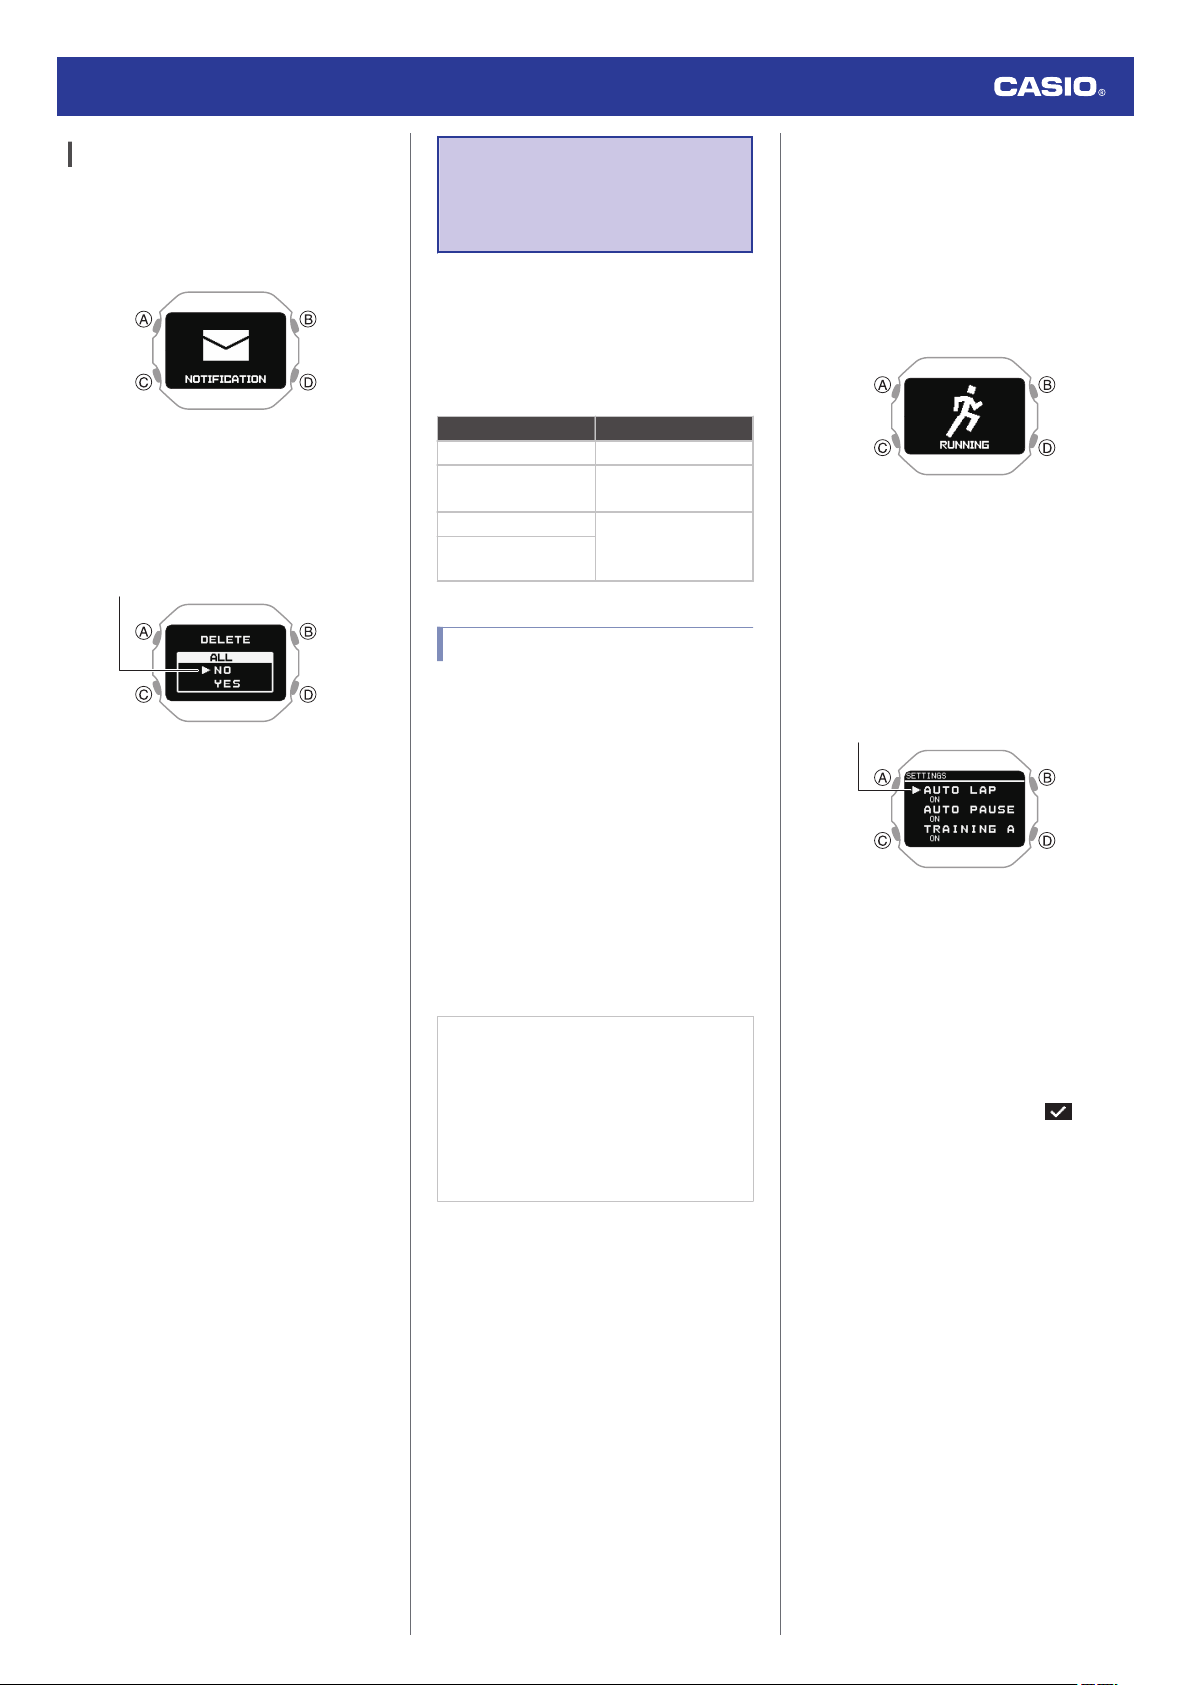
Deleting All Notifications
1. Display the current time screen.
l
Watch Mode
2. Use (C) to select
[
NOTIFICATION].
3. Press (A).
This displays the notification list.
4. Hold down (C) for at least two seconds.
This displays the data delete screen.
Pointer
5. Use (C) to move the pointer to [YES]
.
●
To cancel data deletion, move the
pointer to [NO].
6. Press (A).
After the data delete operation is
complete, a
check mark appears for a few
seconds, and then [NO DATA] appears.
Activity
Measurement
Settings
This section explains how to configure
settings related to activity measurement.
The setting menu that is displayed depends
on the activity.
●
Activity-specific Setting Menu
Activity Setting Menu
GYM WORKOUT TRAINING ALERT
INTERVAL TIMER
TRAINING ALERT
INTERVAL TIMER
RUNNING AUTO LAP
AUTO PAUSE
TRAINING ALERT
WALKING
Enabling Auto Lap Timing
While auto lap timing is enabled, a lap is
recorded each time you run the lap distance
you specified.
Perform the required operations with the
CASIO WATCHES phone app or on the watch
to configure auto lap measurement settings.
You can set a lap measurement distance up
to 10.0 km, in increments of 0.1 km.
●
To configure auto lap settings with the
CASIO WATCHES phone app
Before using Auto Lap Timing, you need to
use the CASIO WATCHES phone app to
specify the Auto Lap Timing distance.
Check the connection
●
Make
sure
the
e
symbol is shown on the
watch display when you perform the
procedure below. If
e
is not displayed,
refer to the information at the link below.
l
Connecting with a Phone Paired
With the Watch
1.
Y
Tap the “CASIO WATCHES
” icon.
2.
Y
Tap the “My Watch” tab.
3.
Y
Select “DW-H5600
” and tap it.
4.
Y
Select the setting you want to change
and then perform the operation shown on
the screen.
●
To configure auto lap settings with the
watch
1. Display the current time screen.
l
Watch Mode
2. Press (A).
This enters the Activity Mode.
Example:
3. Use (C) to select an activity.
4. Press (A).
This displays the measurement operation
ready screen.
5. Hold down (C) for at least two seconds.
This displays the activity measurement
setting screen.
Pointer
6. Use (C) to move the pointer to [AUTO
LAP].
7. Press (A).
8. Use (C) to select
[ON].
●
To disable auto lap measurement,
select [OFF].
●
The currently selected setting will be
indicated by a check mark ( ) to the
left.
9. Press (A).
This causes a cursor to appear, which you
can use to set the auto lap measurement
distance.
Watch Operation Guide 3516
50
Loading ...
Loading ...
Loading ...