Loading ...
Loading ...
Loading ...
Infrared grilling produces intense heat which quickly sears the
meat. Searing locks in flavor and juices while allowing the outer
surface to absorb smoke and food aroma that is produced as
grease and drippings are vaporized by the burner. The result is a
crisp, flavorful outside with a tender, juicy inside.
Preheat the infrared sear burner for 5 minutes.
Ensure that meats are fully thawed and that all excess fat is
trimmed away prior to grilling.
Leave the burner set to HI when placing food on the grill to
sear.
Use the sear burner to sear meat 1 to 2 minutes on each side,
then move the meat to the main grill cooking surface to finish
grilling to the desired doneness.
NOTE: Grates are to be in place when using the infrared sear
burner.
Lighting the Infrared Searing Burner
1. Do not lean over the grill.
2. Push in and turn the control knob to IGNITE/ON. You will hear
the "snapping" sound of the spark.
O
3. When the infrared searing burner lights, continue to hold the
knob in for another 10 seconds, then release the knob and
burner will stay lit. You will hear the "snapping" sound of the
spark until the knob is released.
IMPORTANT: If the infrared searing burner does not light
immediately, turn the burner knob to OFF and wait 5 minutes
before relighting.
Manually Lighting the Infrared Searing Burner
1. Do not lean over the grill.
2. Remove the manual lighting extension (see following
illustration) and attach a match to the split ring.
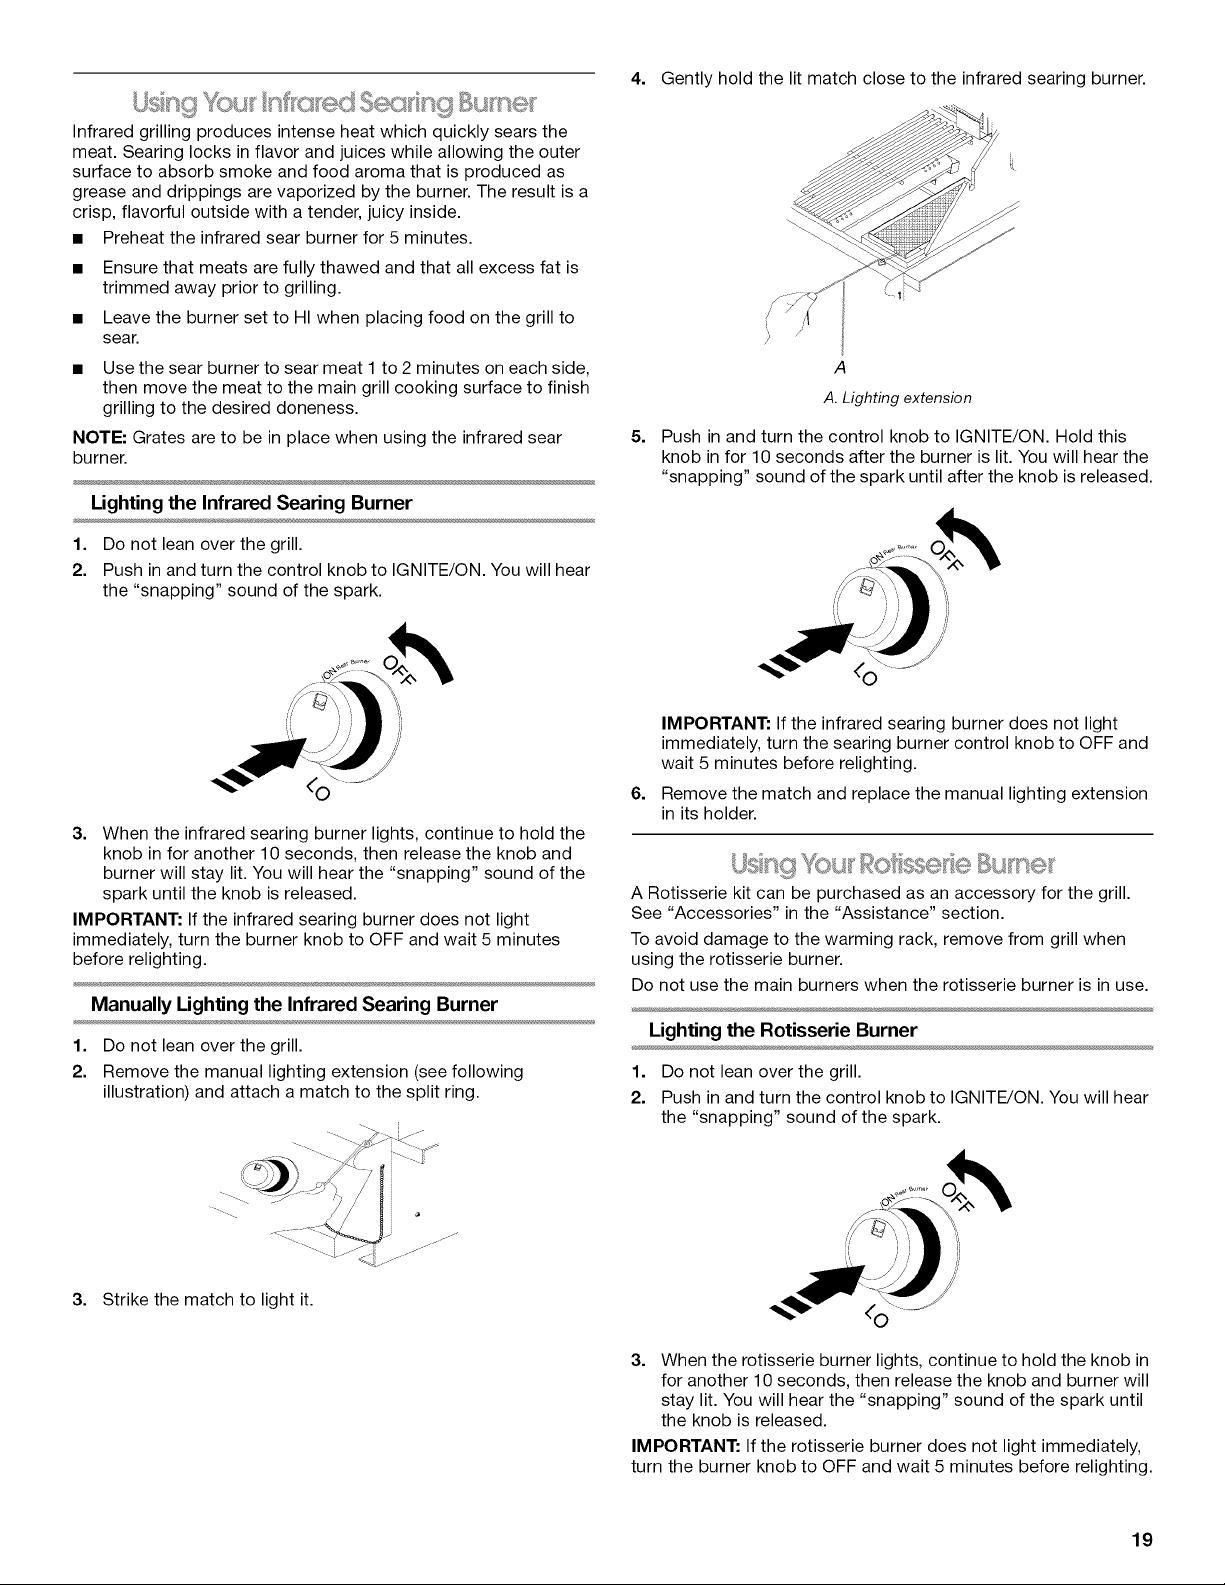
4. Gently hold the lit match close to the infrared searing burner.
5. Push in and
knob in for 1
"snapping"
/
A
A. Lighting extension
turn the control knob to IGNITE/ON. Hold this
0 seconds after the burner is lit. You will hear the
sound of the spark until after the knob is released.
, 9
6.
IMPORTANT: If the infrared searing burner does not light
immediately, turn the searing burner control knob to OFF and
wait 5 minutes before relighting.
Remove the match and replace the manual lighting extension
in its holder.
(srcs' "
A Rotisserie kit can be purchased as an accessory for the grill.
See "Accessories" in the "Assistance" section.
To avoid damage to the warming rack, remove from grill when
using the rotisserie burner.
Do not use the main burners when the rotisserie burner is in use.
Lighting the Rotisserie Burner
1. Do not lean over the grill.
2. Push in and turn the control knob to IGNITE/ON. You will hear
the "snapping" sound of the spark.
3. Strike the match to light it.
3. When the rotisserie burner lights, continue to hold the knob in
for another 10 seconds, then release the knob and burner will
stay lit. You will hear the "snapping" sound of the spark until
the knob is released.
IMPORTANT: If the rotisserie burner does not light immediately,
turn the burner knob to OFF and wait 5 minutes before relighting.
19
Loading ...
Loading ...
Loading ...