Loading ...
Loading ...
Loading ...
NOTE: If grill is to be converted to Natural gas, follow instructions To Connect the 20 Ib LP Gas Fuel Tank:
in the "Gas Conversions" section.
20 Ib LP Gas Fuel Tank
Fire Hazard
Do not use grill near combustible materials.
Do not store combustible materials near grill.
Doing so can result in death or fire.
Explosion Hazard
Use a new CSA international approved "outdoor"
gas supply line.
Securely tighten all gas connections.
if connected to LP, have a qualified person make sure
gas pressure does not exceed 11" (28 crn) water
column.
Examples of a qualified person include:
licensed heating personnel,
authorized gas company personnel, and
authorized service personnel.
Failure to do so can result in death, explosion, or fire.
IMPORTANT: A 20 Ib LP gas fuel tank must be purchased
separately.
IMPORTANT: The gas pressure regulator/hose assembly
supplied must be used. Replacement gas pressure regulator/
hose assembly specific to your model, is available from your
outdoor grill dealer.
To Install the 20 Ib LP Gas Fuel Tank:
1. Install the 20 Ib LP gas fuel tank into the compartment below
the grill.
2. Tighten the locking screw against the bottom collar of the
20 Ib LP gas fuel tank to secure.
1. Check that the 20 Ib LP gas fuel tank is in the "Off" position. If
not, turn the valve clockwise until it stops.
2. Check that the 20 Ib LP gas fuel tank valve has the proper
type-1 external male thread connections per ANSI Z21.81.
3. Check that the burner control knobs are in the "Off" position.
4. Remove any debris and inspect the valve connections, port,
and gas pressure regulator/hose assembly for damage.
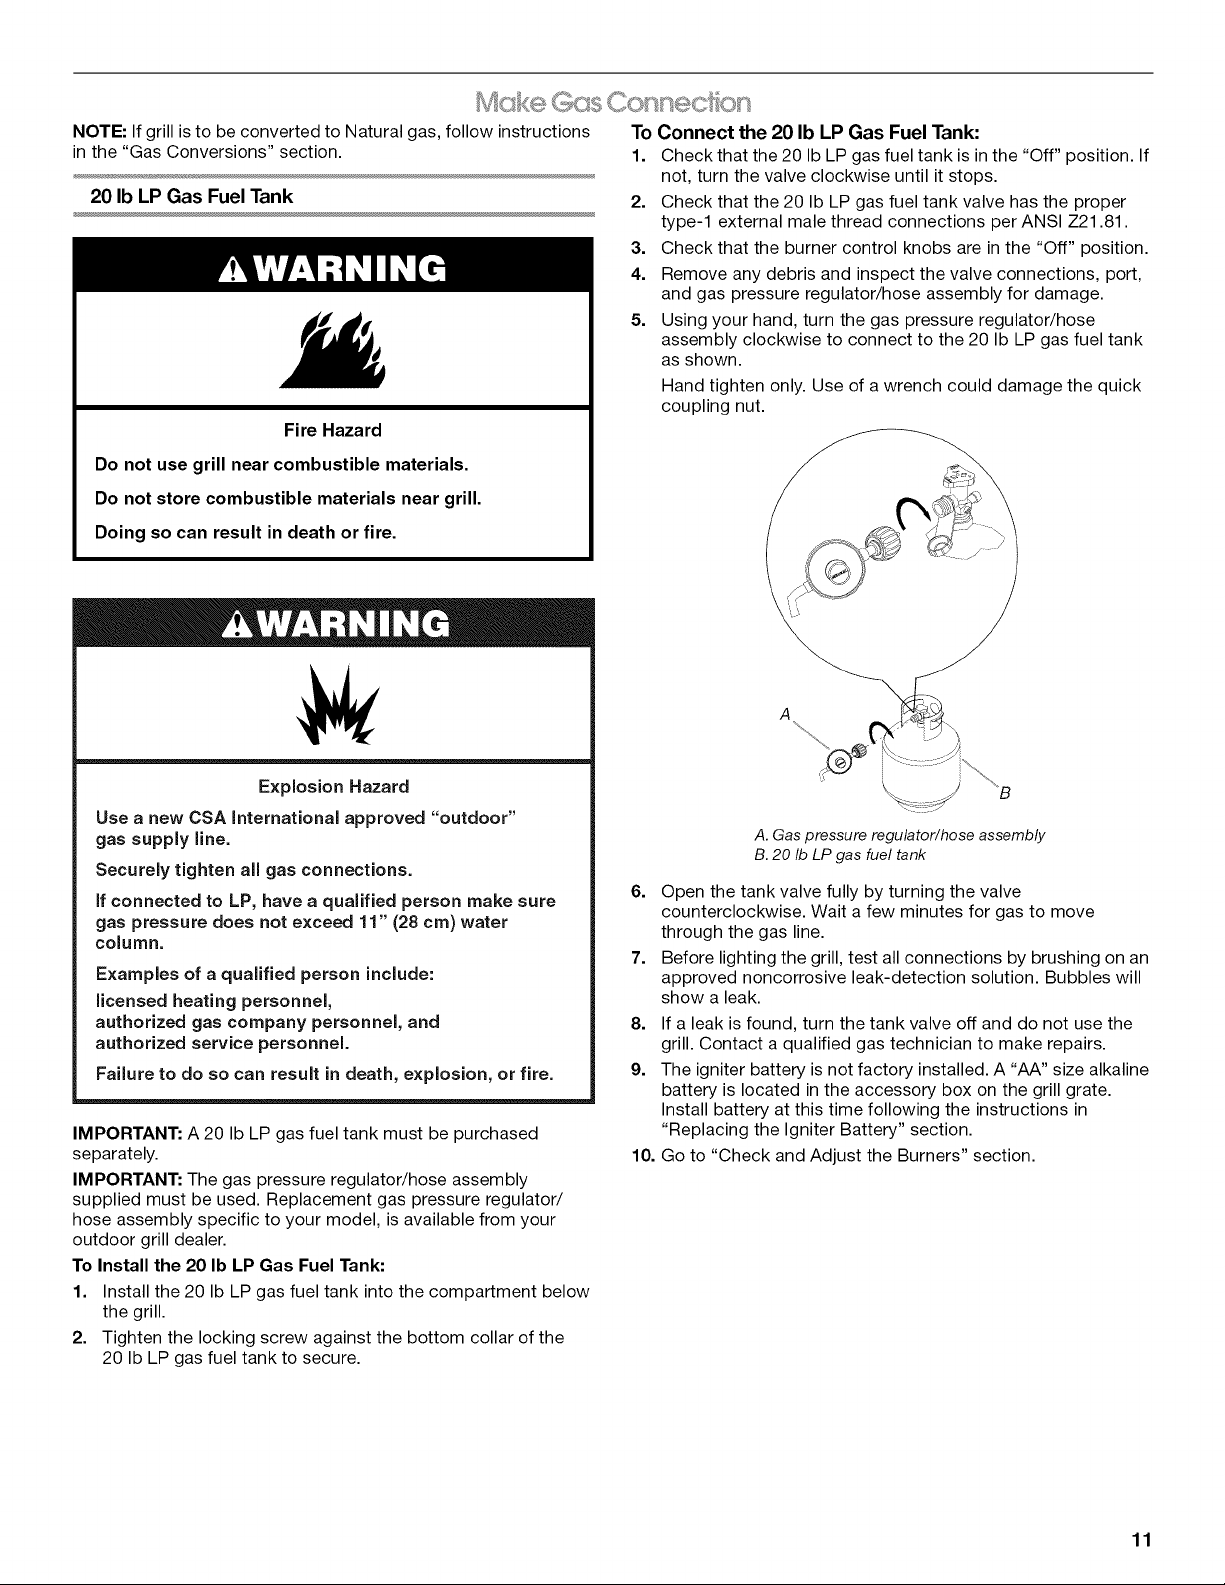
5. Using your hand, turn the gas pressure regulator/hose
assembly clockwise to connect to the 20 Ib LP gas fuel tank
as shown.
Hand tighten only. Use of a wrench could damage the quick
coupling nut.
A
j i
A. Gas pressure regulator/hose assembly
B. 20 Ib LP gas fuel tank
6. Open the tank valve fully by turning the valve
counterclockwise. Wait a few minutes for gas to move
through the gas line.
7. Before lighting the grill, test all connections by brushing on an
approved noncorrosive leak-detection solution. Bubbles will
show a leak.
8. If a leak is found, turn the tank valve off and do not use the
grill. Contact a qualified gas technician to make repairs.
9. The igniter battery is not factory installed. A "AA" size alkaline
battery is located in the accessory box on the grill grate.
Install battery at this time following the instructions in
"Replacing the Igniter Battery" section.
10. Go to "Check and Adjust the Burners" section.
11
Loading ...
Loading ...
Loading ...