Loading ...
Loading ...
Loading ...
29
TIMER function
When "READY" appears on the display, select the cooking
position (see the section "Cooking Position"), then place
the food on the plates. The cooking time can be selected
by pressing the timer/ temperature probe buttons (14 and
15); at the end of the cooking time "END" is displayed, the
appliance emits 5 beeps, but the appliance remains on.
When the food is cooked, switch the appliance o by pressing
the start/stop button (8) or turn the thermostat dials (9 and
16) to the "●" position.
Please note: the appliance will turn o
automatically after 90 minutes of operation.
SEAR function
This feature heats the upper and/or lower plates to a higher
temperature for a few minutes. It is ideal for quickly searing
foods at the beginning of cooking (ideal for thick meat). Press
the start/stop button, then preheat the plates by pressing the
sear buttons (10 and 17).
During the preheating,the LEDs around the sear button
blink. Once the plate reaches the required temperature, the
appliance emits a beep, the LED stays on and xed for one
minute.
Put the food on the plates immediately; during this one
minute, the appliance regulates the plate at the sear
temperature. After that, the LED turns o, the display
shows the temperature set by the thermostat dials and the
appliance regulates the plate accordingly.
Please note: This function can be used once only
in every 30 minutes. After the cycle, if you press the sear
function within 30 minutes, the LED around the sear button
blink 5 times and the appliance will play 3 beeps. The
operation cannot be set on the control.
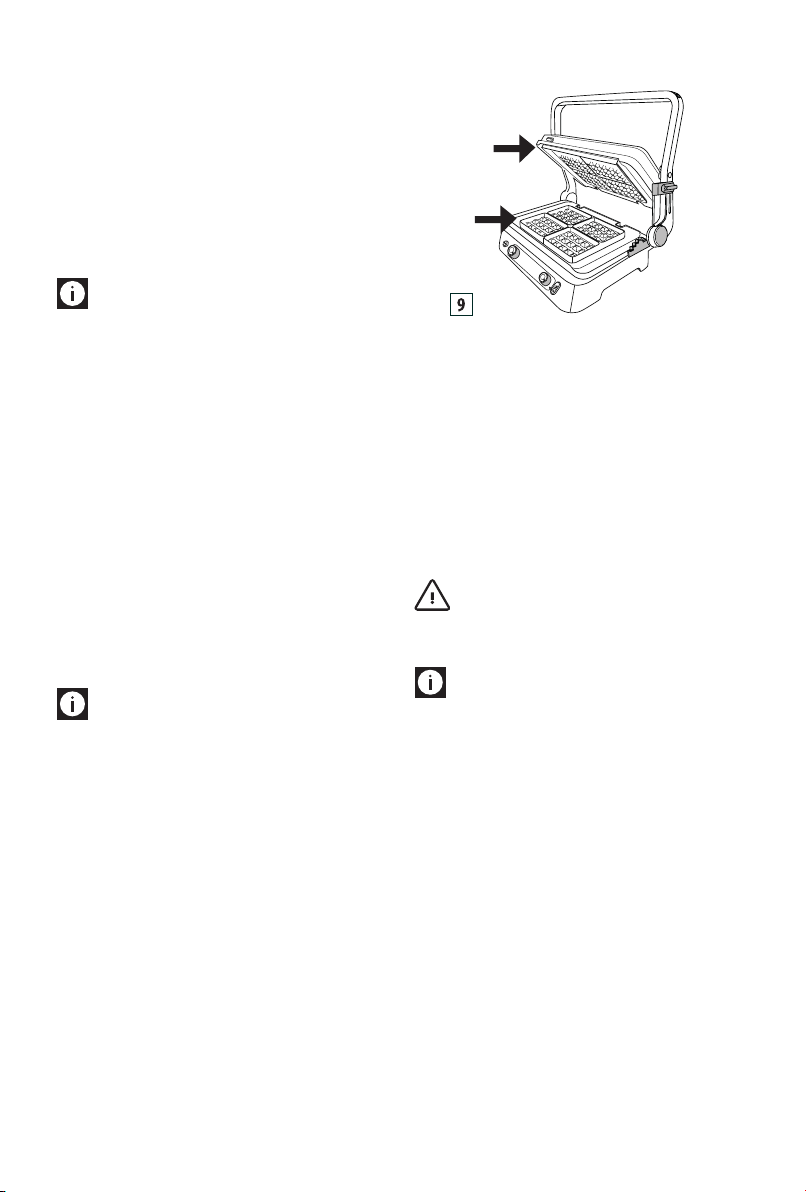
WAFFLE mode (some models only)
- Insert the wae plates (19c/19d) as show in g.1.
Please note that in this case the plates are not
interchangeable and the position of each plate must be
as shown in gure 9.
- Once the lower plate is inserted in the appliance, OFF-1-
2 or 3 appears on the display (depends on the position
of the knobs). Turn the thermostat dials to the desired
position (1= light, 2= medium, 3= dark) and press the
start/stop button.
- The appliance starts the preheating phase. When the
thermostat reaches the required temperature, the
appliance emits a beep, and is ready to use. "READY"
appears on the display.
- Lightly grease the plates with melted butter
- Add one dosing cup for two wae areas.
- Spread the batter slightly and close the appliance.
- Cook according to the time indicated in the recipes.
If you set the timer, three beeps will sound at the end of
the cooking cycle, the timer will disappear and "END"
will appear on the display; the appliance remains on. At
the end of the last wae press the "start/stop" button
to switch o the appliance.
- To cook additional waes, simply add batter to the
lower wae plate and follow the above steps.
Important! do not use metal tools when removing
the wae from the wae plates as they may scratch the
non-stick surface.
Please note: This function has been optimized with
the appliance working in CLOSED position.
SANDWICH function
This function is ideal for toasting bread on the outside and
heating the inside of the sandwich.
Press the SANDWICH button (11), the function LED lights up
and the default time (05:00) appears on the display. The time
can be changed at any time simply pressing buttons - (14)
+ (15); the temperature is already set, it cannot be changed
because knobs are deactivated.
Press the START / STOP button and the ON light will come on
(the time on the display will start ashing). The appliance
starts the preheating phase.
When the thermostat reaches the temperature, the appliance
emits 3 beep, and is ready to use. "READY" appears on the
display. Place the sandwich on the lower plate as shown in
gure 10, close with the upper one and press the SANDWICH
button to start the countdown. At the end of cooking ve
beeps will sound and “--:- -” will appear on the display. At the
19c
19d
Loading ...
Loading ...
Loading ...