Loading ...
Loading ...
Loading ...
)N SYs'r:s, s
Be sure the oven control is set in the OFF
position prior m suppiyinggasm the range.
Your appliance features pilotless ignition.
The oven bake and brd burners are
equipped with an electric glow ignitor and
safety system which ignites the gas. The
burner will light within 30 seconds.
With this ignition system,the oven will not
operate during a power failure or if the
oven is disconnected from the wall outlet.
No attempt should be made to oper-
ate the oven during a power failure.
Oven Light Switch - push on the top of
the OVEN LIGHT switch to turn the oven
light on. Pushon the bottom of the switch
to turn the light off.
Convect Switch - pushon the top of the
CONVECT switch to turn the convection
fan ON. Pushon the bottom of the switch
to turn the convection fan OFF. Avoid
using the convection fan while broiling.
Conventional heat is more effective when
broiling.
Oven Knob - use to set oven tempera-
ture for baking or convection baking or m
select broiling. Be sure the indicator line is
positioned with the exact mmperature
desired.
Small Oven Knob (Model PRG481@
only) - use to set oven temperature for
baking.(This oven is not designed to broil
or convection bake.)Turn the control knob
to the temperature desired.
Oven hdicator Light - the light will
glow until the desired temperature is
reached.As the burners cycle to maintain
the selected temperature the lights will
cycle on and off also.
To burn off the manufacturing oils
usedat the factory, turn the oven and
broiler burners ON one at atime to
450°F. Allow to heat for 20-30 rain- '"
utes. Turn on the overhead hood to
remove the odor from the room.
° Hoisture evaporates from food dur-
inganycooking process. The amount
of moisture dependson the moisture
content of the food. This moisture
will condense on any surface that is
cooler than the inside of the oven,
suchas the control pane[or the top
of the door. This is normal.
SETTING THE CONTROLS
[o Placeoven racks on proper rack psi-
tions.
2. Turn OVEN [<nobto desired tempera-
tU re,
3. Turn on the CONVECT fan if convec-
tion cooking isdesired.When the OVEN
indicator light cycles off, the oven is
preheated to the selectedtemperature.
Placethe food in the oven. The OVEN
indicator light will cycle on and off
throughout the bakingprocess. Preheat
only when necessary. Refer to baking
and roasting sections (pgs. 9-1 I) as to
when preheating is recommended.
4. After baking, turn OVEN knob and
CONVECT fan, if selected, OFF.
]> ,)SITI ,)NS
(,, g ,
The rackpositions noted arerecommended
for the best browning results and most
efficient cooking times.
To remove: Pull forward to the stop
position; lift upon the front of the rack and
pull out.
To replace: Tilt the front of the rack up
and place between rack slides. SHe the
rack back until it dears the stop position.
Lower the front and slide the rack straight
in.
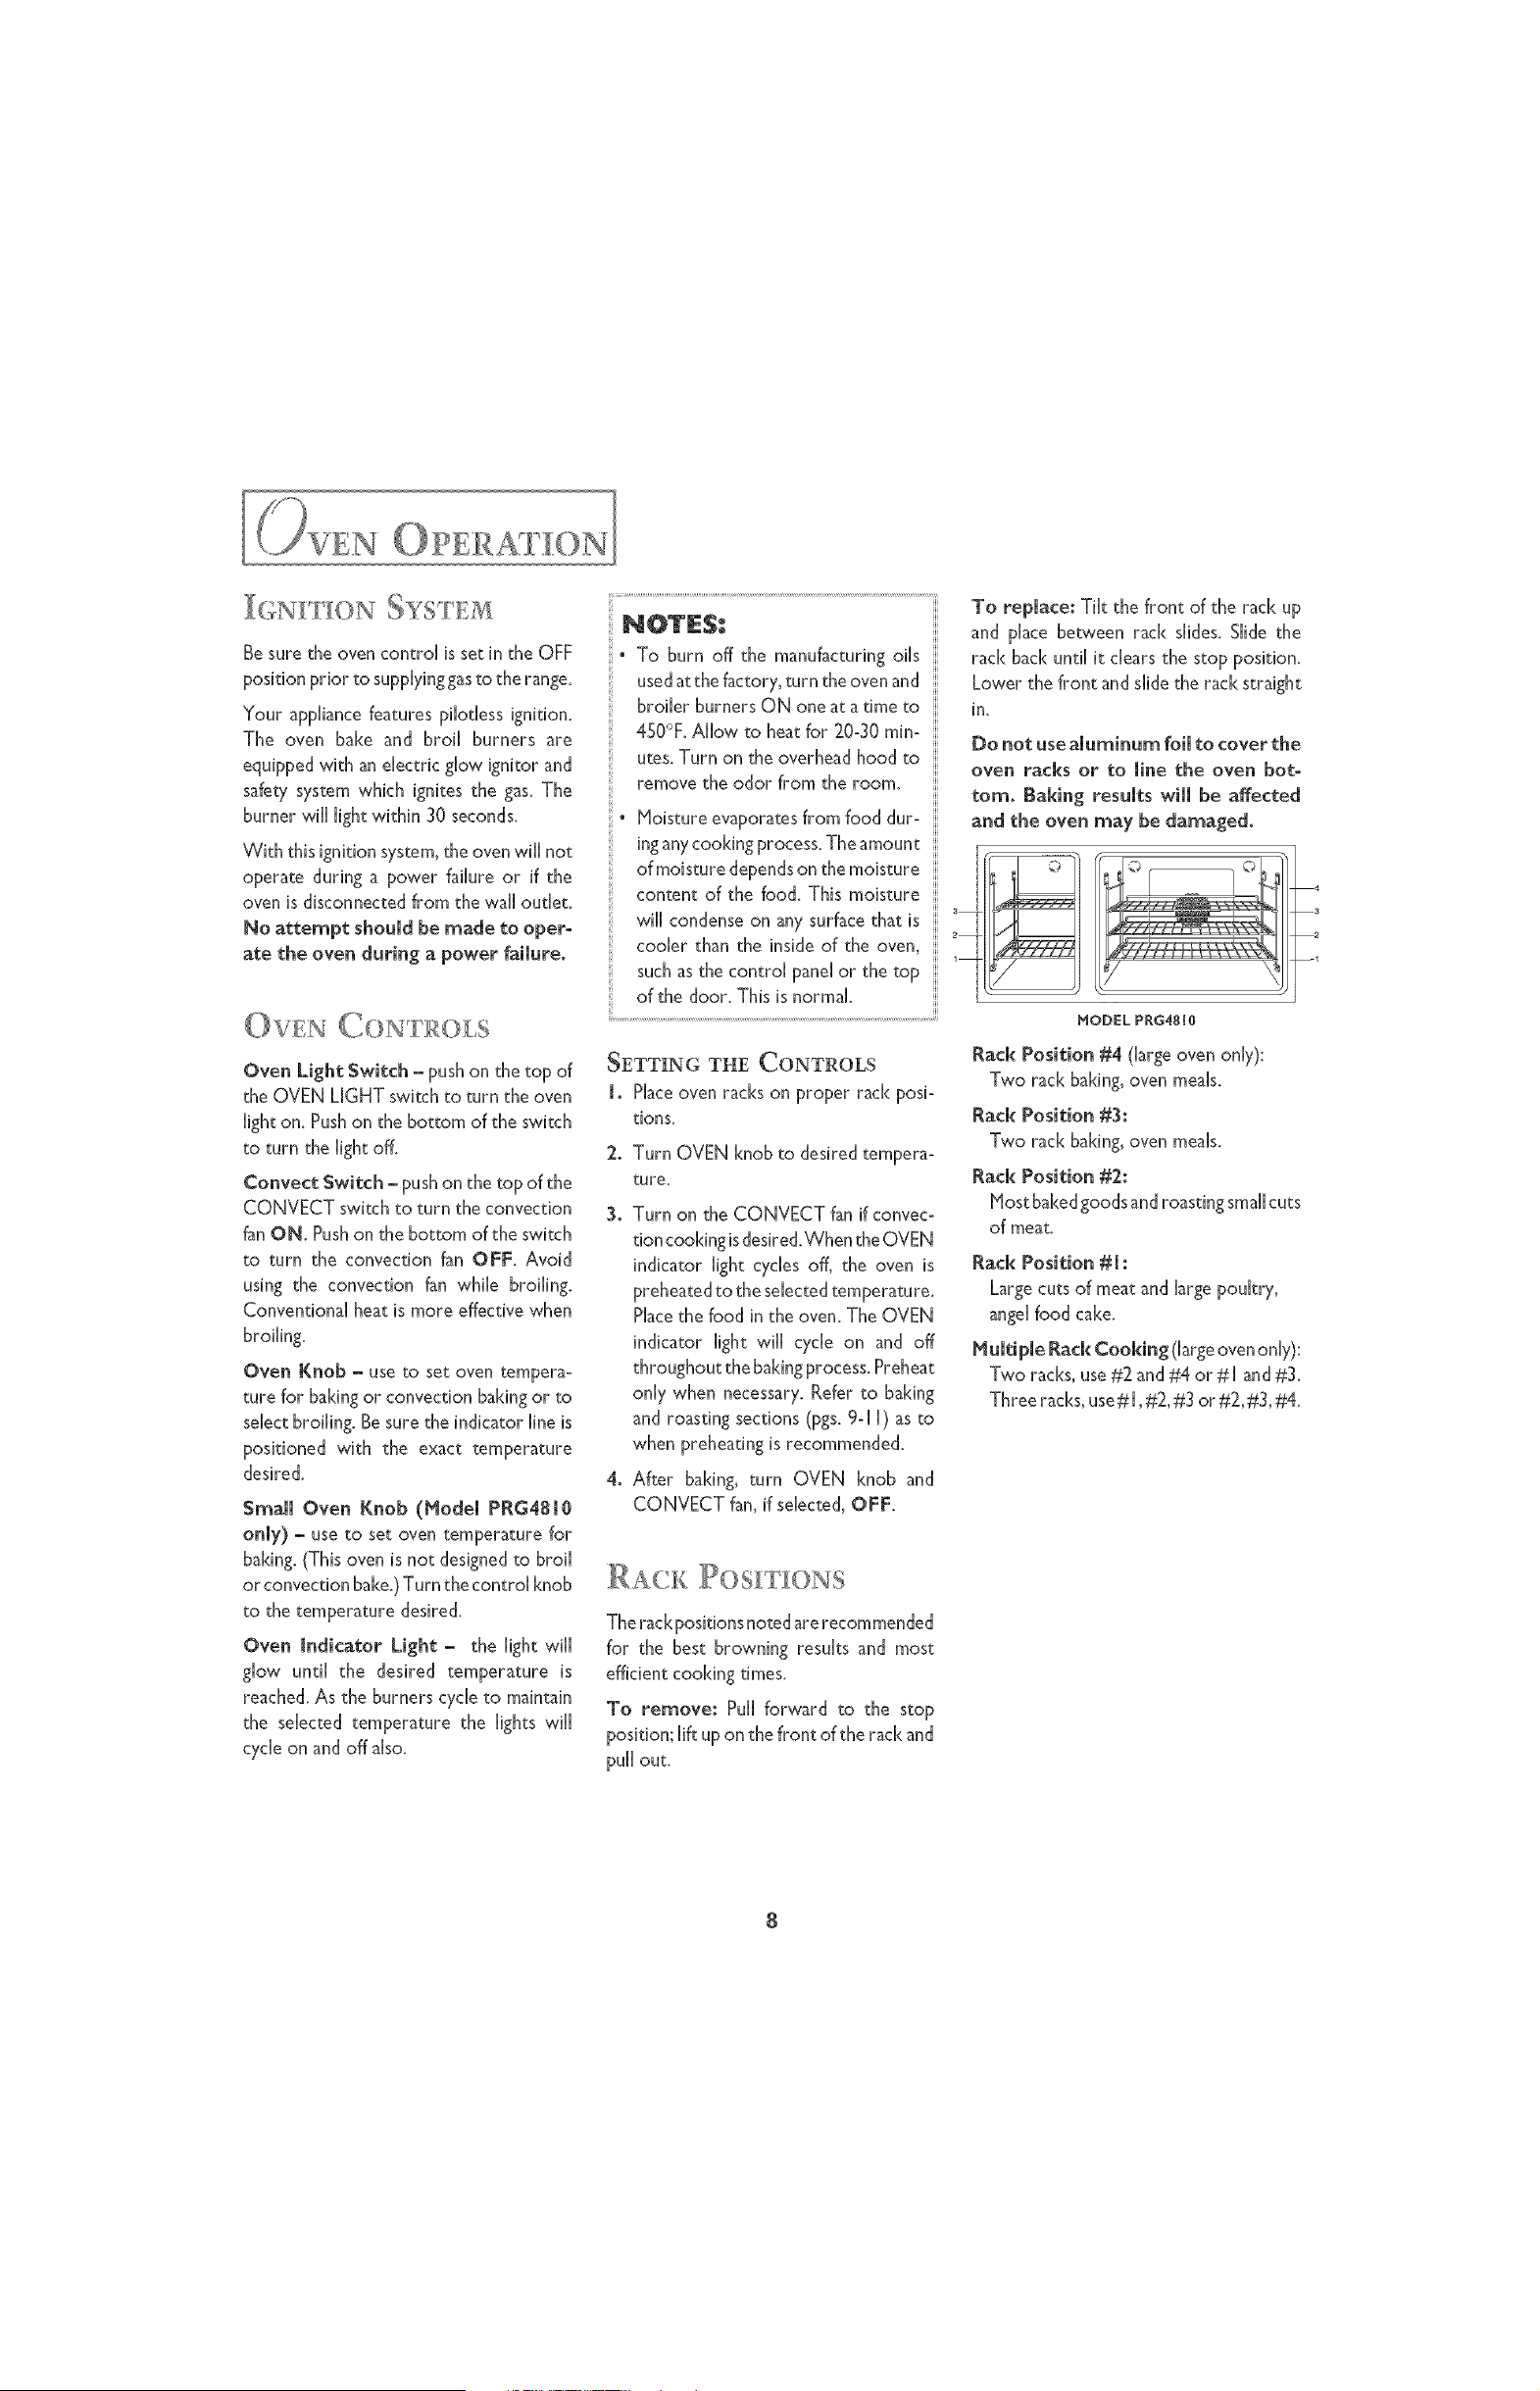
Do not usealuminum foil to coverthe
oven racks or to line the oven bot-
tom. Baking results will be affected
and the oven may be damaged.
2
1
HODEL PRG4810
Rack Position #4 (large oven only):
Two rack baking,oven meals.
Rack Position#31
Two rack baking, oven meal
Rack Position#2:
Host bakedgoods androastingsmallcuts
of meat.
Rack Position #1:
Large cuts of meat and large poultry,
angel food cake.
Multiple Rack Cooking (large ovenonly):
Two racks,use #2 and #4 or #[ and #3.
Three racks,use# [,#2, #3 or #2, #3, #4.
4
3
a
--1
8
Loading ...
Loading ...
Loading ...