Loading ...
Loading ...
Loading ...
40
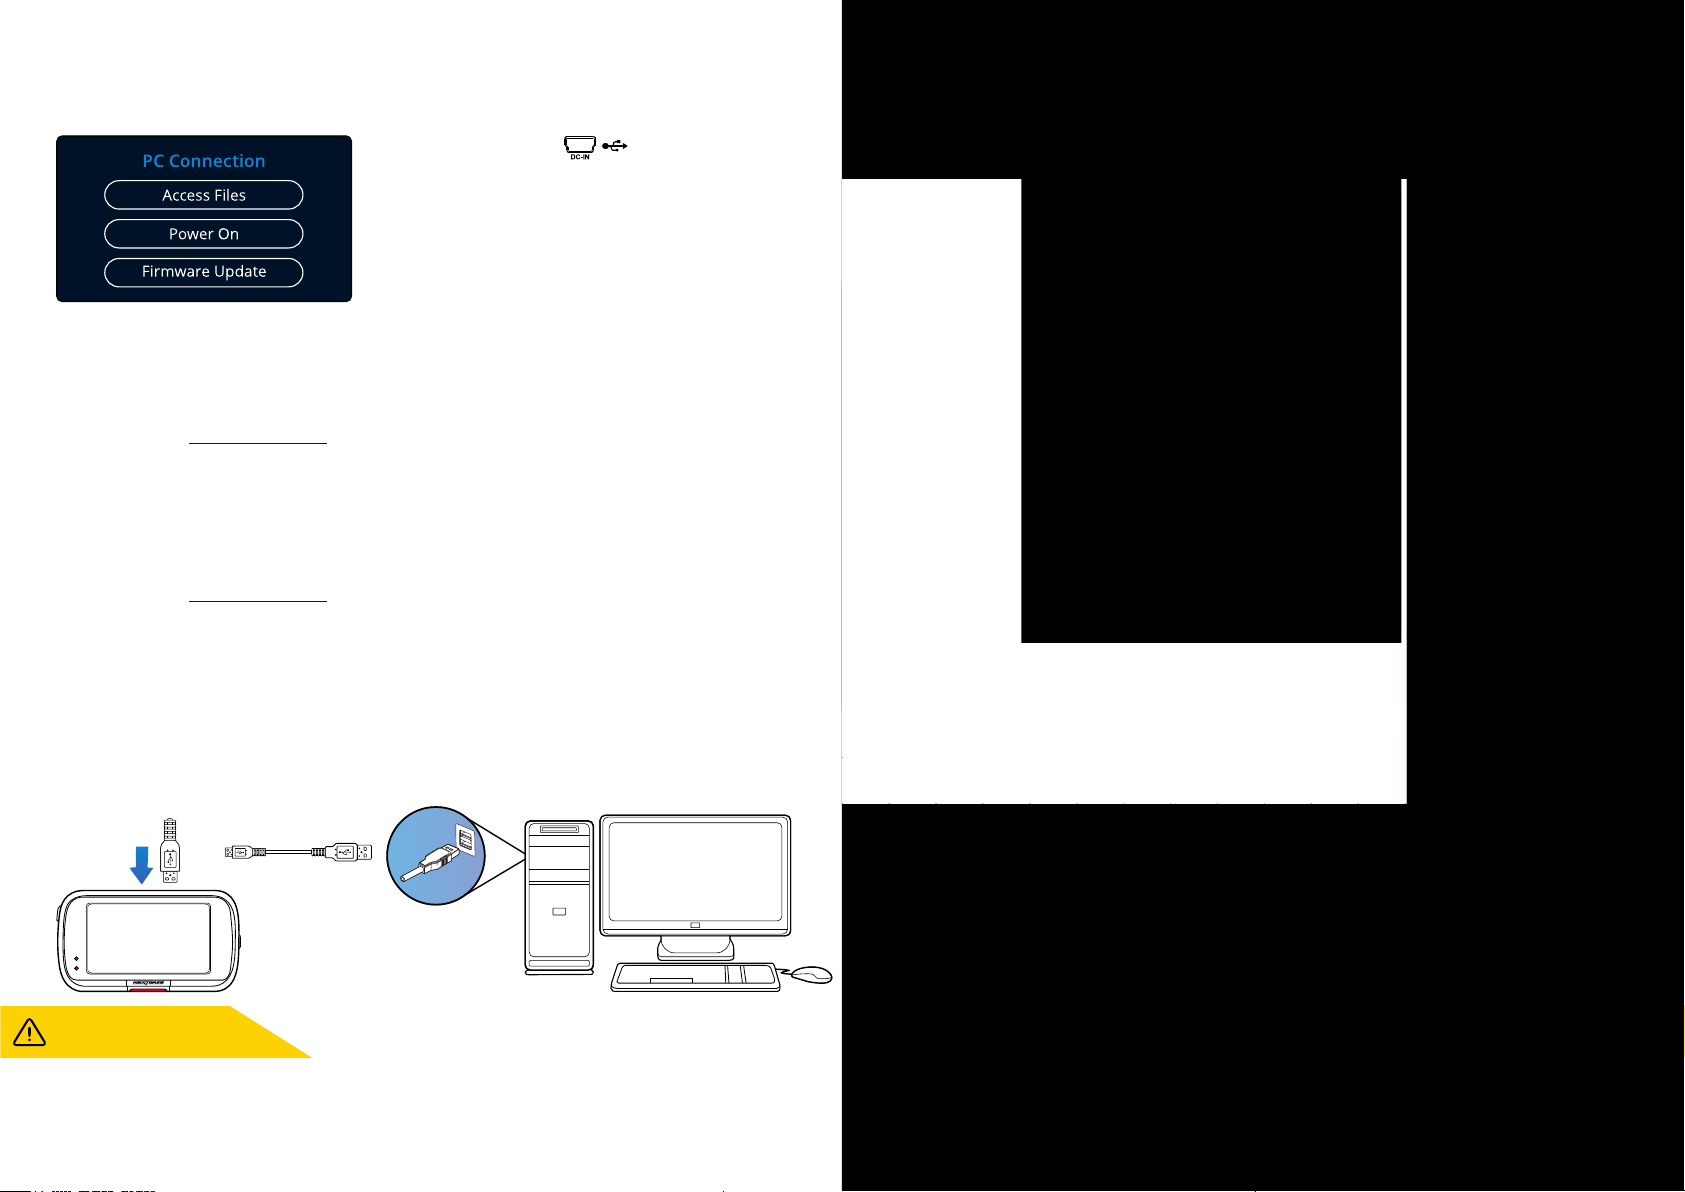
PC Connection
Use the supplied USB cable to connect the Dash Cam
directly to your PC via the socket;
do NOT connect the USB cable to the Powered Mount.
Once connected the Dash Cam will turn on with three options
available; ‘Access Files’, ‘Power On’, and ‘Update Firmware’, as
described below. Firmware Update information can be found
on the next page.
Access Files (Windows)
When this option is selected, the Dash Cam will function as a card reader for your PC. An extra drive will
appear, and you will be able to view / manage the stored files upon the MicroSD card within the Dash Cam.
You will be able to view your files using MyNextbase Player™, a free editing and sharing software available
to download from . The Dash Cam is a ‘read-only’ device, therefore uploading files towww.nextbase.com
the SD card when in Access Files mode is not possible.
Access Files (Mac)
When this option is selected, the Dash Cam will function as a card reader for your MAC. The 'Nextbase’
external USB disk icon will appear on your MAC and you will be able to view and/or manage stored files.
You will be able to view your files using MyNextbase Player, a free editing and sharing software available
to download from .www.nextbase.com
The Dash Cam is a ‘read-only’ device, therefore uploading files to the SD card when in Access Files mode
is not possible. When the Dash Cam is connected to either a Windows or Mac system you will see a pop
up on the Dash Cam that will read ‘Use MyNextbase Player to review, edit, save, and share recordings’.
Power On (Windows & Mac)
When this option is selected, the Dash Cam will power on with all functions available. This includes
charging of the internal battery, a full charge will take approximately 2 hours.
ALWAYS turn OFF the Dash Cam
before disconnecting from your PC/Mac.
Loading ...
Loading ...
Loading ...