Loading ...
Loading ...
Loading ...
16
INSTALLATION INSTRUCTION
TOOLS NEEDED IN INSTALLATION
Pliers
Flat screwdriver
Level
Cutting knife
Adjustable wrench
that opens to 1"
(25 mm)
Phillips screwdriver
Tools needed:
Tape measure
INSTALLATION STEPS
For the proper installation, we recommend that you hire a qualified installer.
1. Move your dryer to an appropriate location for the installation. Consider
installing the dryer and washer side-by-side, to allow access to the gas, electrical,
and exhaust connections. Place two of the carton cushion-tops on the floor. Tip
your dryer on its side so it lies across both cushion-tops.
2. Set your dryer back in an upright position.
STEP 1 Choose the proper location
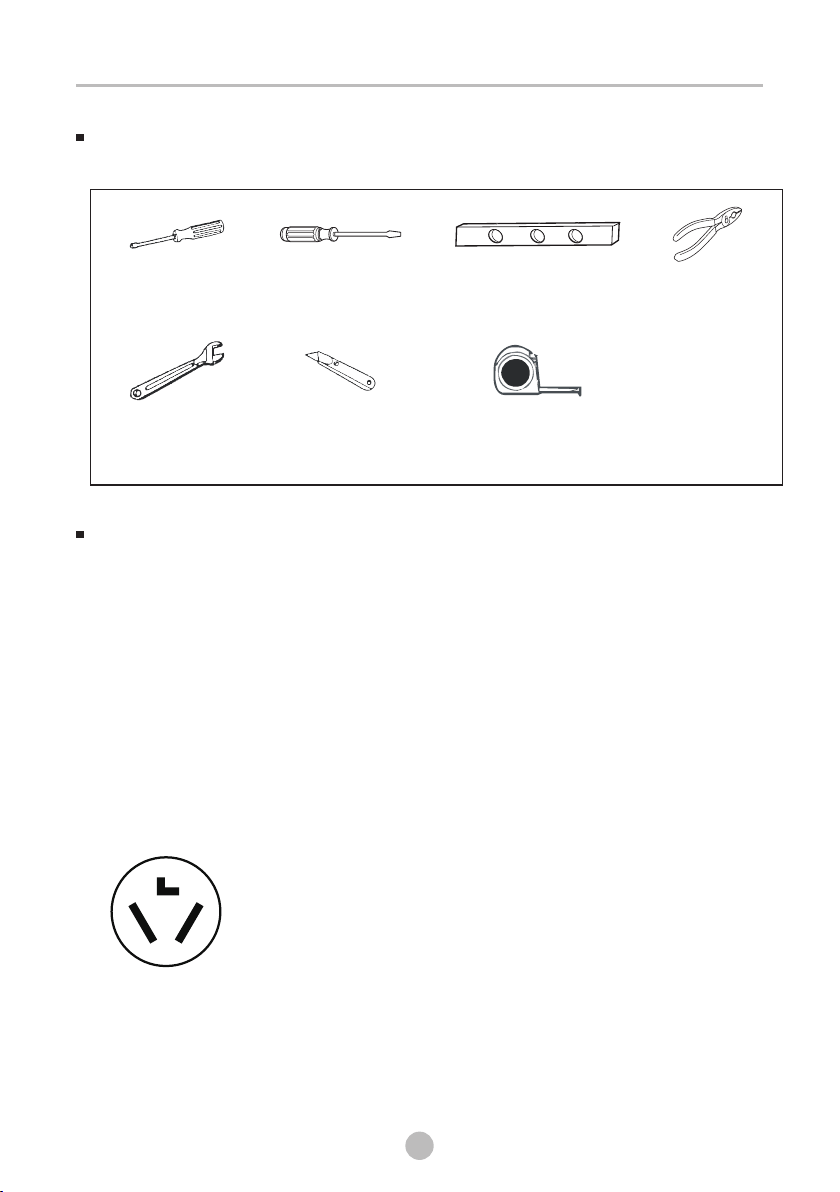
STEP 2 Connect the electrical wiring
3-Wire
receptacle
(10-30R)
Three wire outlet
Then choose a 3-wire power supply cord with ring terminals and
UL listed strain relief. The 3-wire power supply cord, at least
4.92 ft. (1.5 m) long, must have 3 10-gauge solid copper wires
and match a 3-wire receptacle of NEMA Type 10-30R, rated
120/240V, min 10A.
Loading ...
Loading ...
Loading ...