Loading ...
Loading ...
Loading ...
12
When finished clearing a snow path, release the auger control lever (handle) and the drive control lever
(handle)
Attention: Release (disengage) the auger and drive control lever (handles) before adjusting the
drive speed control lever. NEVER change the drive/gear speed while your snow thrower is in motion,
as it will damage the drive mechanism and void the warranty.
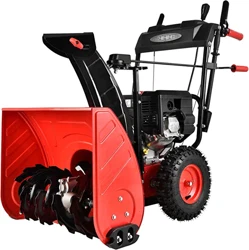
DRIVE SPEED/GEAR CONTROL
Move the drive speed control lever to the desired speed. There are eight (8)
settings: six (6) forward speeds and two (2) reverse speeds. 1 is the slowest
forward speed and 6 is the fastest forward speed. R1 is the slowest reverse
speed and R2 is the fastest reverse speed.
Note: There is no neutral drive setting since the drive control handle must be
engaged for movement. Neutral is achieved when the drive control handle is
disengaged.
CHUTE DISCHARGE DIRECTION ADJUSTMENT
WARNING - Never direct the snow discharge chute at the operator, bystanders, vehicles,
or nearby windows. Discharged snow and foreign objects accidentally picked up by the
Snow Thrower can cause serious damage and severe bodily injury. Always point the
discharge chute in the opposite direction from potential hazards.
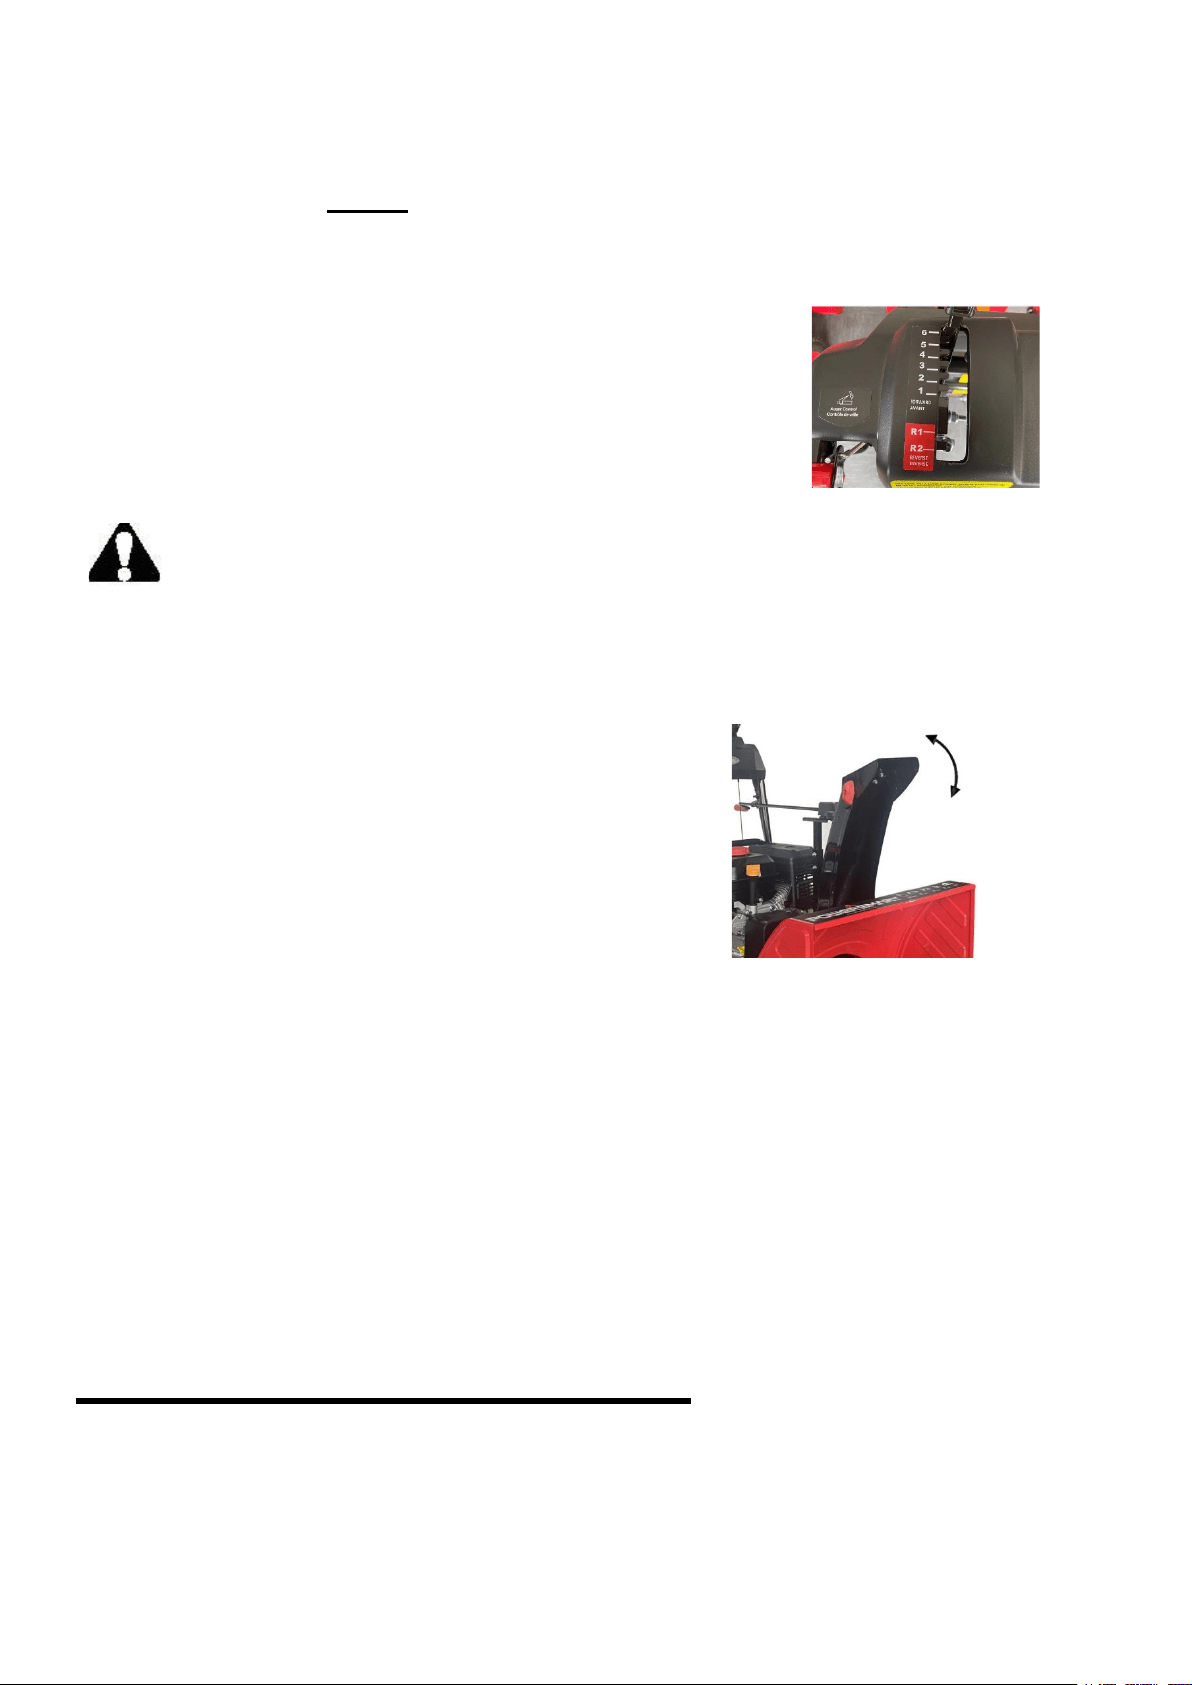
The discharge chute can be adjusted 180º by rotating the chute rotation handle. Rotate the chute
rotation handle clockwise to move the discharge chute to the right; counterclockwise to move the
chute to the left.
The chute deflector on the top of the discharge chute controls the
height of the snow stream. Loosen both chute deflector knobs to
raise or lower the deflector to the desired height you wish to throw
the snow. Tighten the knobs to secure the deflector.
Note: Do not over tighten the chute deflector knobs.
SKID SHOES ADJUSTMENT
Adjustment of the skid shoes sets the height above the ground at which the auger shave plate operates.
For clearing snow from concrete, asphalt, and other smooth surfaces, set the auger shave plate so that the
bottom of the plate is just above the ground.
For clearing snow from gravel, dirt, and other rough surfaces set the auger shave plate slightly above the
ground to avoid dirt and gravel from entering the auger.
The optimal height of the plate will vary depending on the type of surface being cleared. Surfaces with
larger gravel or stones require a higher shave plate setting.
1.
Move the snow thrower to a solid, smooth, and level surface.
2.
Place a spacer board on the ground underneath the auger shave plate between the skid shoes. The
thickness of the board should be the same as the height above the ground you wish to raise the auger
shave plate. The skid shoes should not touch the board.
With the two nuts loose allow the skid shoe to slide to the ground then tighten the nuts to secure the skid
shoe.
OPERATING YOUR SNOW THROWER
MANUAL START THE ENGINE
To manual start the engine, perform the following steps:
1.
Check the oil and fuel levels.
2.
Move the choke lever to the “CLOSE” position.
Loading ...
Loading ...
Loading ...