Loading ...
Loading ...
Loading ...
Calibrating Your Speed Sensor
Before you can calibrate your speed sensor, you must pair your watch with a compatible speed sensor (Pairing
Your Wireless Sensors, page 52).
Manual calibration is optional and can improve accuracy.
1 Hold .
2 Select > Sensors & Accessories > Speed/Cadence > Wheel Size.
3 Select an option:
• Select Auto to automatically calculate your wheel size and calibrate your speed sensor.
• Select Manual, and enter your wheel size to manually calibrate your speed sensor (Wheel Size and
Circumference, page 63).
Device Information
About the AMOLED Display
By default, the watch settings are optimized for battery life and performance (Maximizing Battery Life,
page 58).
Image persistence, or pixel "burn-in," is normal behavior for AMOLED devices. To extend the display life, you
should avoid displaying static images at high brightness levels for long time periods. To minimize burn-in, the
Venu 2 Plus display turns off after the selected timeout (Customizing the Display Settings, page 51). You can
turn your wrist toward your body, double-tap the touchscreen, or press a button to wake the watch.
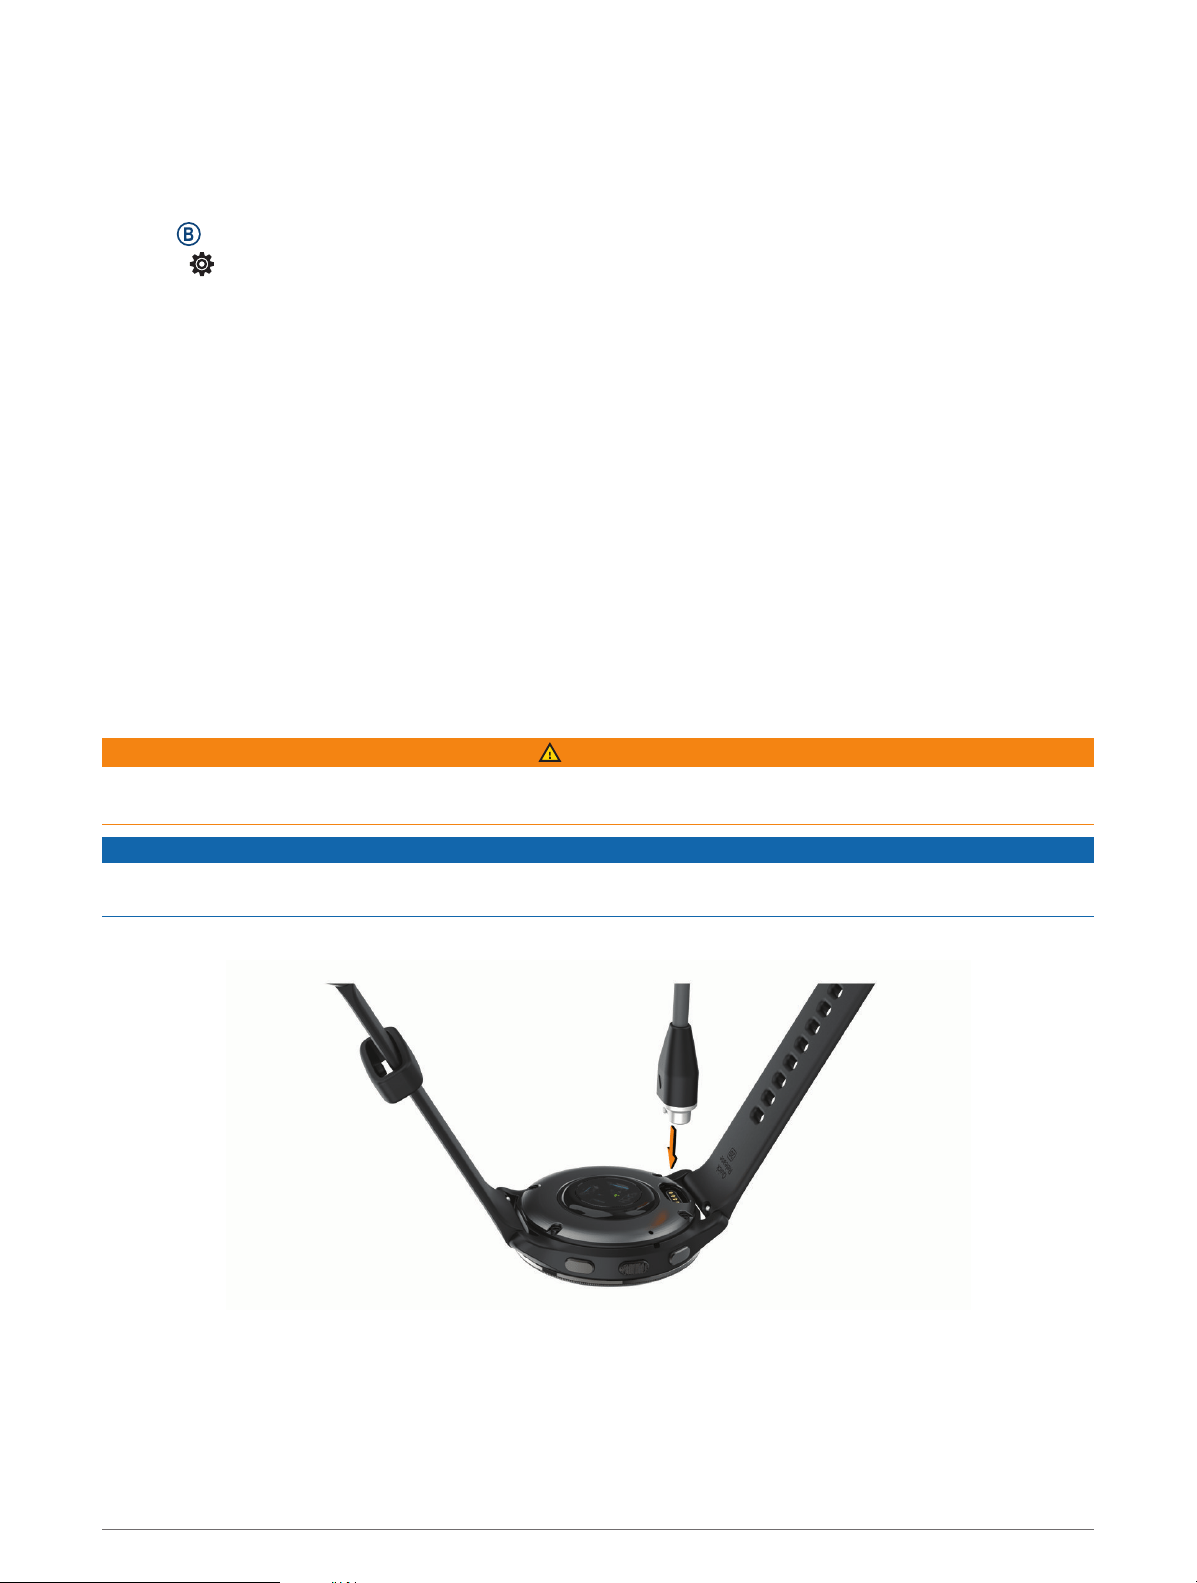
Charging the Watch
WARNING
This device contains a lithium-ion battery. See the Important Safety and Product Information guide in the product
box for product warnings and other important information.
NOTICE
To prevent corrosion, thoroughly clean and dry the contacts and the surrounding area before charging or
connecting to a computer. Refer to the cleaning instructions (Device Care, page 55).
1 Plug the small end of the USB cable into the charging port on your watch.
2 Plug the large end of the USB cable into a USB charging port.
3 Charge the watch completely.
Device Information 53
Loading ...
Loading ...
Loading ...