
Loading ...
Loading ...
Loading ...
Page. 7
Checklist
Each of the following steps must be completed correctly
for the appliance to function properly. Check off each step
as it is finished.
Pro Rangetop models
Pro Harmony gas models
Pro Harmony dual fuel models
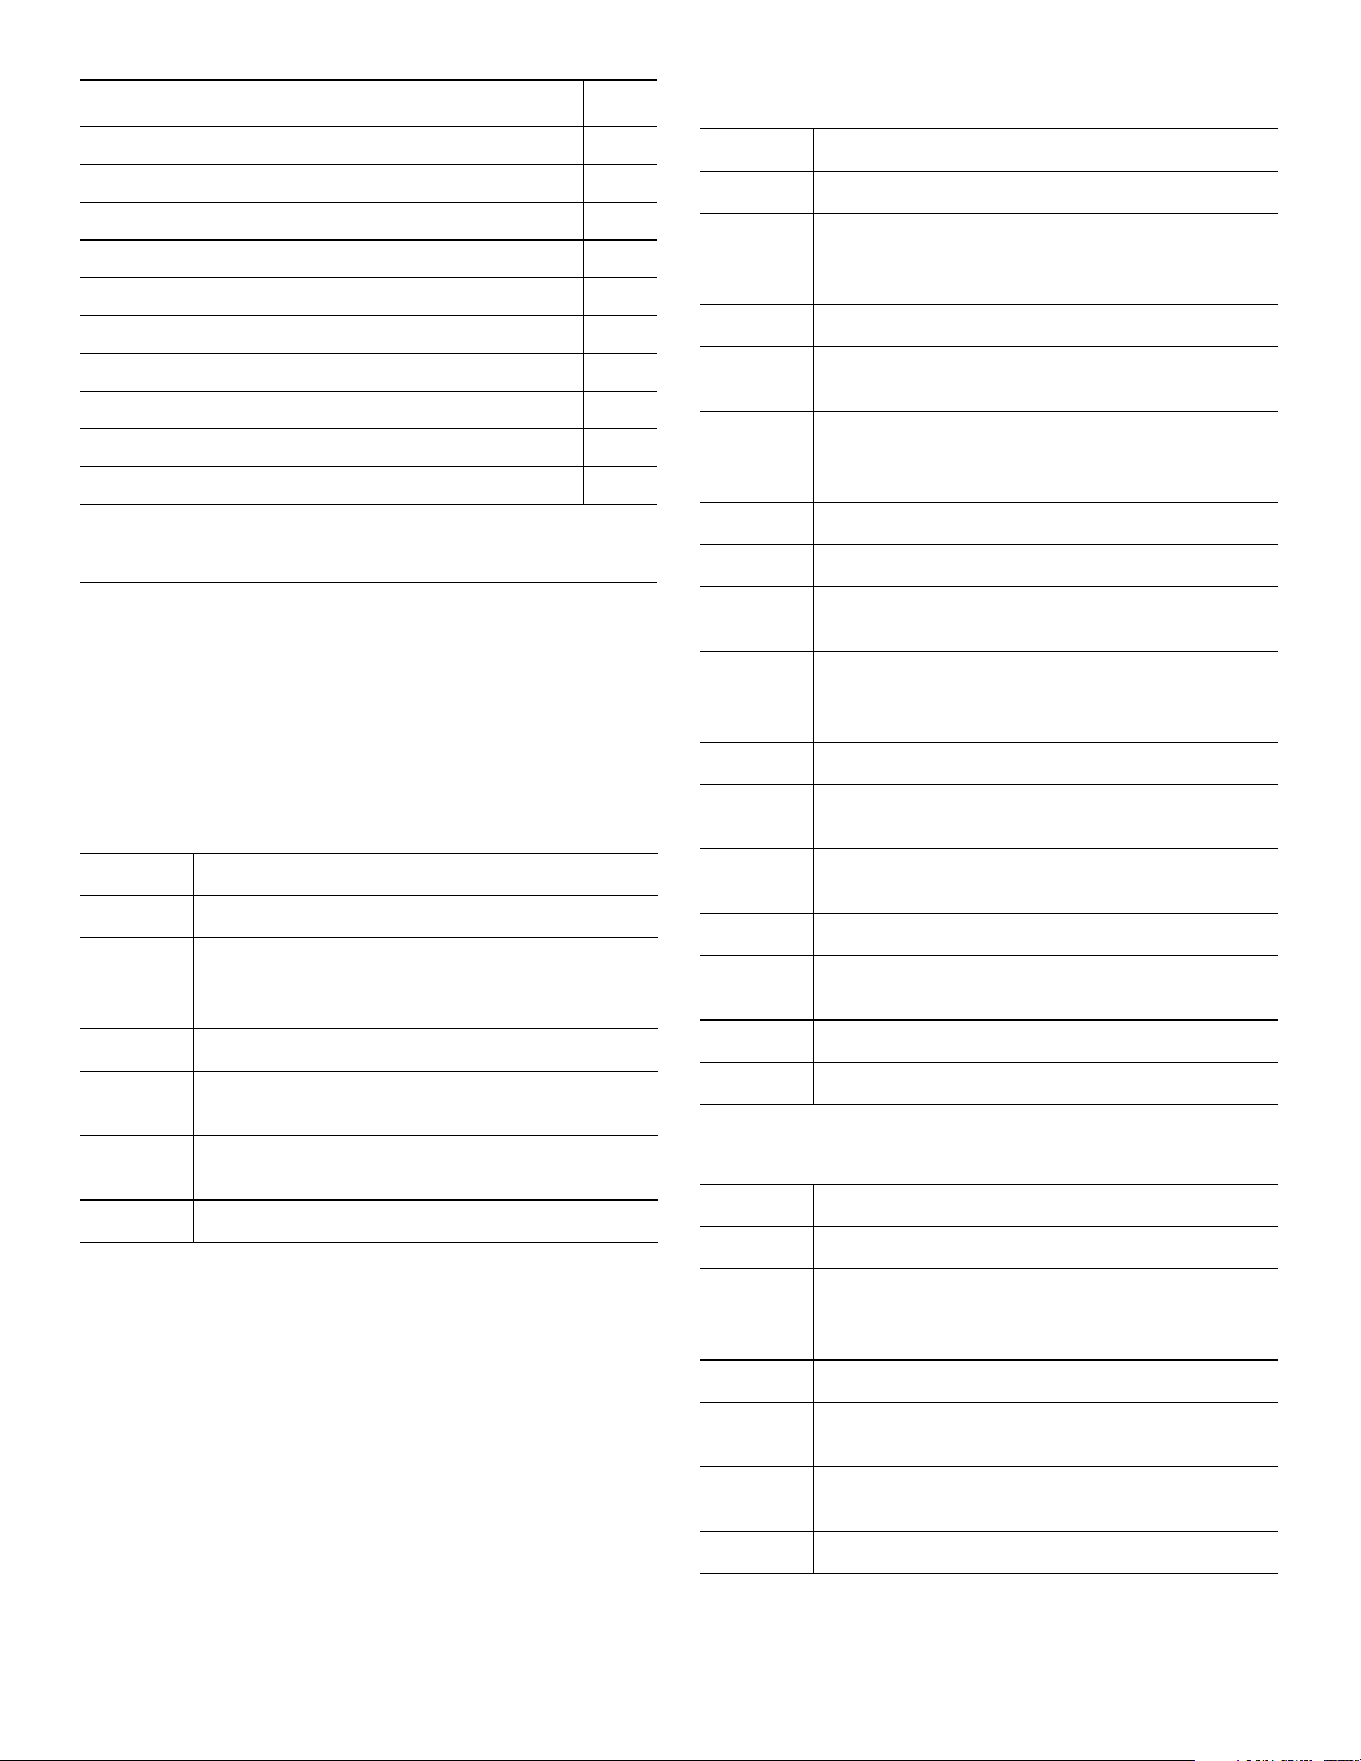
Gas Pro Grand ranges with 4 or 6 burners Qty.
Conversion label 1
Foam tape, 1'' piece 1
Screwdriver, 1/8'' x 0.20'' 1
Orifice, 1.05 mm (105) 3
Orifice, 1.15 mm (115) 2
Orifice, 1.26 mm (126) 1
Orifice, 1.46 mm (146), main oven bake 1
Orifice, 1.13 mm (113), aux oven bake 1
Orifice, 1.25 mm (125), main oven broil 1
Orifice, 0.813 mm (813) or “67”, aux oven broil* 1
*This orifice is stamped “67”, which means #67 DMS (Drill
Metal Standard, or wire gage number, or drill size) and is
dimensionally equal to 0.0320'' or 0.813 mm diameter.
Ù Step 1
Disassemble the rangetop (page 9).
Ù Step 2
Convert the regulator to LP gas (page 9).
Ù Step 3
Change the STAR® burner orifices according
to your model and the corresponding table
(page 10).
Ù Step 4
Check the rangetop for gas leaks (page 19).
Ù Step 5
Reassemble the rangetop and check STAR
burner flame performance (page 20).
Ù Step 6
Set the valve screws for the STAR burners
(page 21).
Ù Step 7
Place the conversion label (page 22).
Ù Step 1
Disassemble the rangetop (page 9).
Ù Step 2
Convert the regulator to LP gas (page 9).
Ù Step 3
Change the STAR burner orifices according
to your model and the corresponding table
(page 10).
Ù Step 4
Remove the backguard (page 14).
Ù Step 5
Change the main oven broil burner orifice to
the 1.25 mm (125) orifice (page 14).
Ù Step 6
48'' models – change the aux oven broil
burner orifice to the 0.75 mm (75) orifice
(page 14).
Ù Step 7
Remove the oven door(s) (page 16).
Ù Step 8
Remove the kick and front panels (page 17).
Ù Step 9
Change the main oven bake burner orifice to
the 1.34 mm (134) orifice (page 17).
Ù Step 10
48'' models – change the aux oven bake
burner orifice to the 1.13 mm (113) orifice
(page 18).
Ù Step 11
Reinstall the door(s) (page 16).
Ù Step 12
Check the rangetop and oven for gas leaks
(page 19).
Ù Step 13
Reassemble the rangetop and check STAR
burner flame performance (page 20).
Ù Step 14
Set the STAR burner valve screws (page 21).
Ù Step 15
Check the broil and bake burner flame
performance (page 22).
Ù Step 16
Reinstall the kick and front panels (page 17).
Ù Step 17
Place the conversion label (page 22).
Ù Step 1
Disassemble the rangetop (page 9).
Ù Step 2
Convert the regulator to LP gas (page 9).
Ù Step 3
Change the STAR burner orifices according
to your model and the corresponding table
(page 10).
Ù Step 4
Check the rangetop for gas leaks (page 19).
Ù Step 5
Reassemble the rangetop and check STAR
burner flame performance (page 20).
Ù Step 6
Set the valve screws for the STAR burners
(page 21).
Ù Step 7
Place the conversion label (page 22).
Loading ...
Loading ...
Loading ...